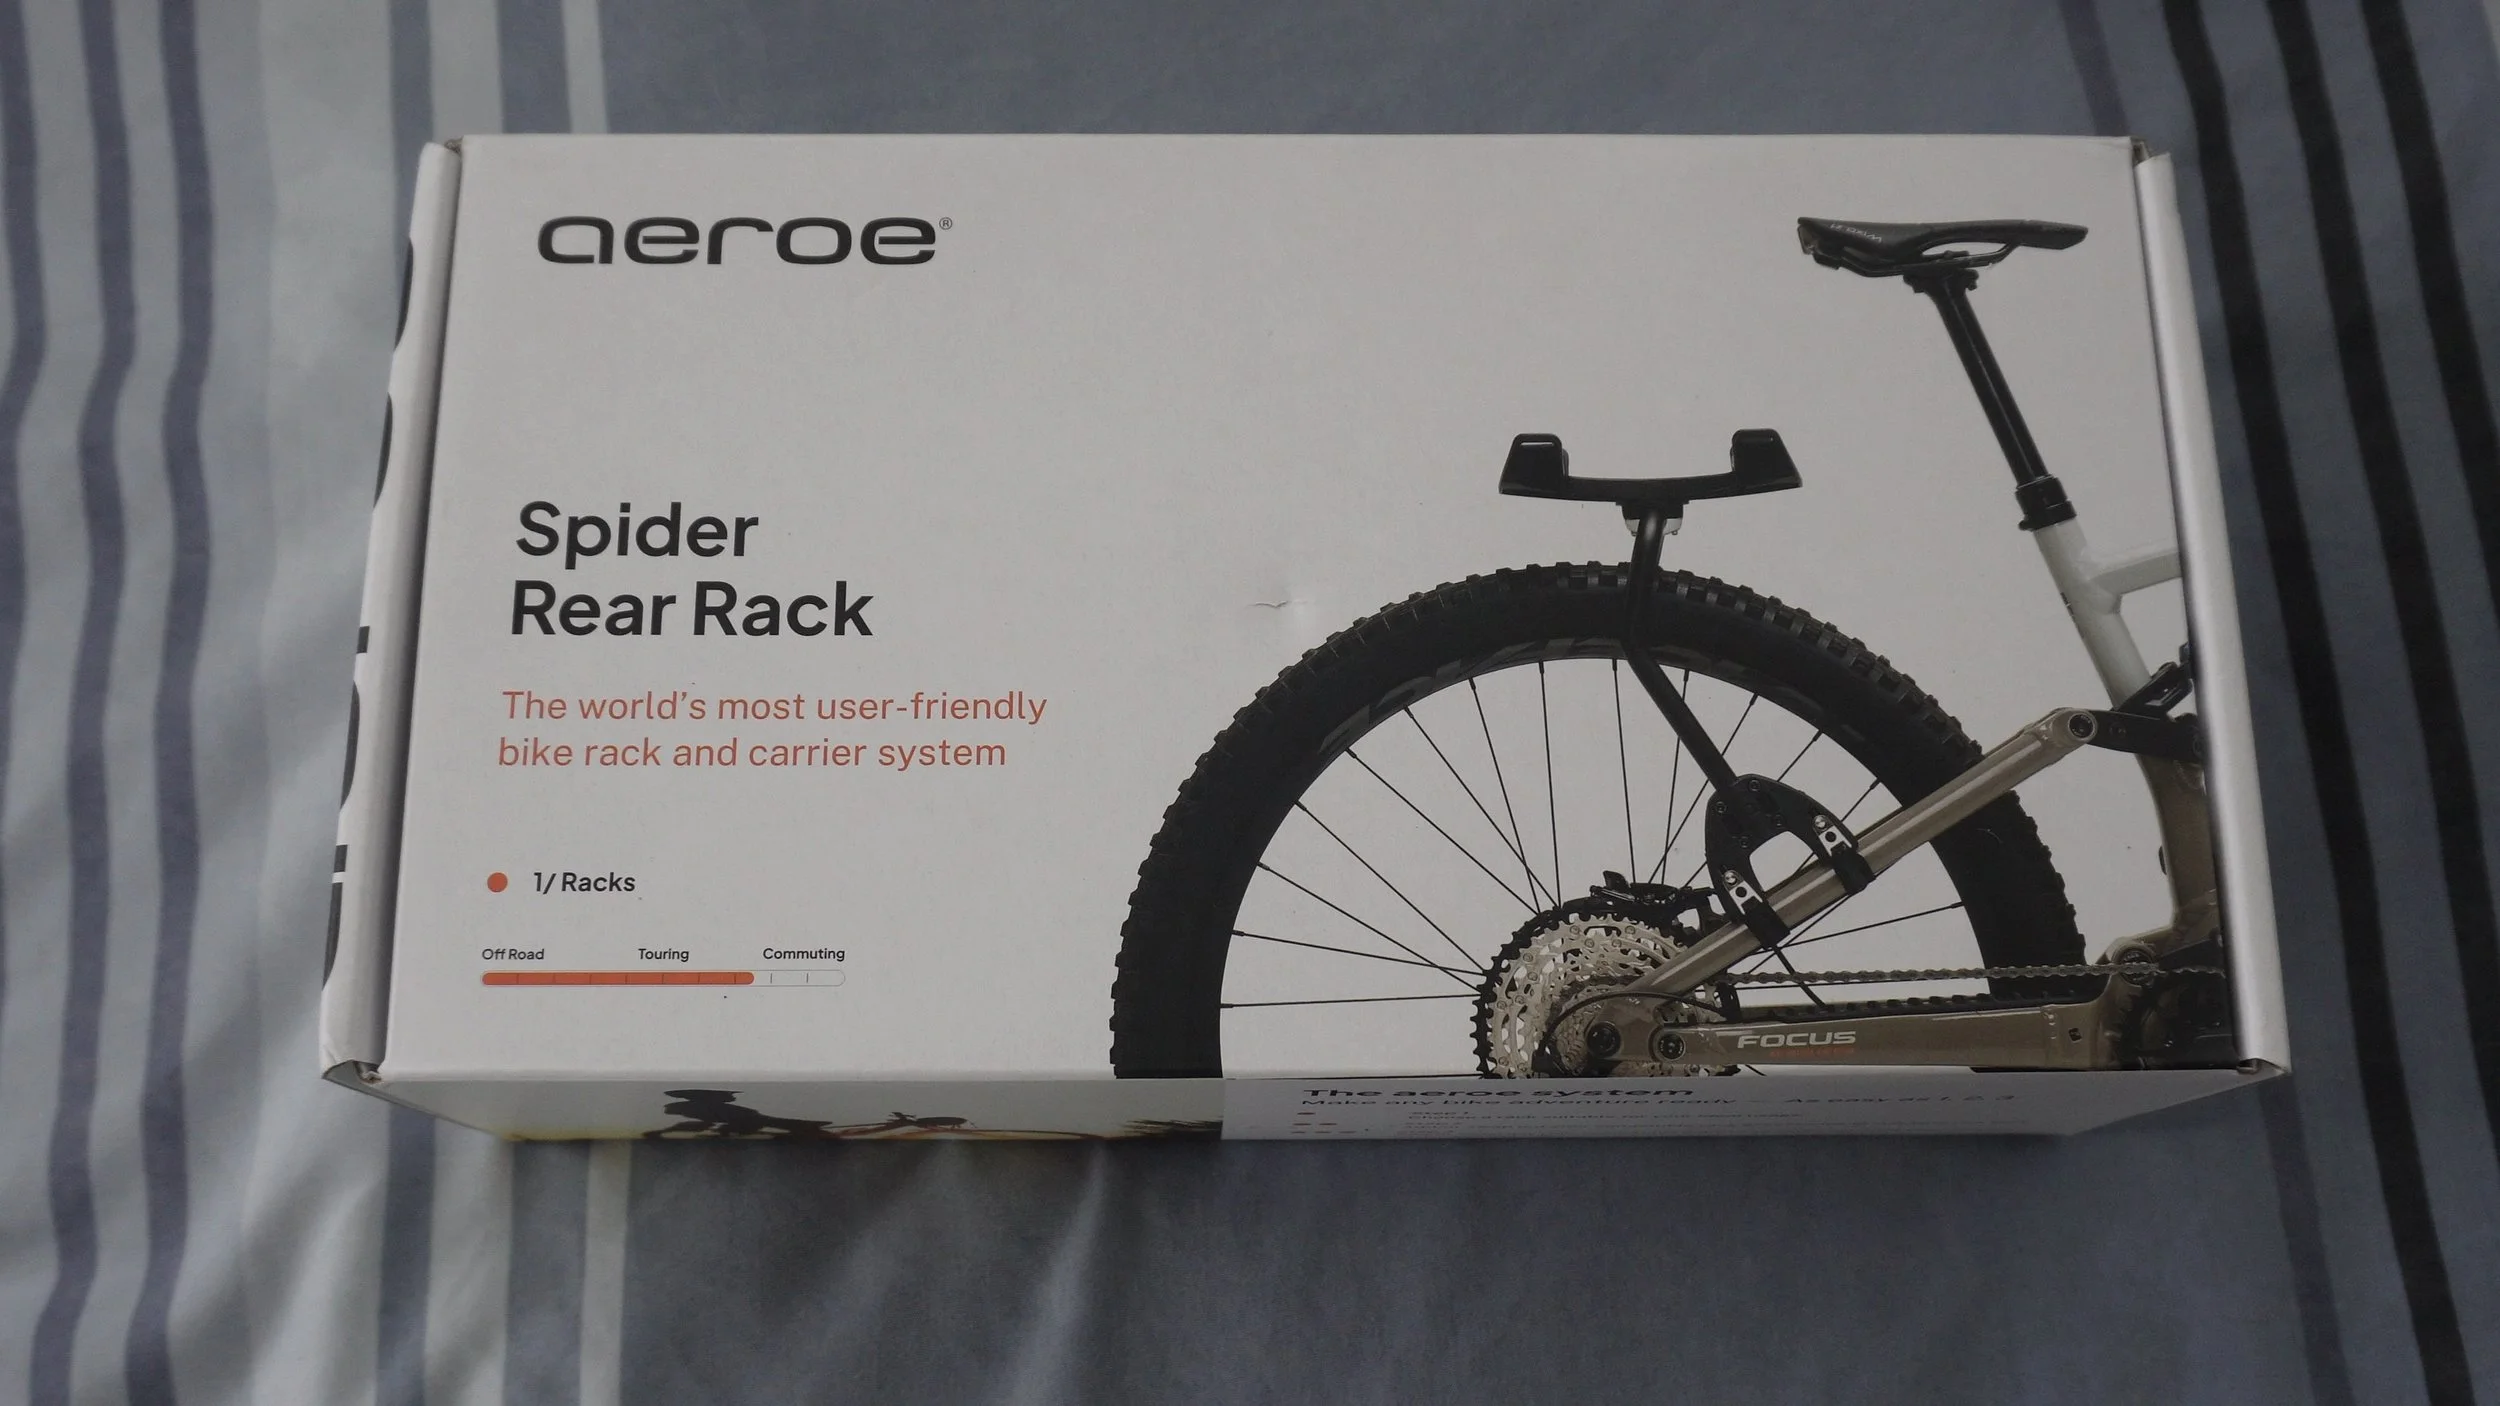
Aeroe Spider Rear rack
I’ve been using saddle packs for bikepacking since around 2016 I believe, because they work well and can be easily moved between bikes, or taken off when they’re not in use. But it’s a new year, and I thought it was time to try a slightly different bikepacking setup.
This year, I thought it would be interesting to change things up and try something new with the Aeroe Spider rear rack, to see if it can replace a seatpost bag for me. After all, aeroe do claim it’s one of the most user-friendly bike racks out there.
COST
Just to clarify, I bought this with my own money. There’s no sponsorship or collaboration of any kind with Aeroe. They have no involvement in what I show, do, or say about this rack.
The RRP of this rack is £139.99, although I didn’t pay that much, and probably never would. I picked it up for around the £90 mark. To put that into perspective, if we compare that to seatpost packs, the Topeak BackLoader that I’ve been using for the last couple of years is around £50.
Seatpost bags can range anywhere from £25 to £200 and beyond, but typically a good quality, well-designed one will sit somewhere between £50 and £125. If you compare the Spider rear rack to other racks on the market, you can again go very cheap, from around £20, all the way up to a couple of hundred pounds or more, with some being way too expensive to justify.
When comparing it specifically as a switch from a seatpost bag, the £90 mark feels like a reasonable middle ground, depending on how well it performs and how long it lasts. One of the main issues with a lot of racks is getting them to be cross-compatible between bikes, and that’s what I’m hoping this one can deliver on.
But let’s open the box and see what that £90 actually got me.
I’ve got the single cradle version here, but you can add additional cradles, with a maximum of three in total, meaning you could run three dry bags on this rack. You can buy the cradles on their own, but they’re £65 directly from Aeroe, although they can be found a bit cheaper elsewhere.
PUTTING IT TOGETHER
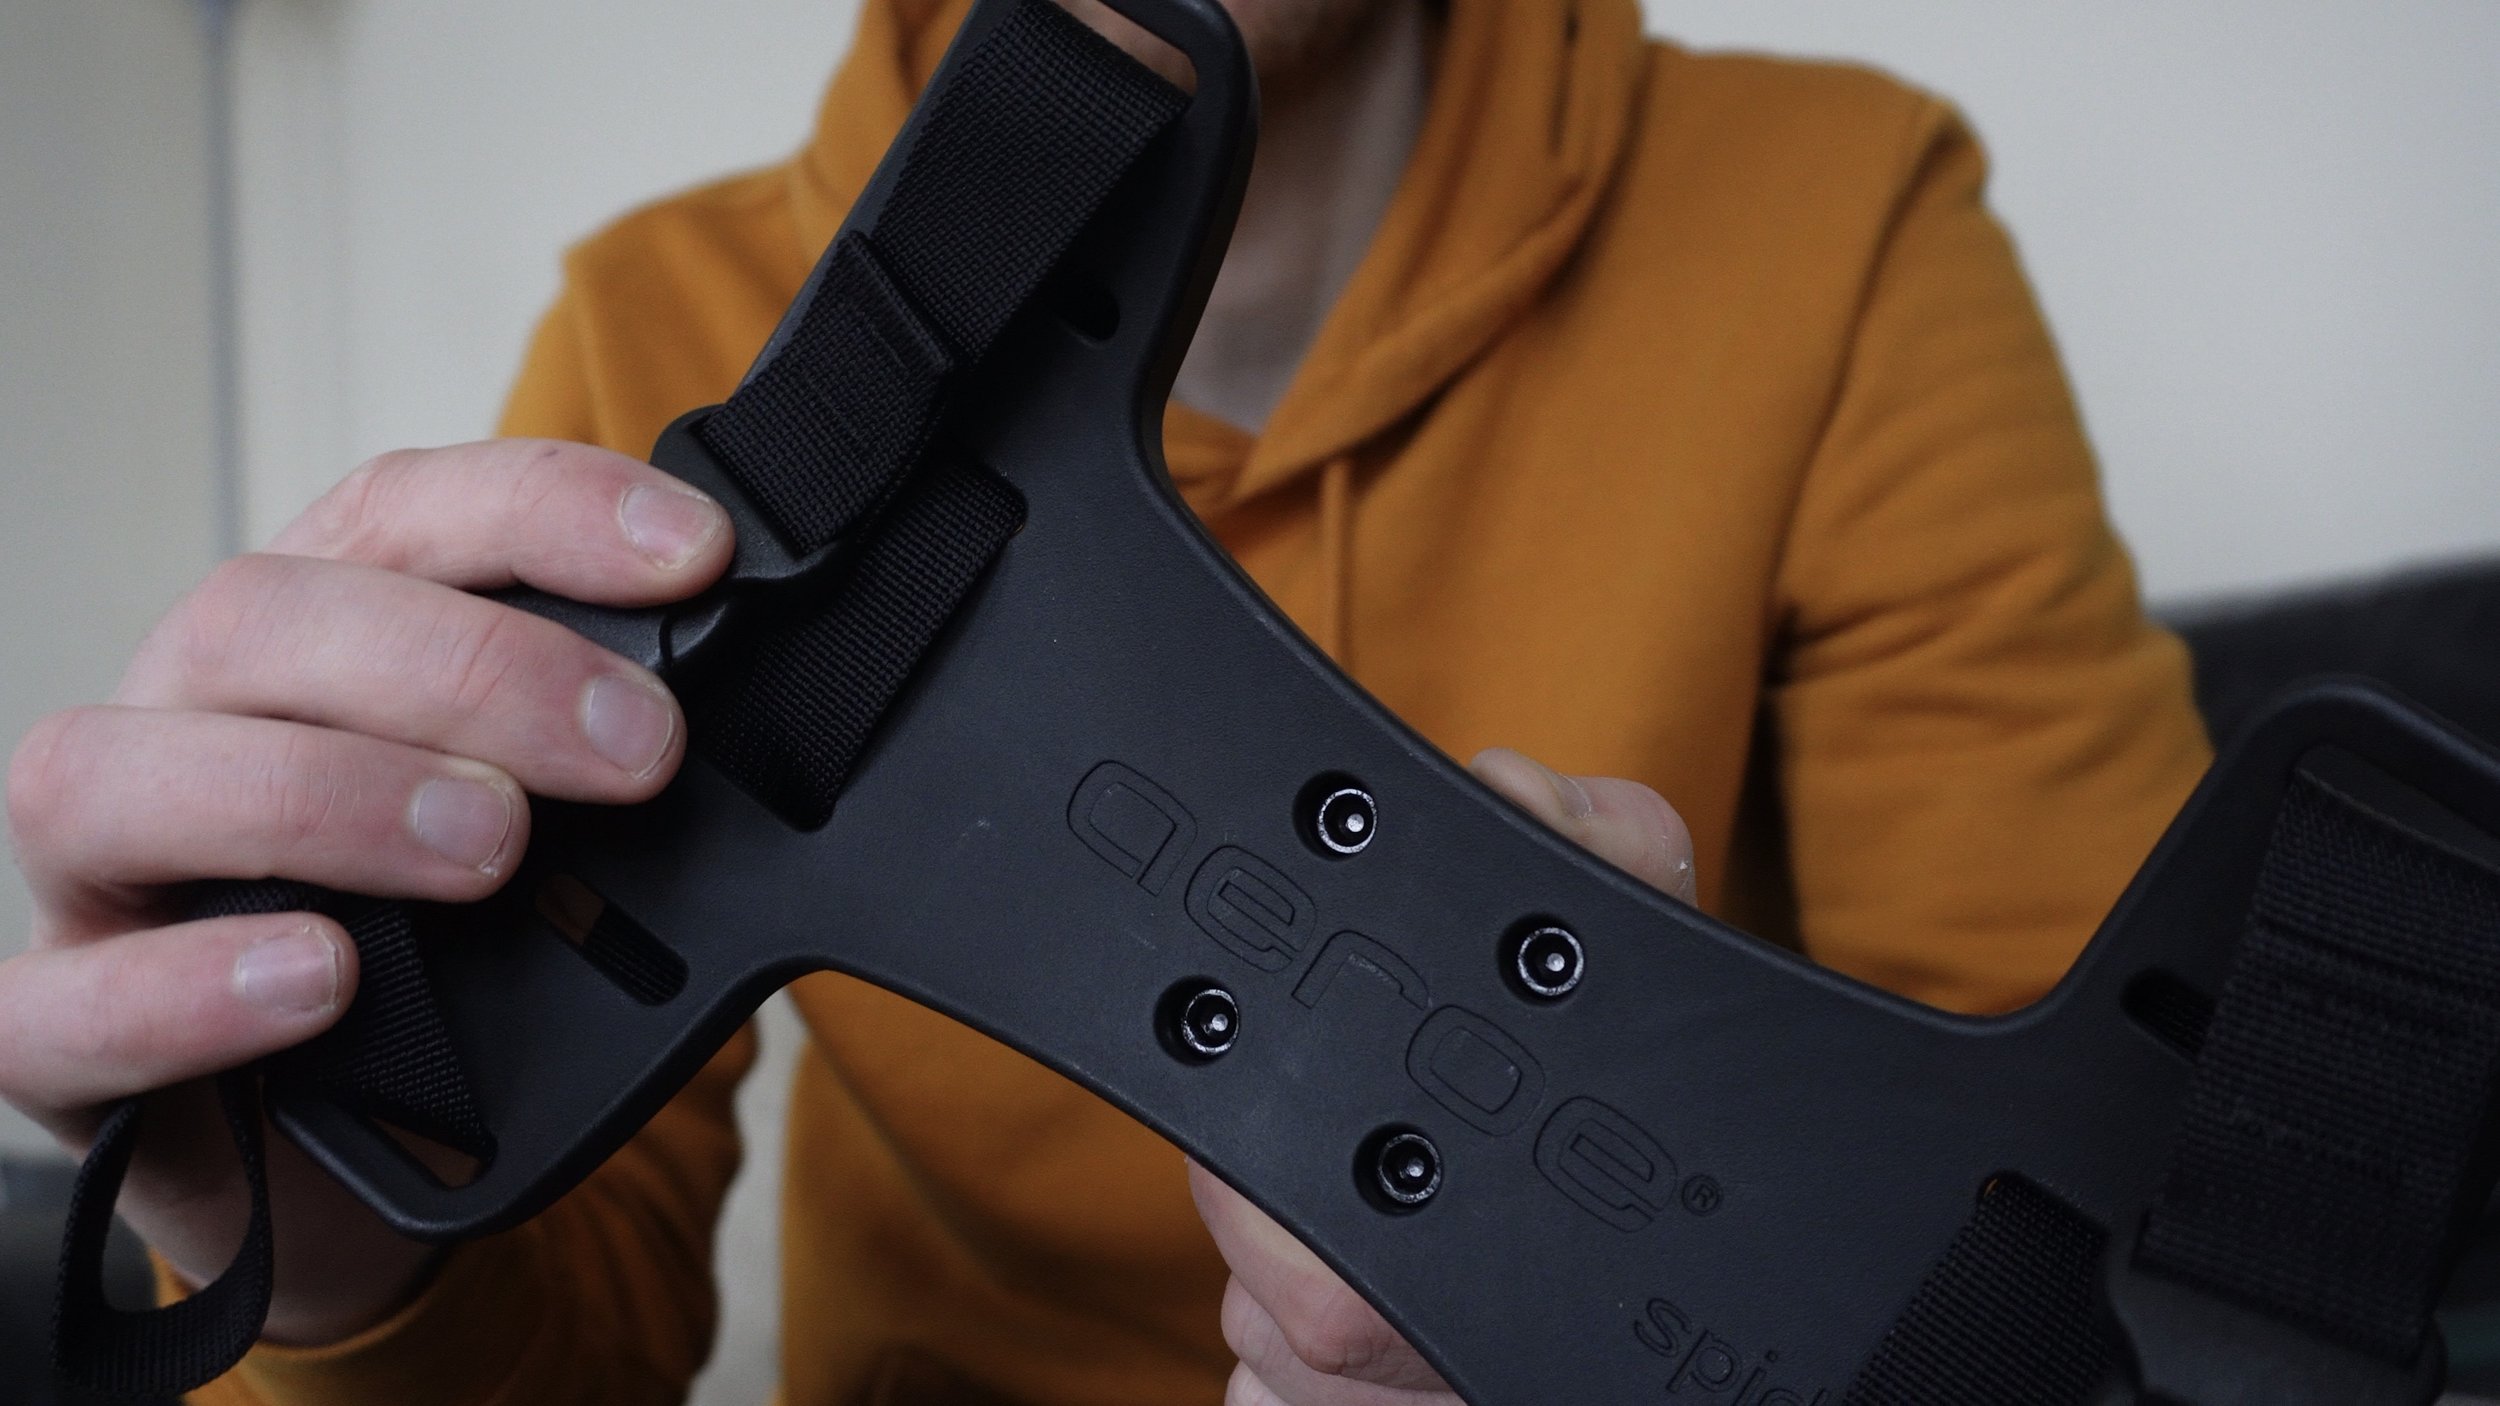
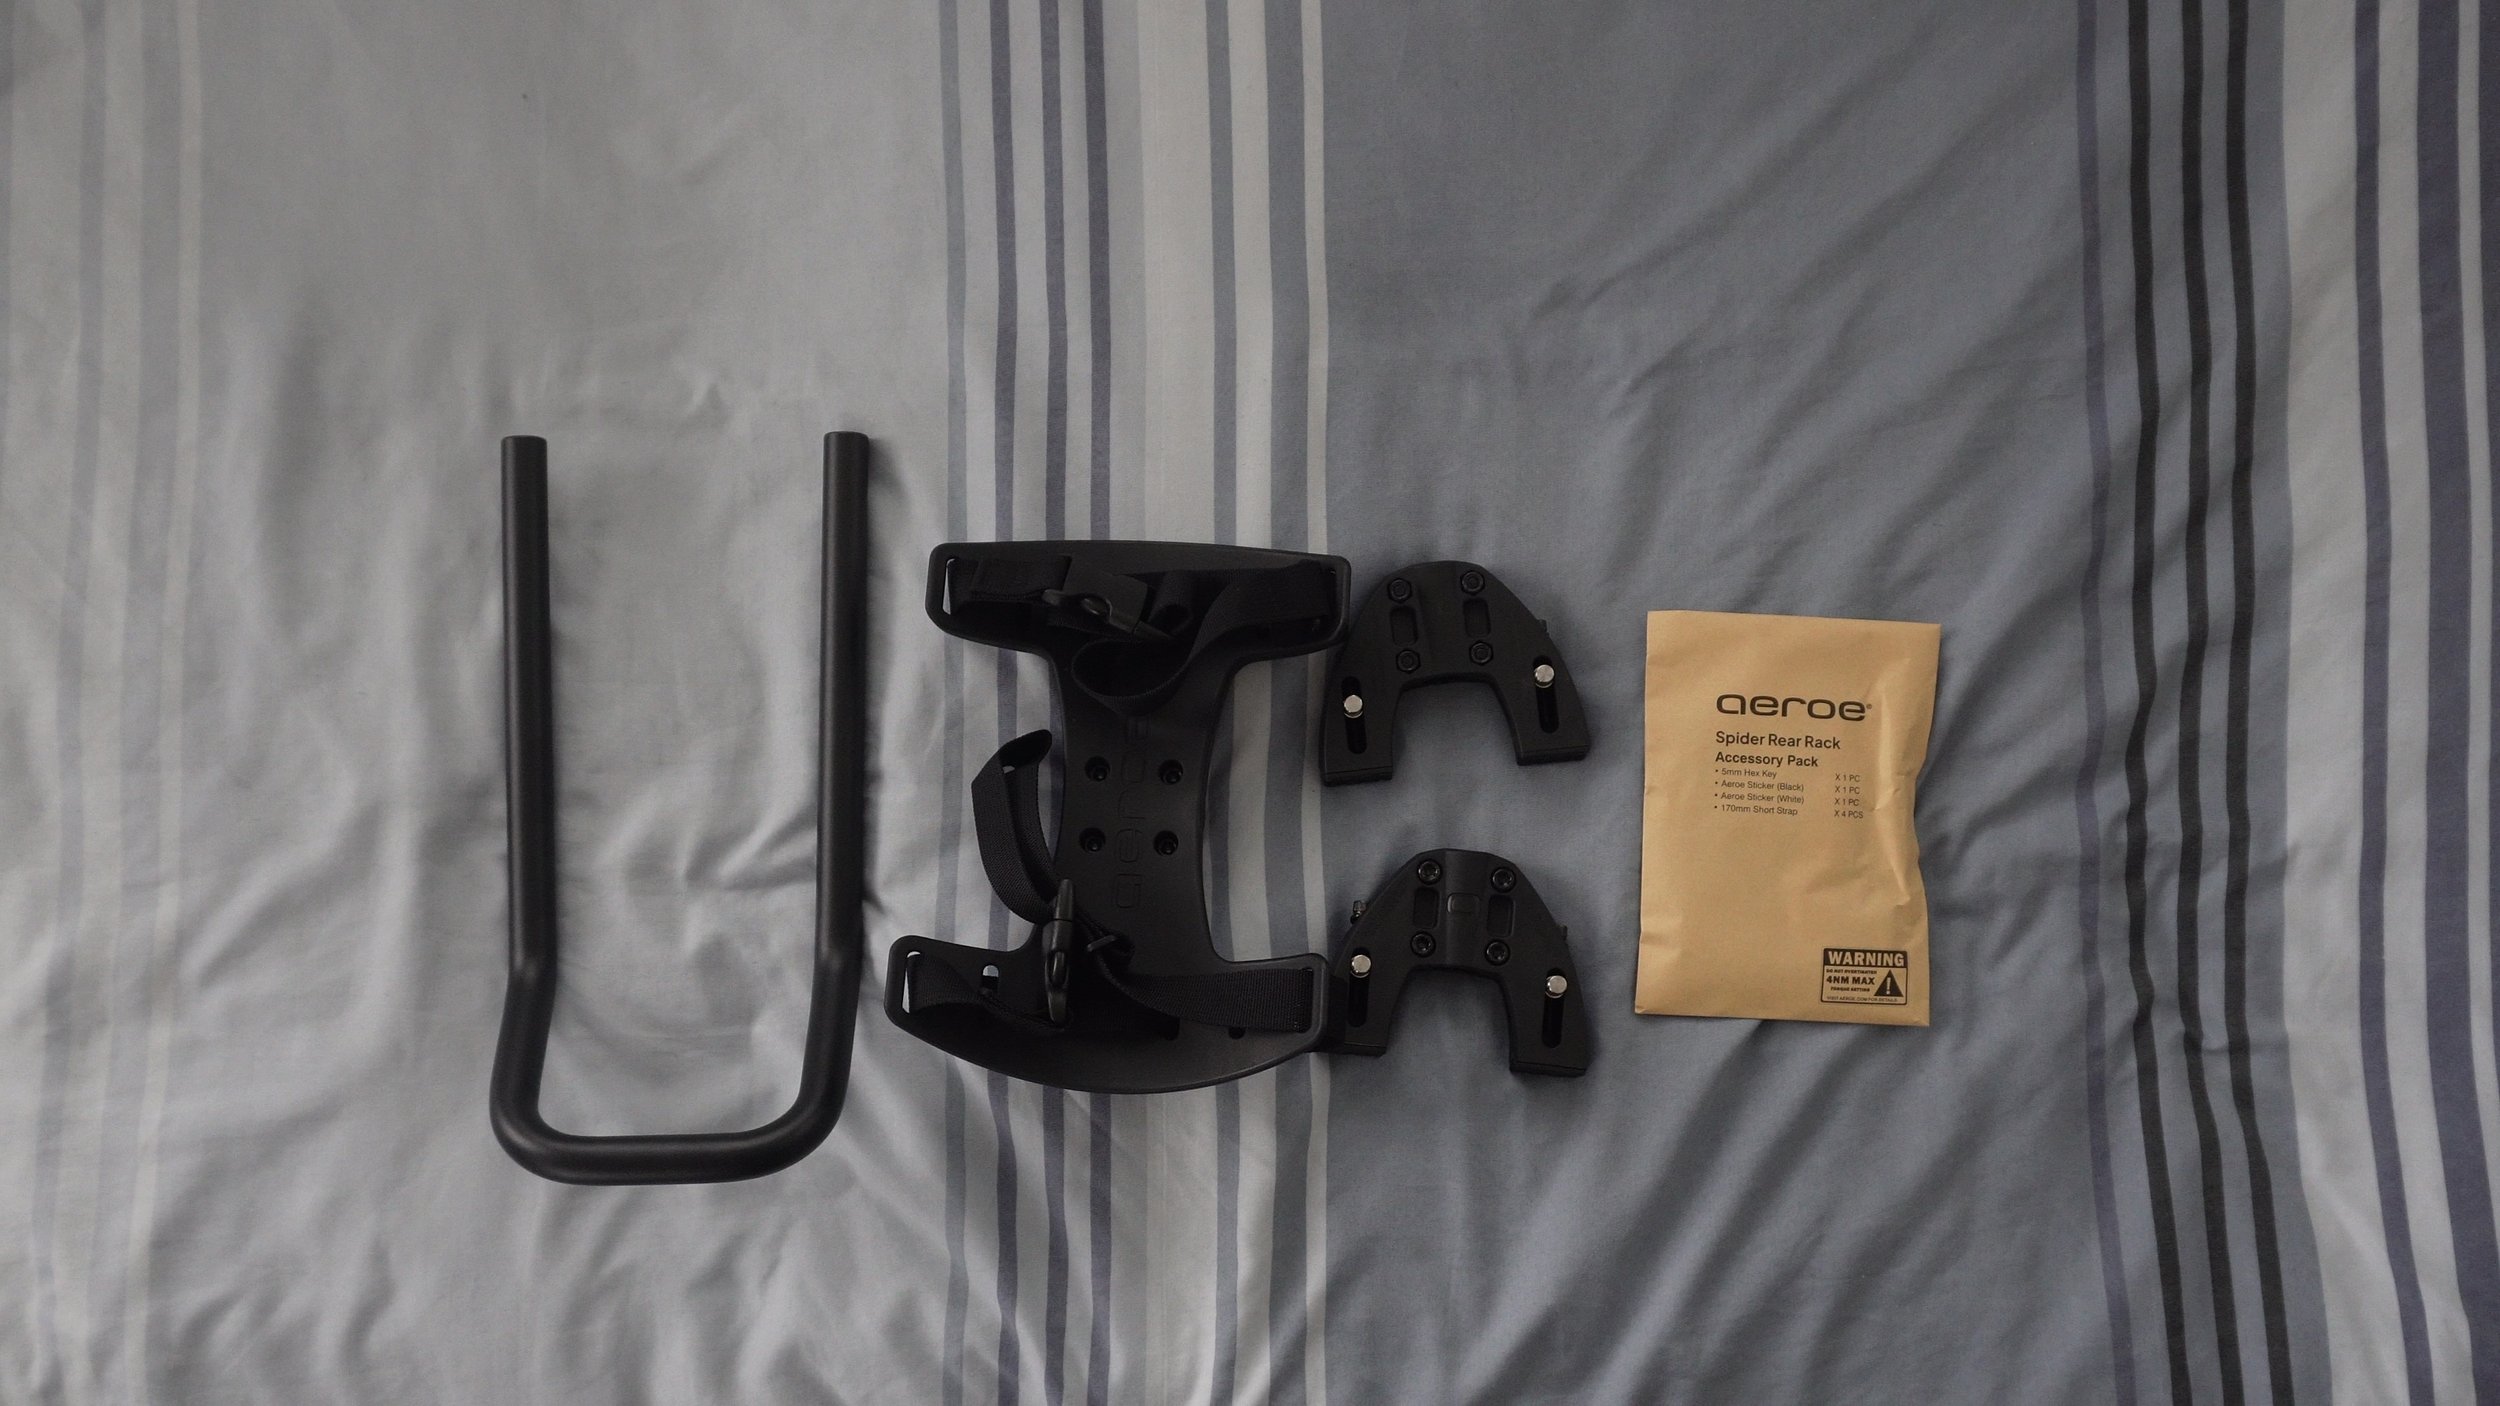
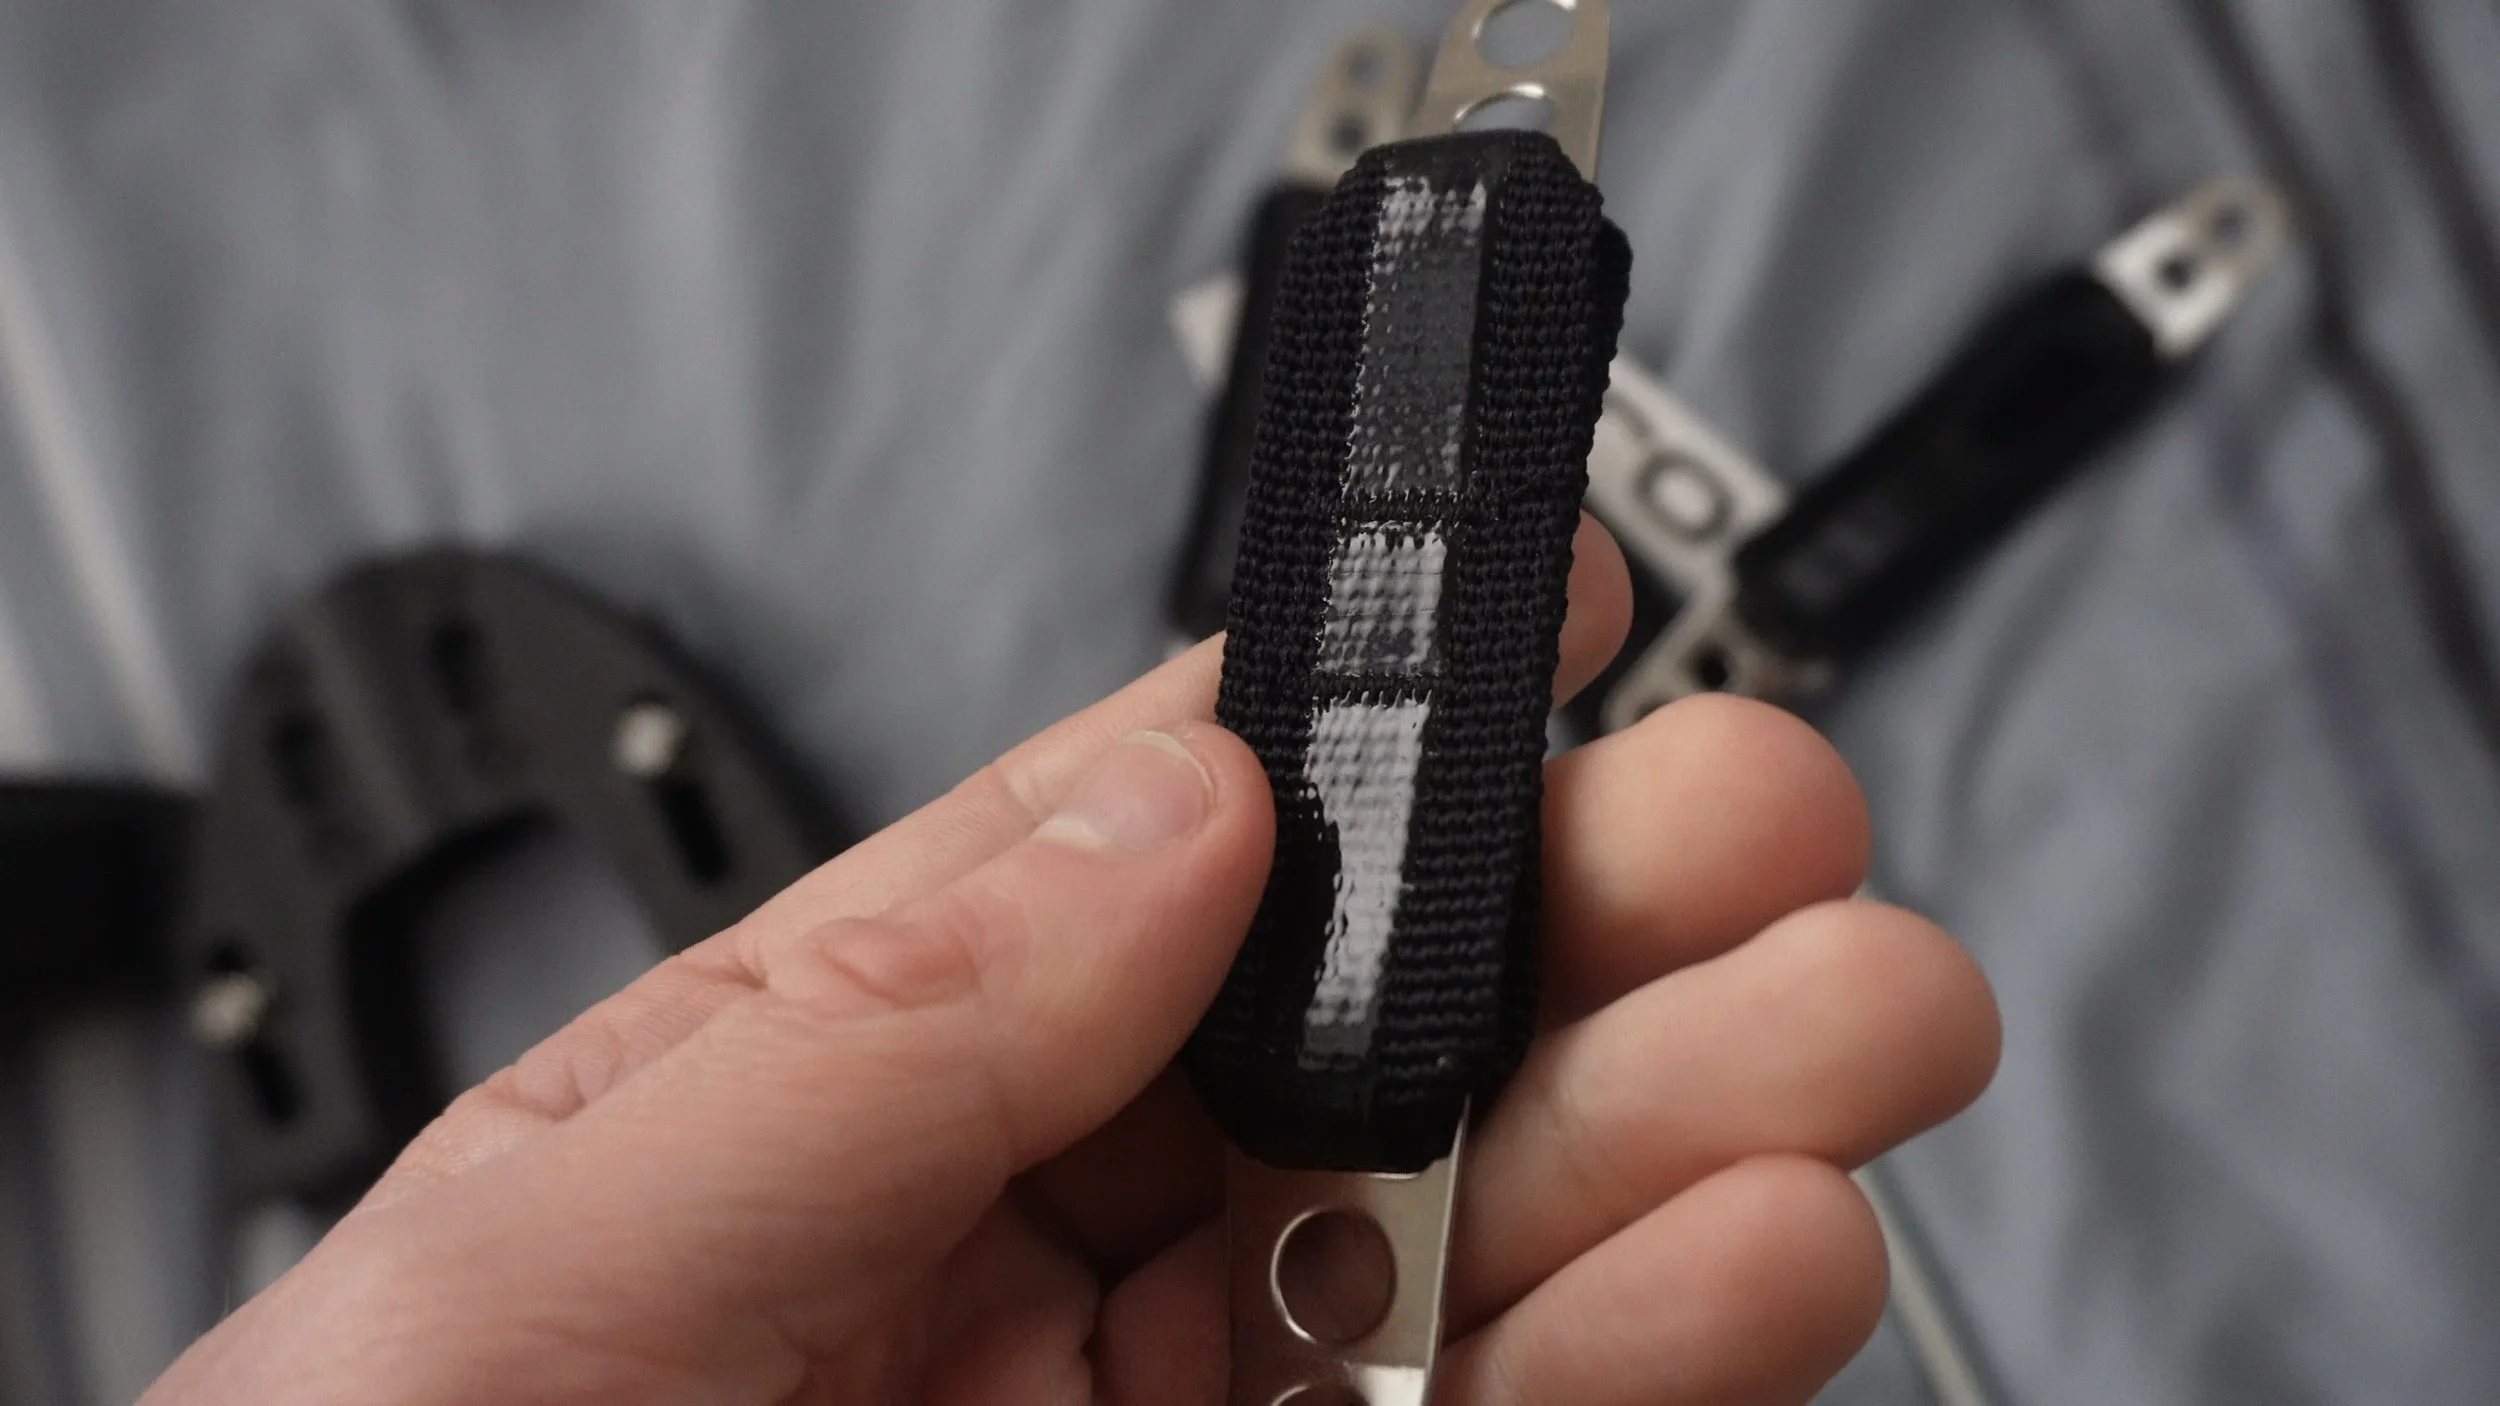
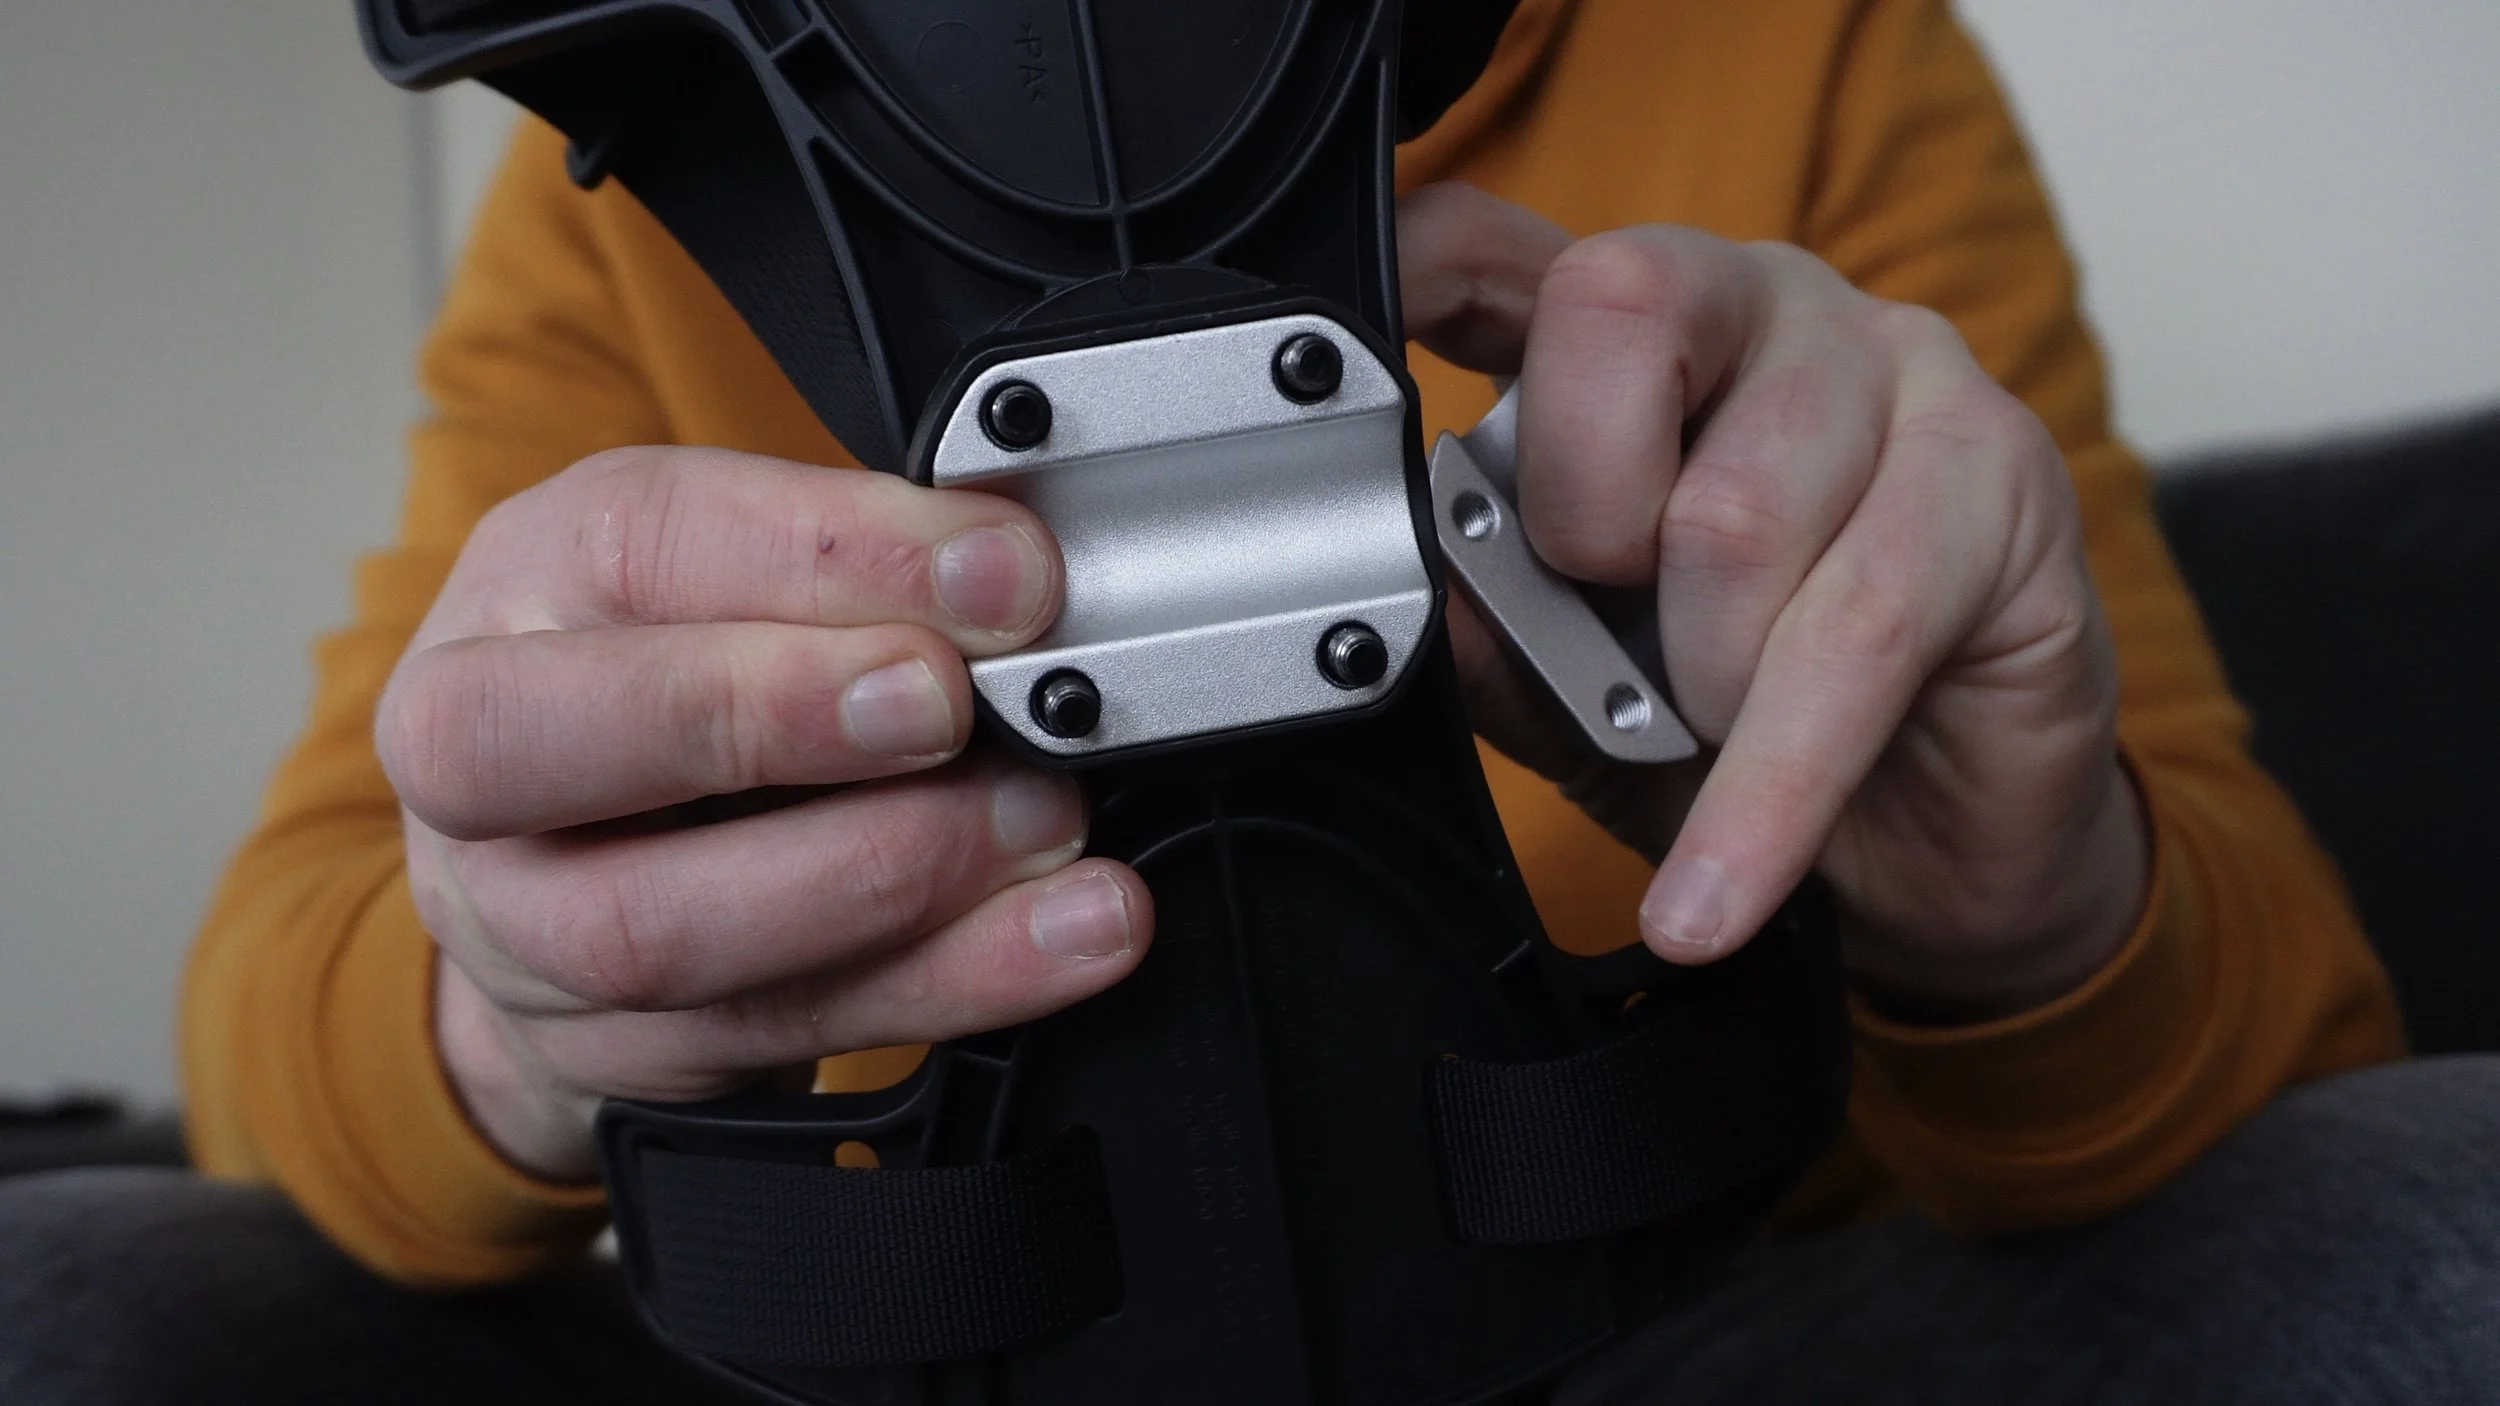
Inside the box is everything you need to get this onto your bike. The rack includes one cradle with two securing straps, a small pouch with a hex key, and four mounting straps with small metal holes that hook onto the mounting system. The straps also have a rubberised section to help stop them slipping.
You also get two clamp mounting bases that sit on each seat stay. These feel pretty solid, although they do seem to be made from some kind of plastic, so it’ll be interesting to see how they hold up after being bashed around by rocks and general trail use. The section that contacts the frame is made from thick rubber to help reduce paint damage.
Both the mounting bases and the straps are replaceable. Unfortunately, no spare parts are included in the box, which is a bit of a let-down. It would be nice if companies included a couple of spares, especially with something like a rack where it’s a good idea to carry backups when you’re out riding. These have to be bought separately for around £20.
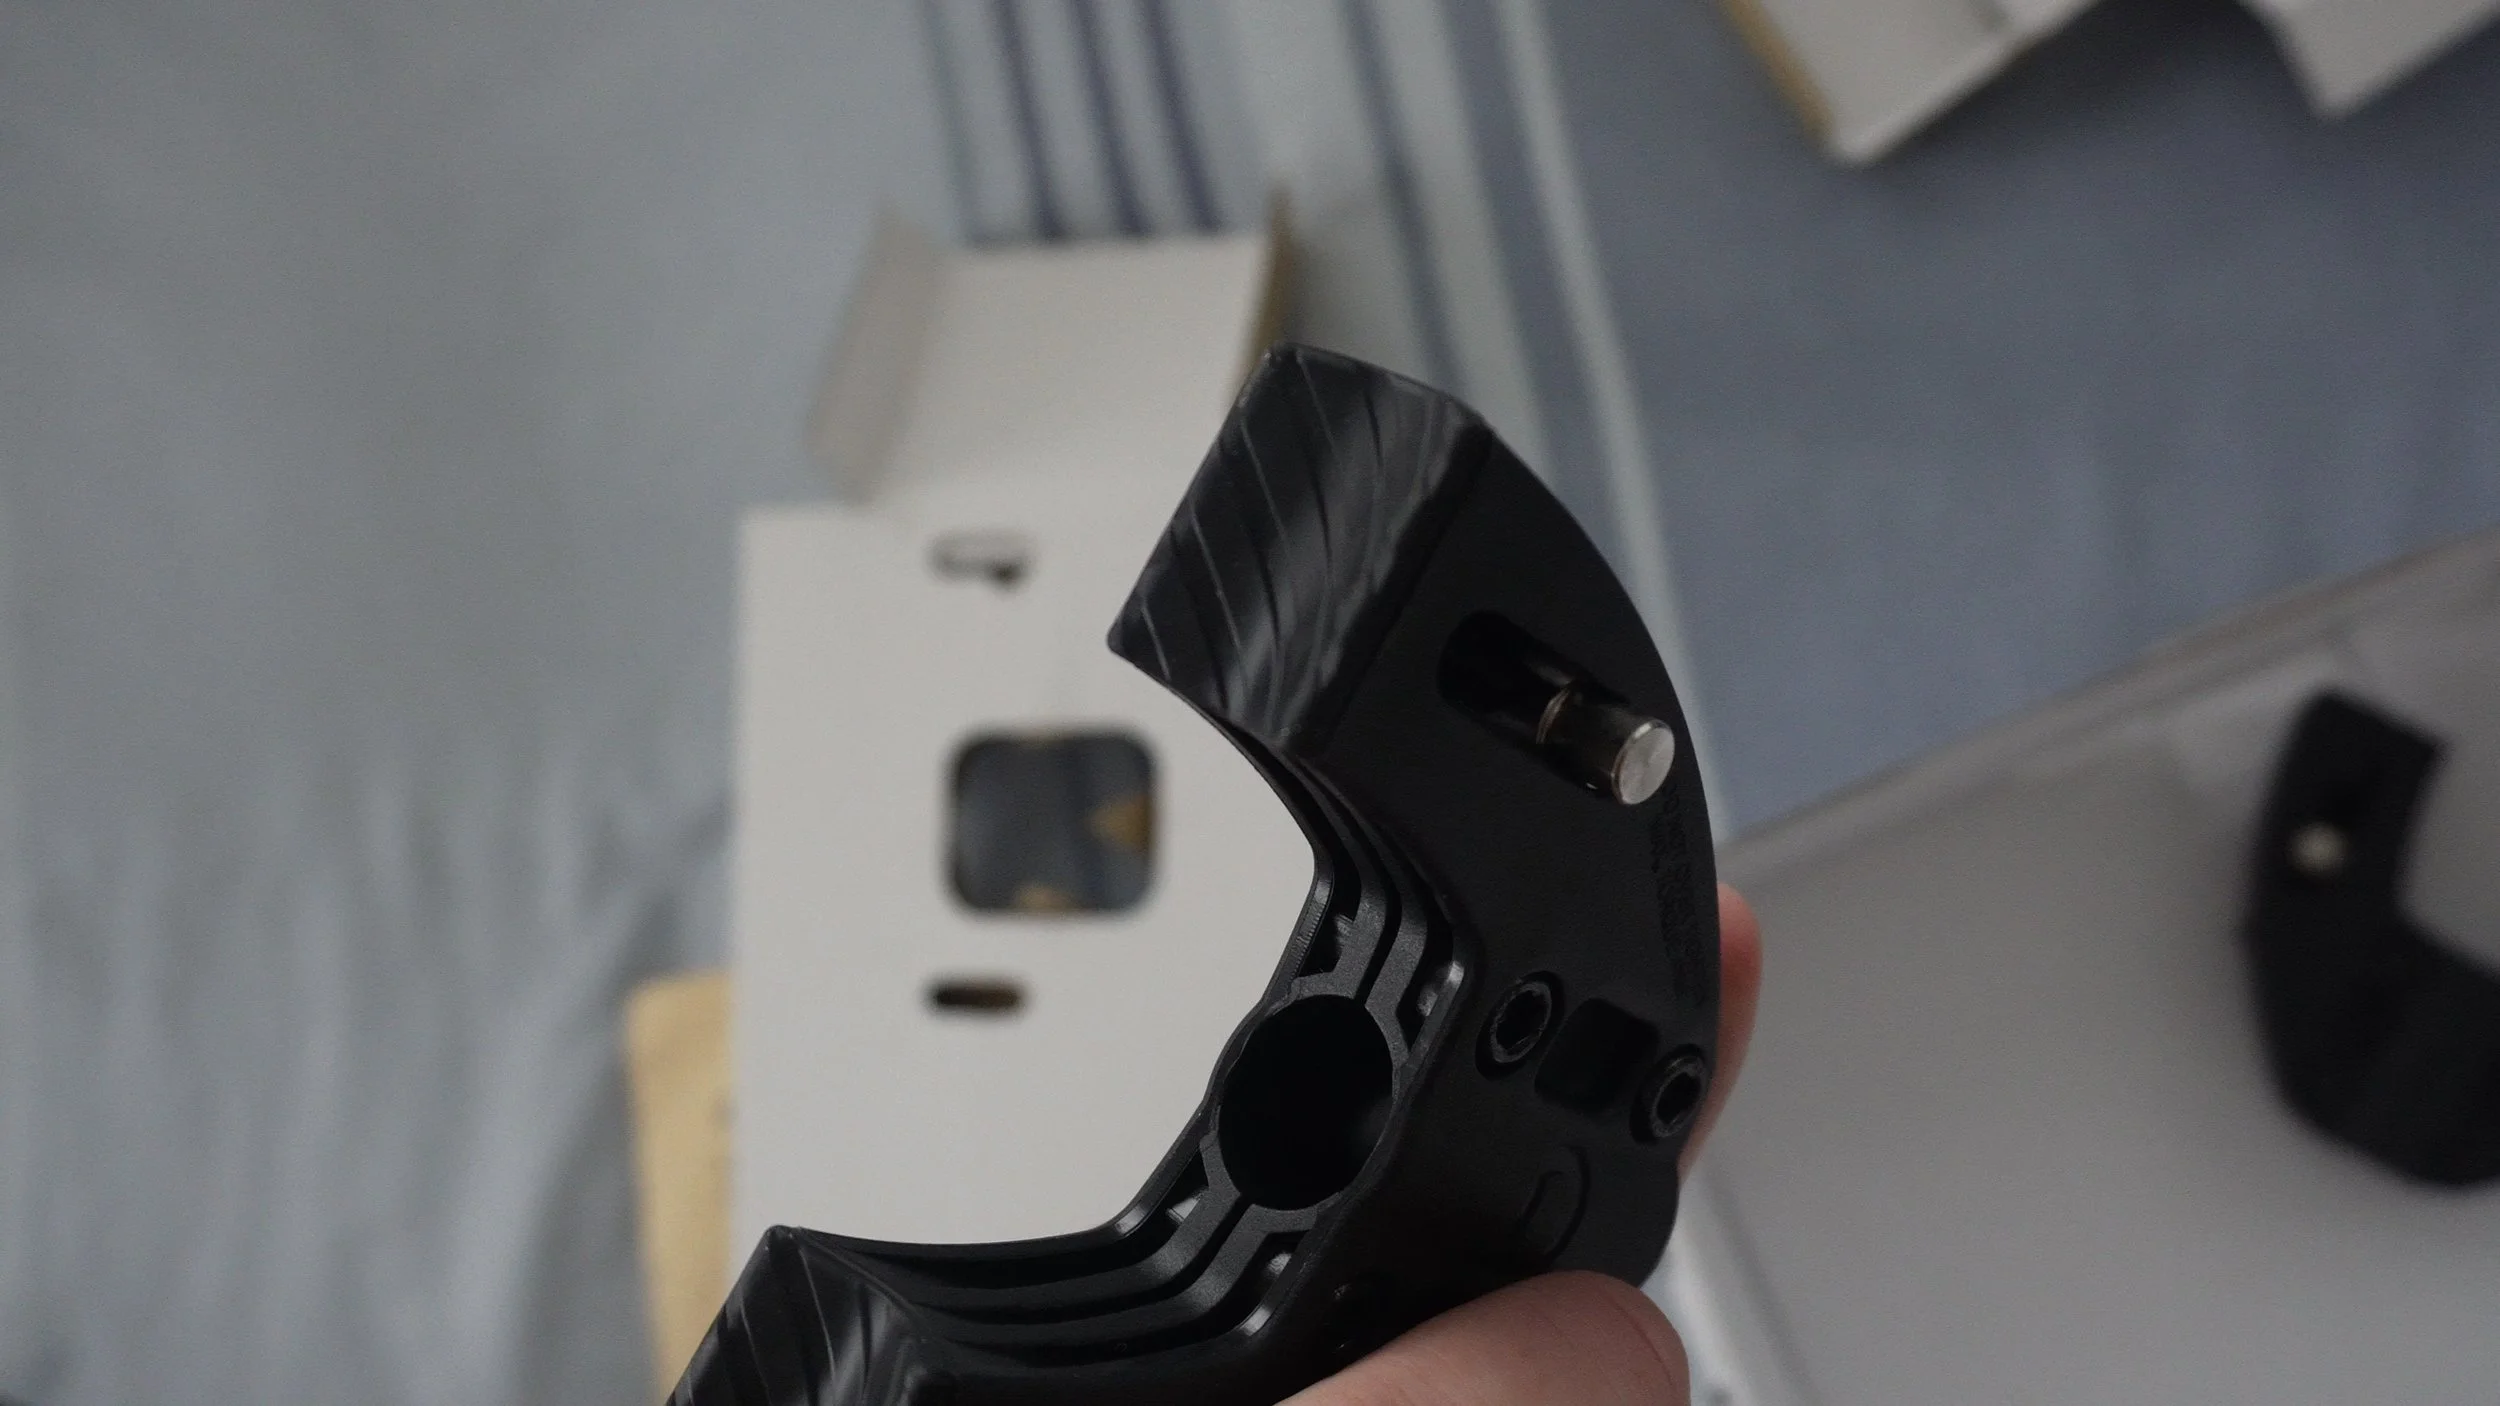
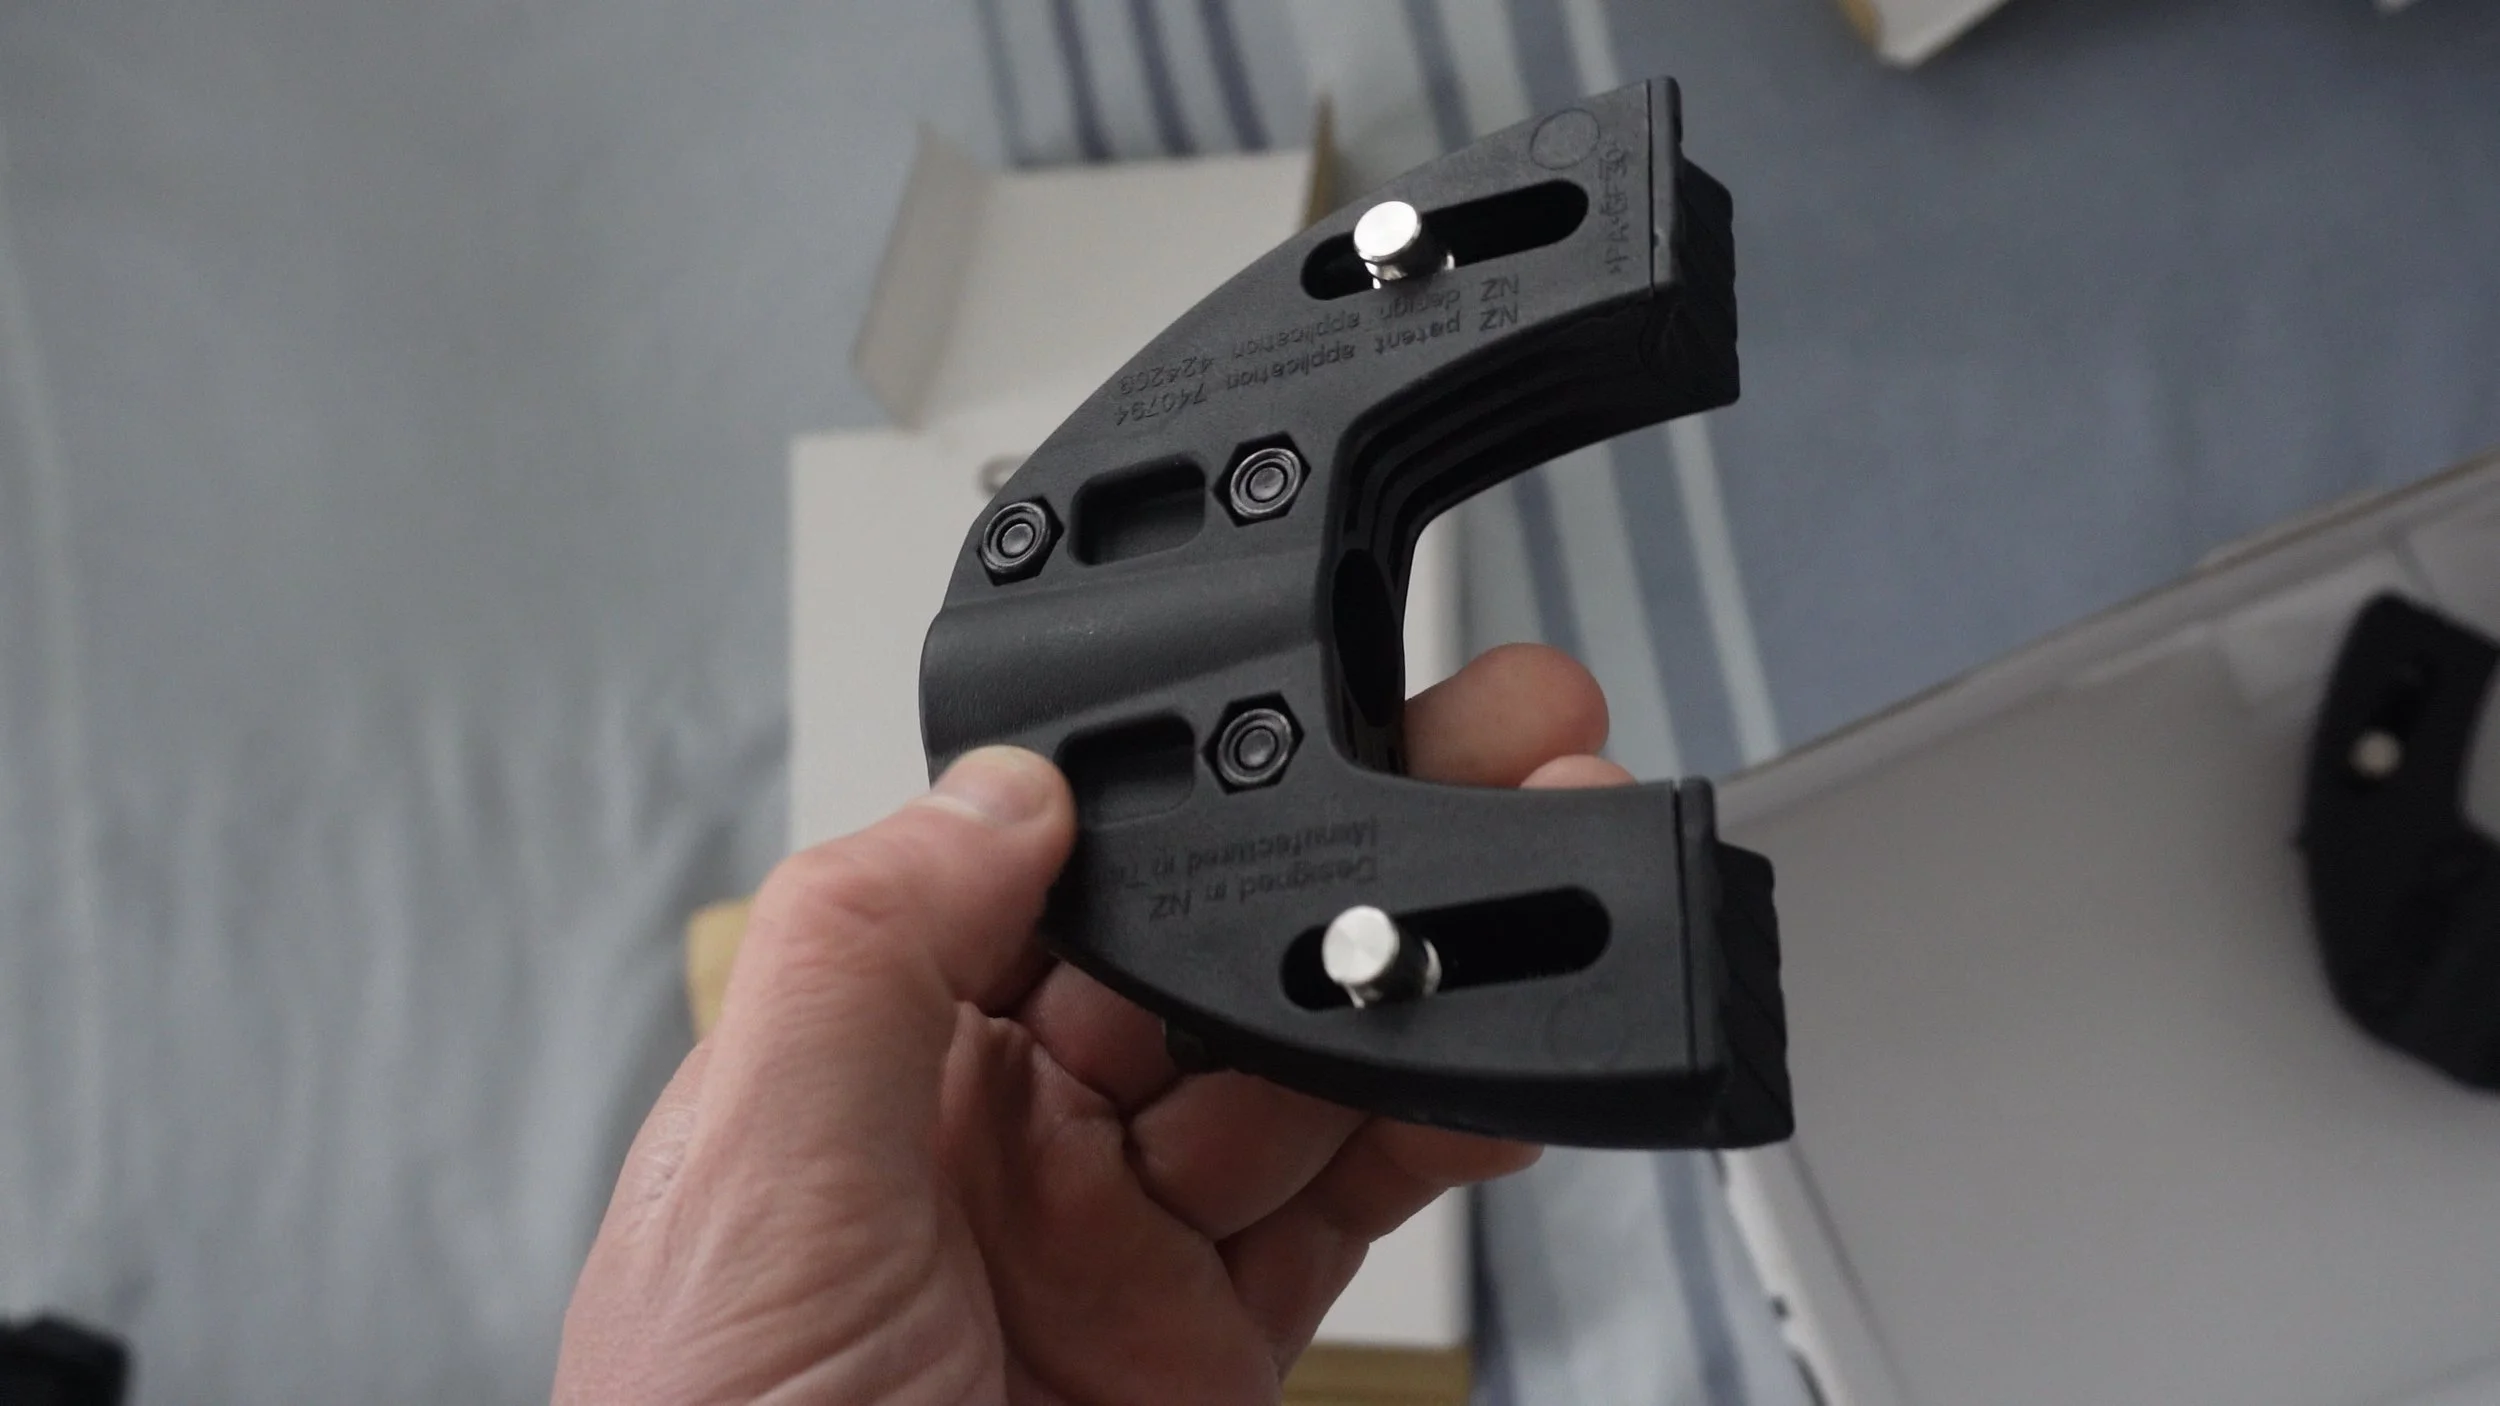
The final thing in the box is the rack tubing itself.


How to install to frame
It’s a pretty simple design, and I didn’t need to refer to the instructions at all.
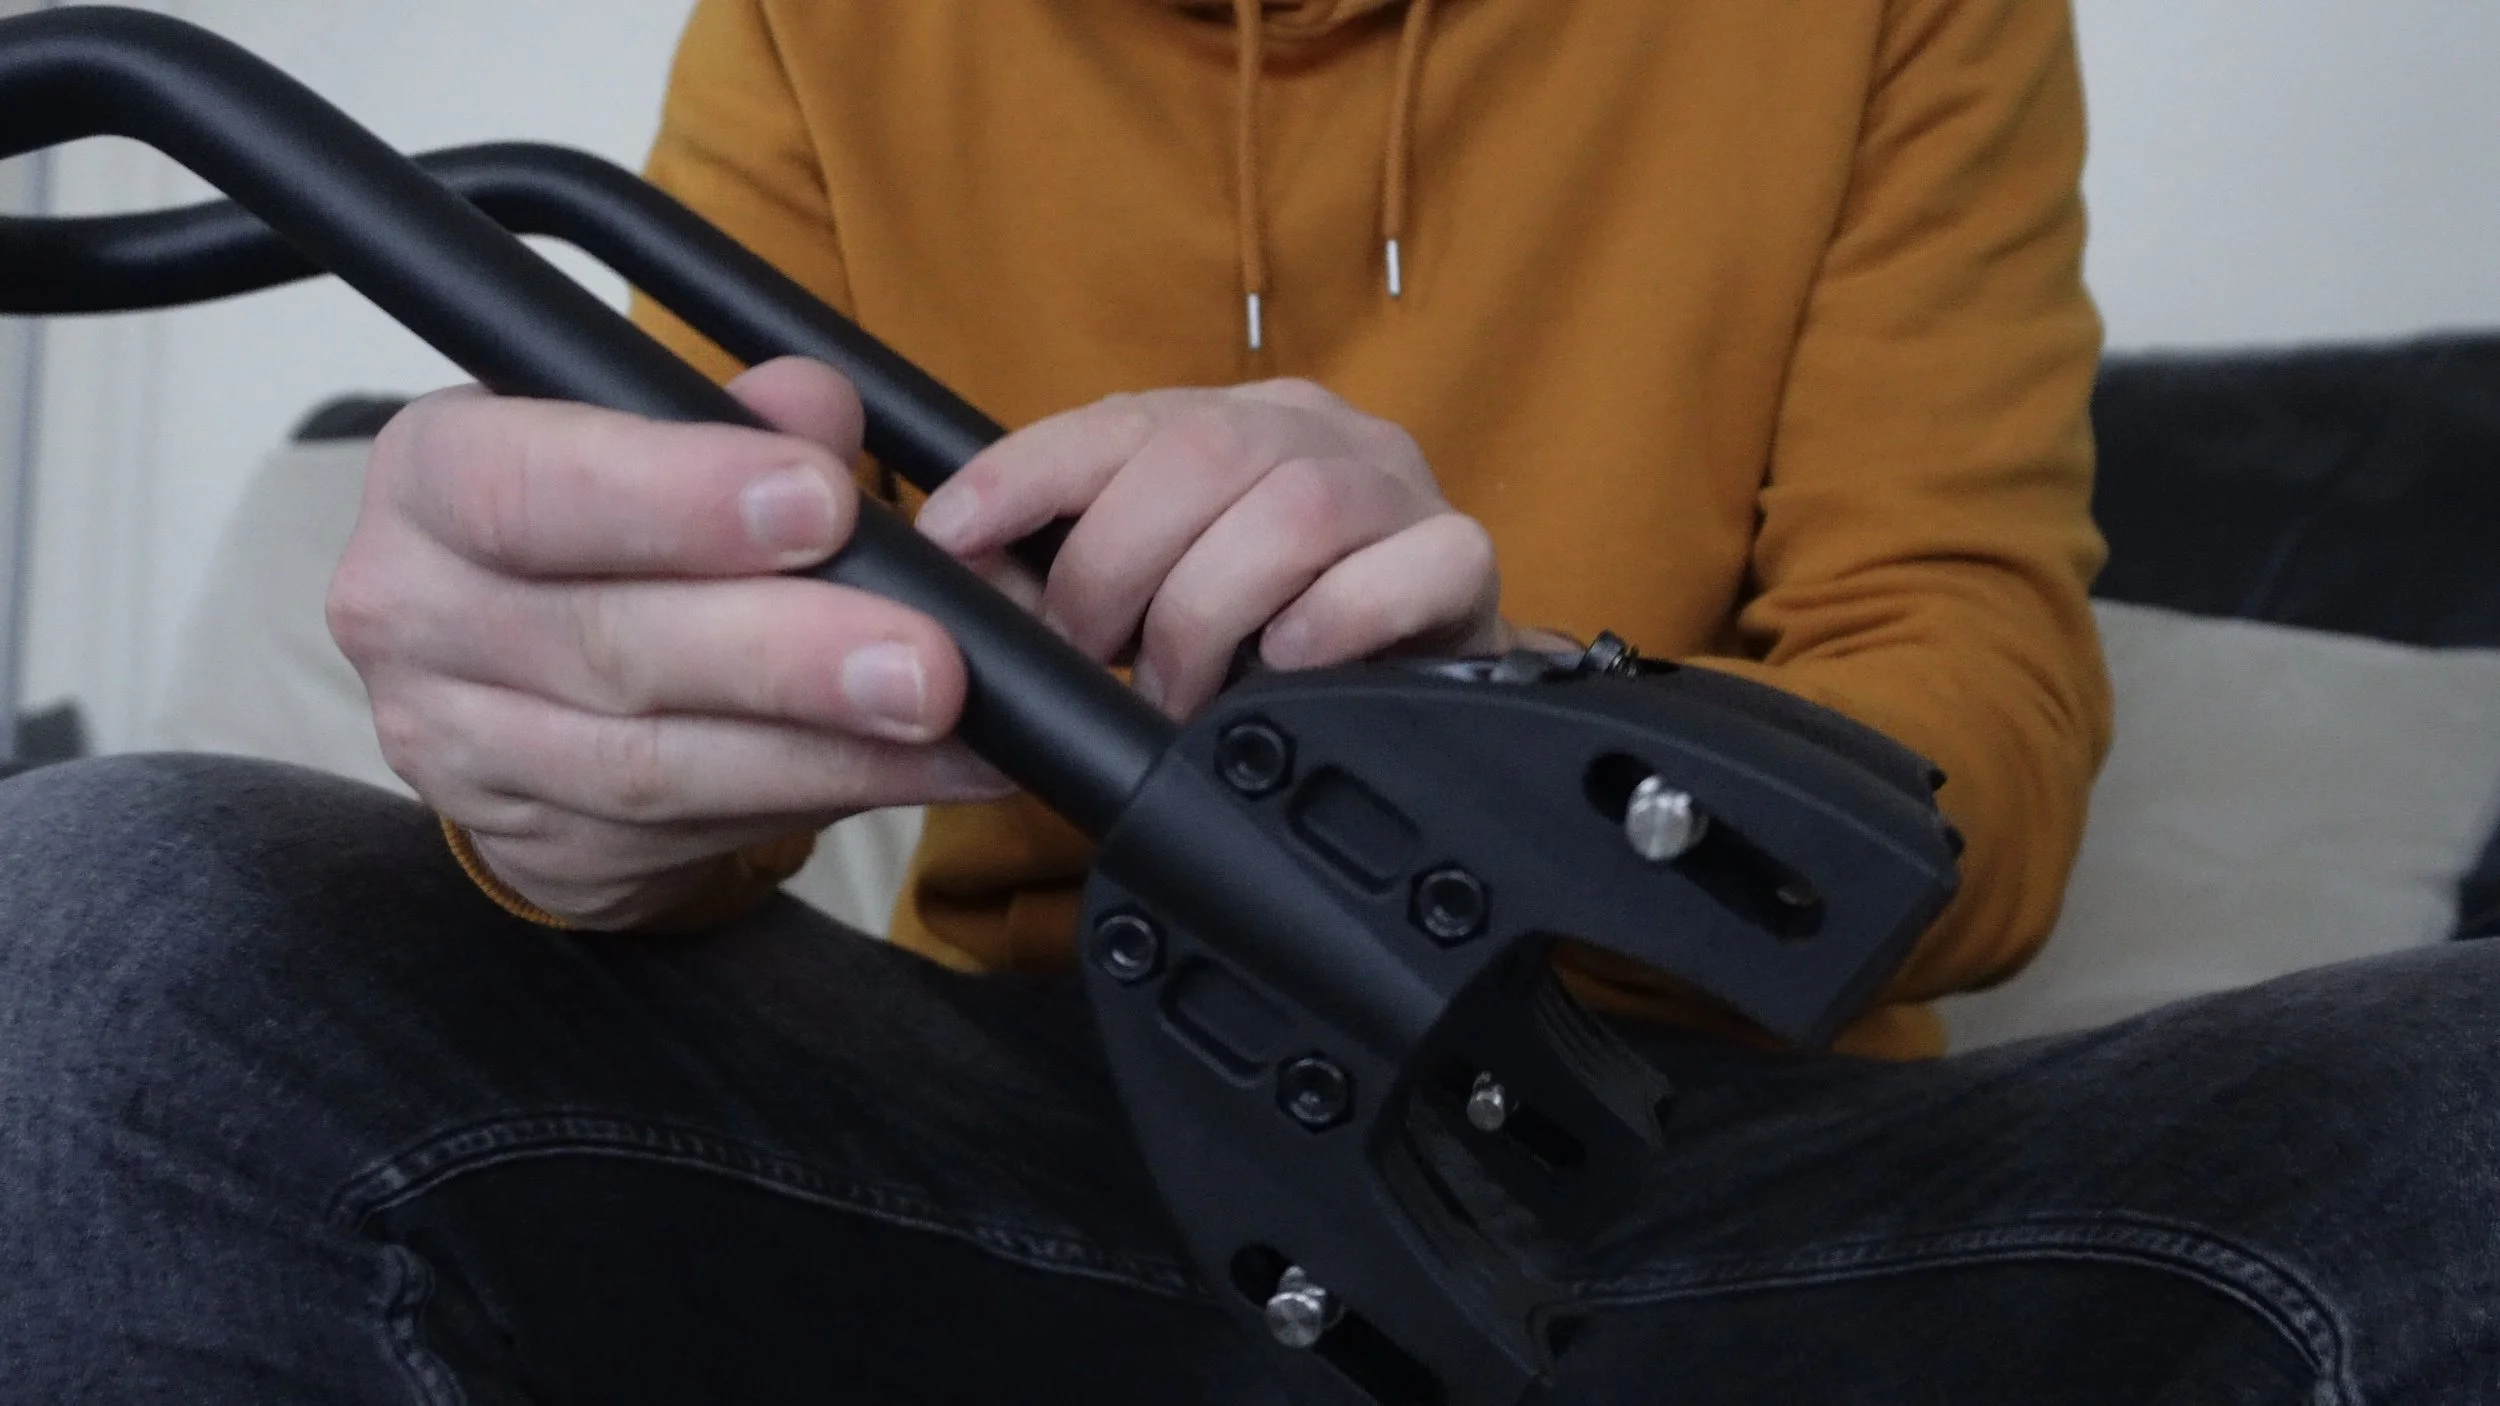
The first step is attaching the mounting feet to the rack itself. There are four Allen key bolts on the sides of the feet, and once you loosen those, you can slide the rack tubing into place. Even with the bolts fully loosened, it still takes a bit of force and twisting to get the rack through.
How close you want the cradle to sit above the wheel will depend on your bike, so it’s best not to fully tighten those four bolts just yet.
The next step is fitting the cradle. The cradle can be mounted in different locations around the rack, but as I’m only using one cradle, I want it positioned directly above the wheel. The mounting system here is very similar to attaching a handlebar to a stem. You remove the four bolts, take off the plate, position the cradle, and then clamp it back down, tightening the bolts evenly.
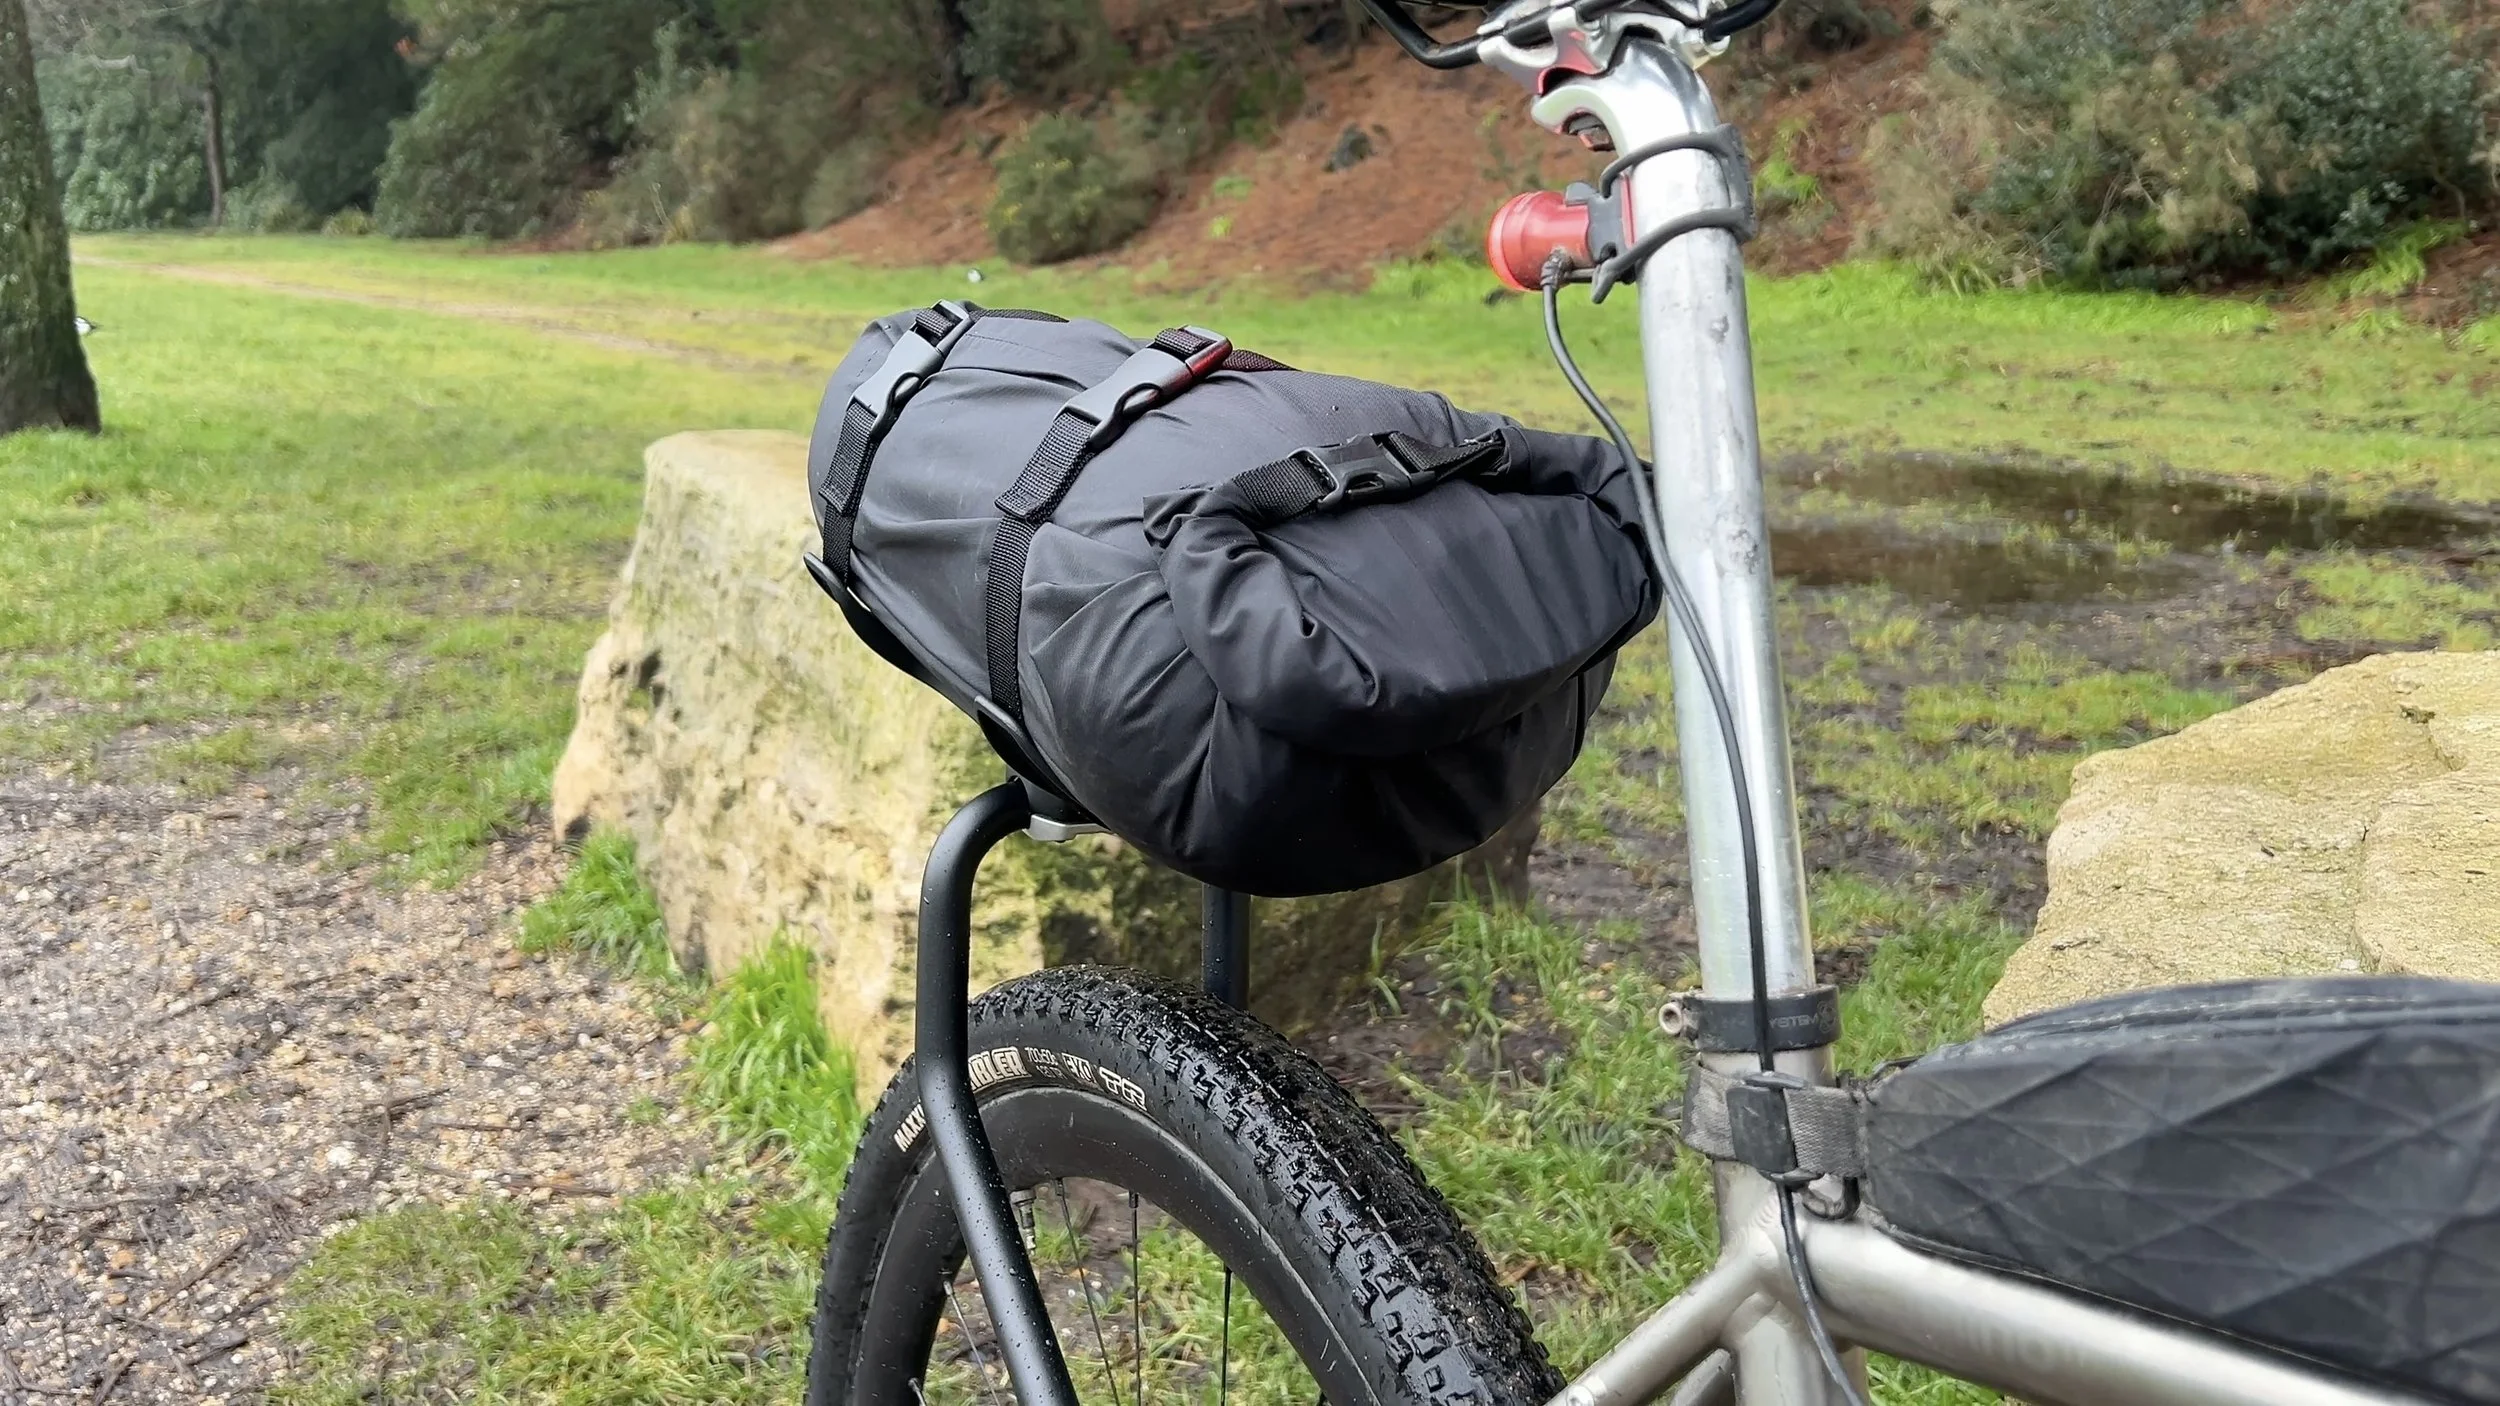
The cradle can be mounted in either direction, so your bag can sit perpendicular to the wheel or, like I’m doing, in line with the wheel rather than sideways.
Just as a side note, the rack tubing itself can also be mounted in either direction. How you set this up will depend on the bike you’re fitting it to. If you mount it the opposite way to how I have, it’ll sit further back, which might be useful if you’re running a dropper post. It really comes down to your seat stays and bike geometry.
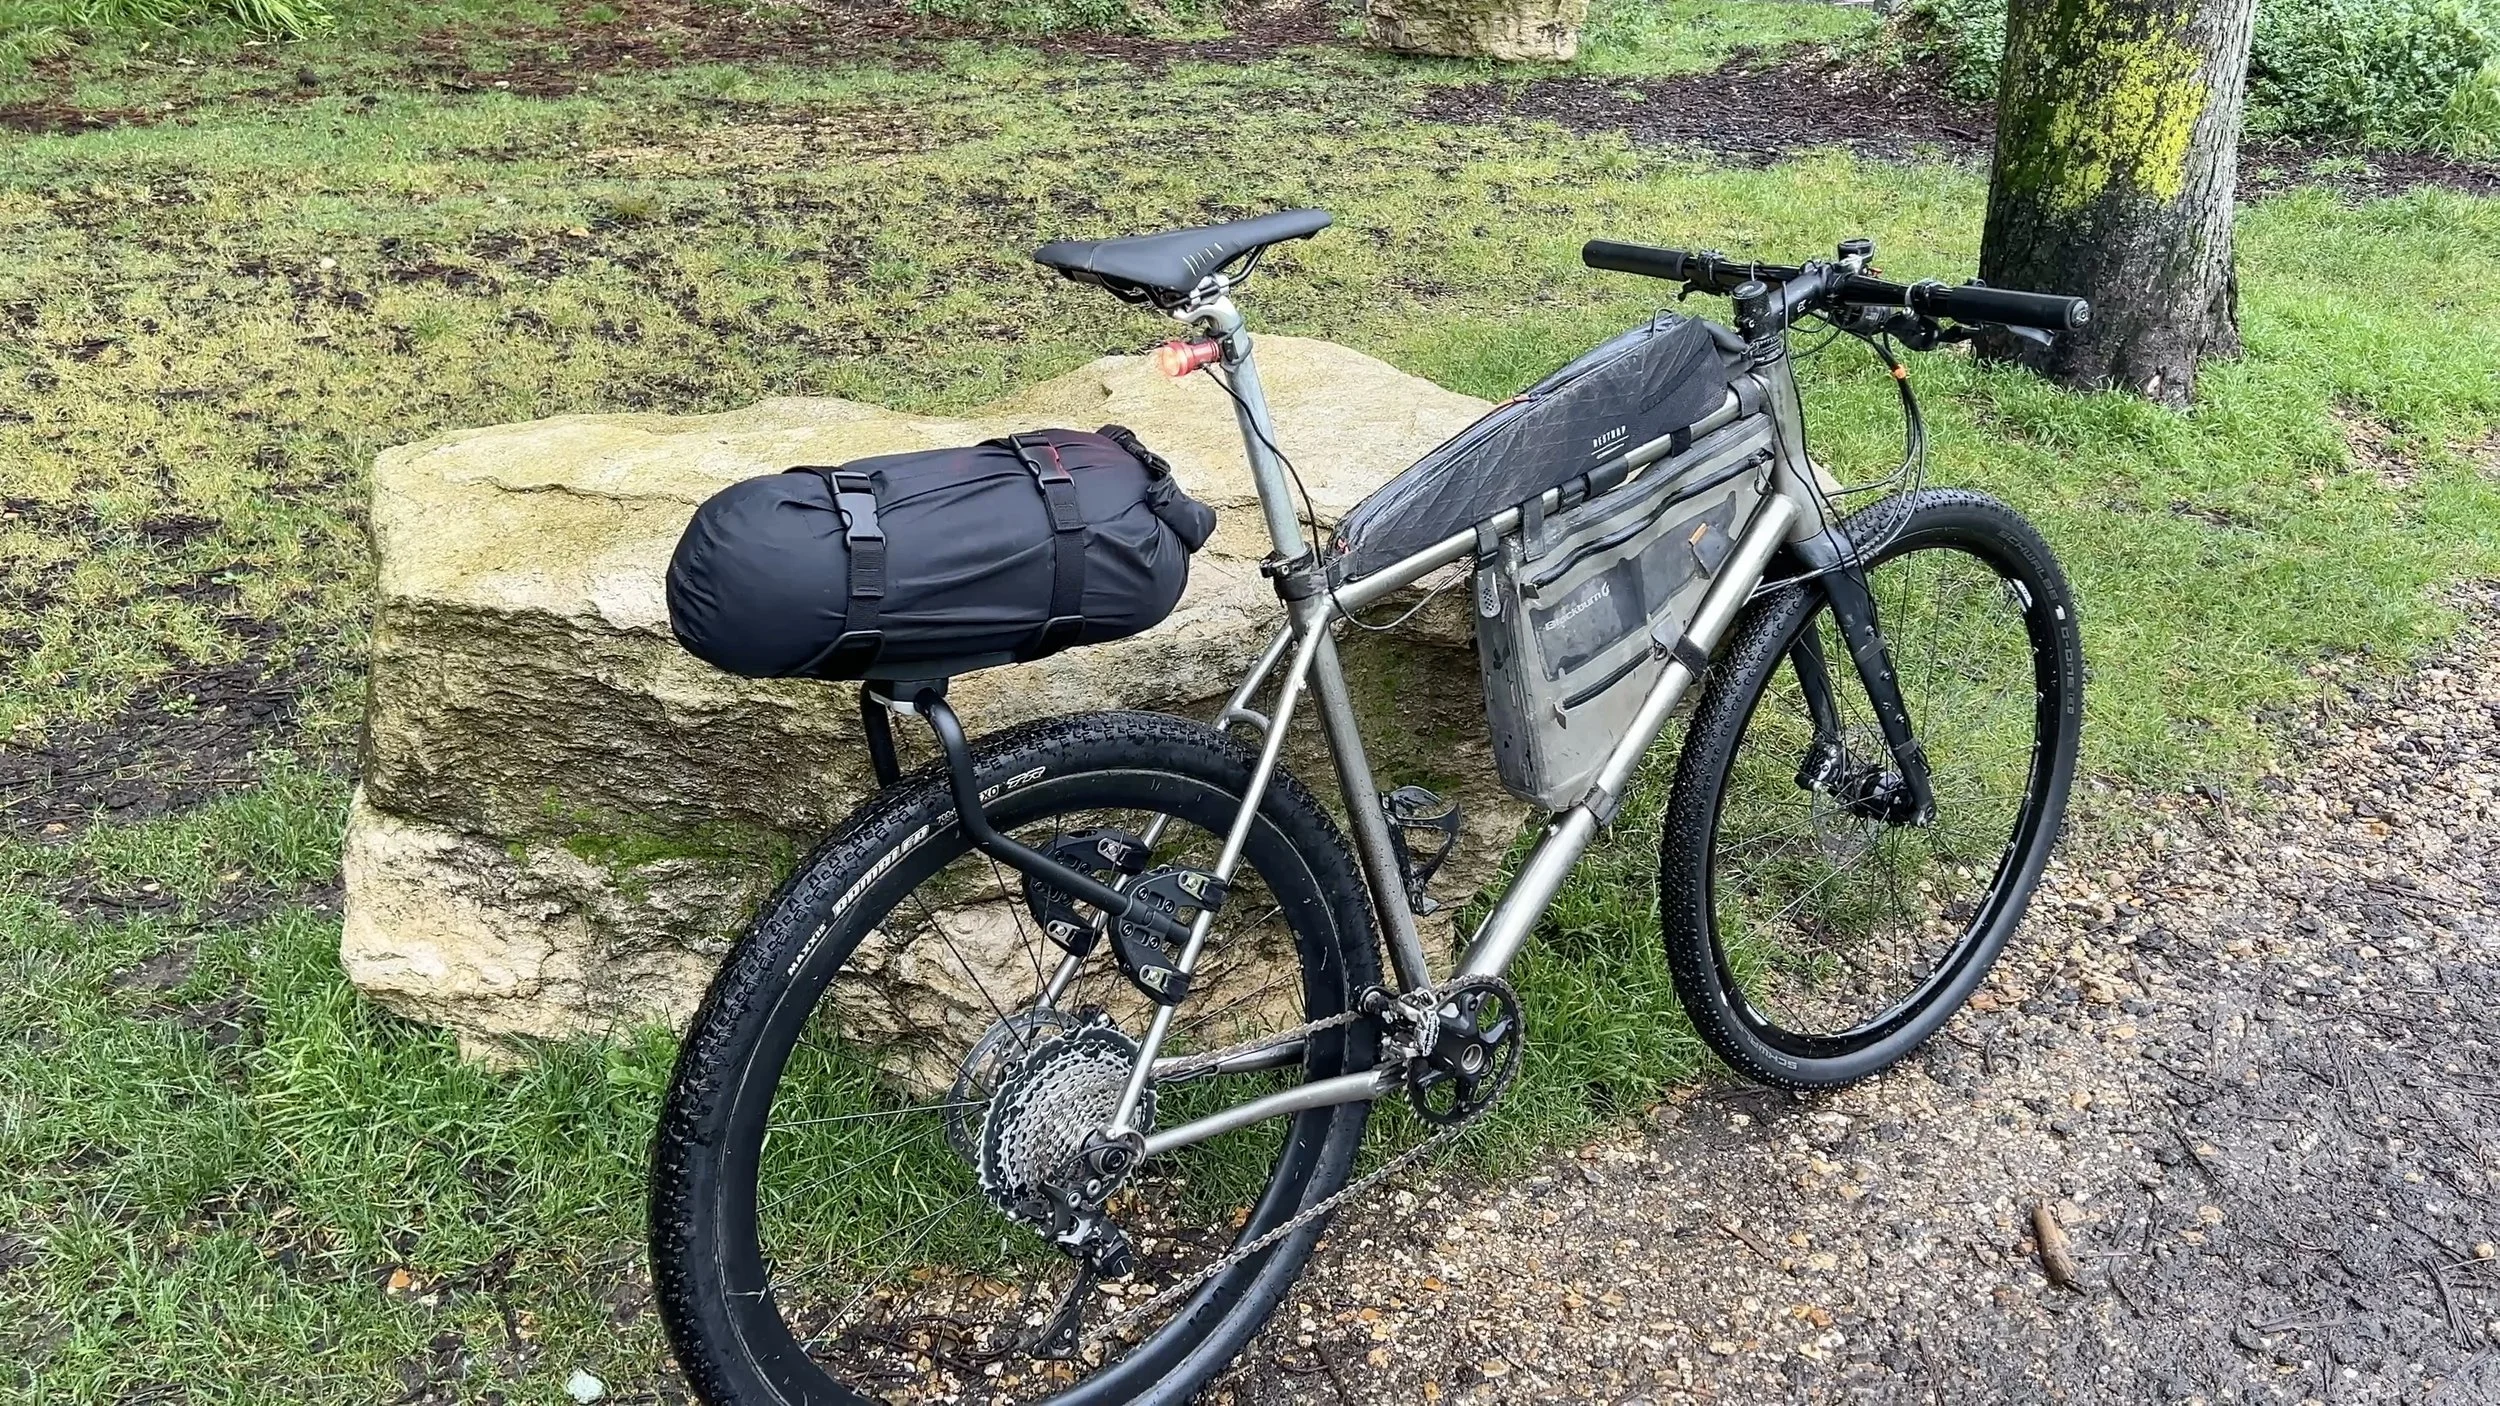
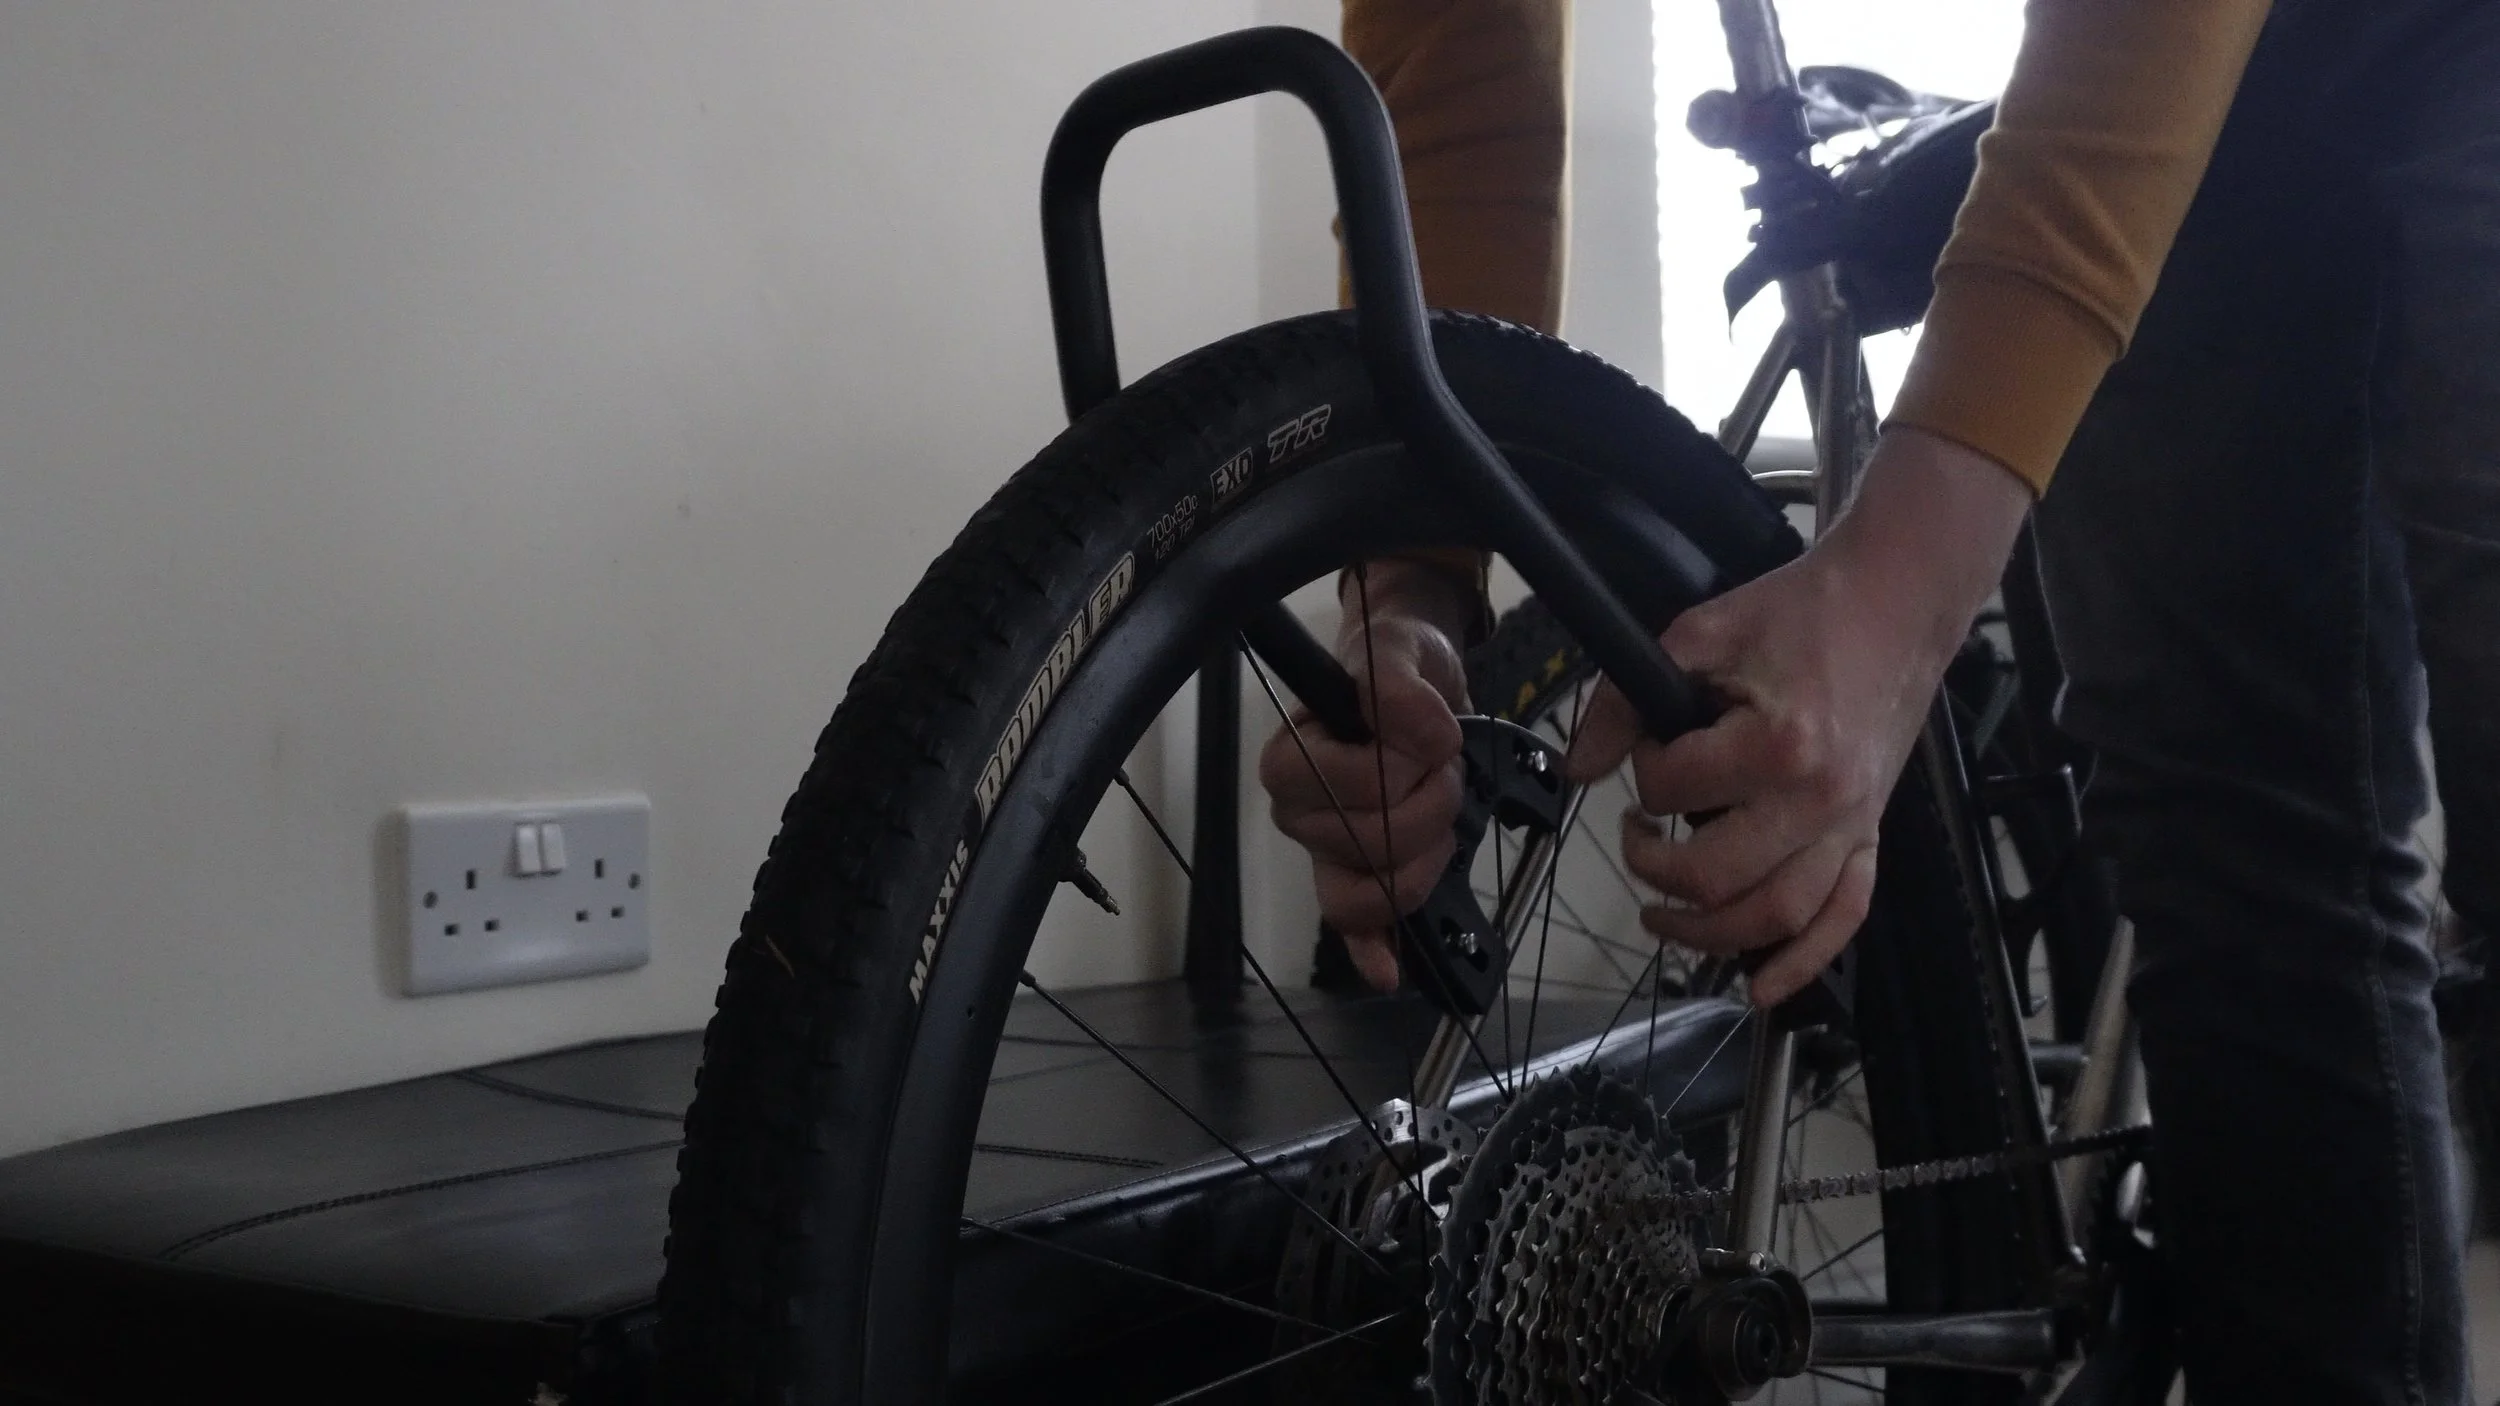
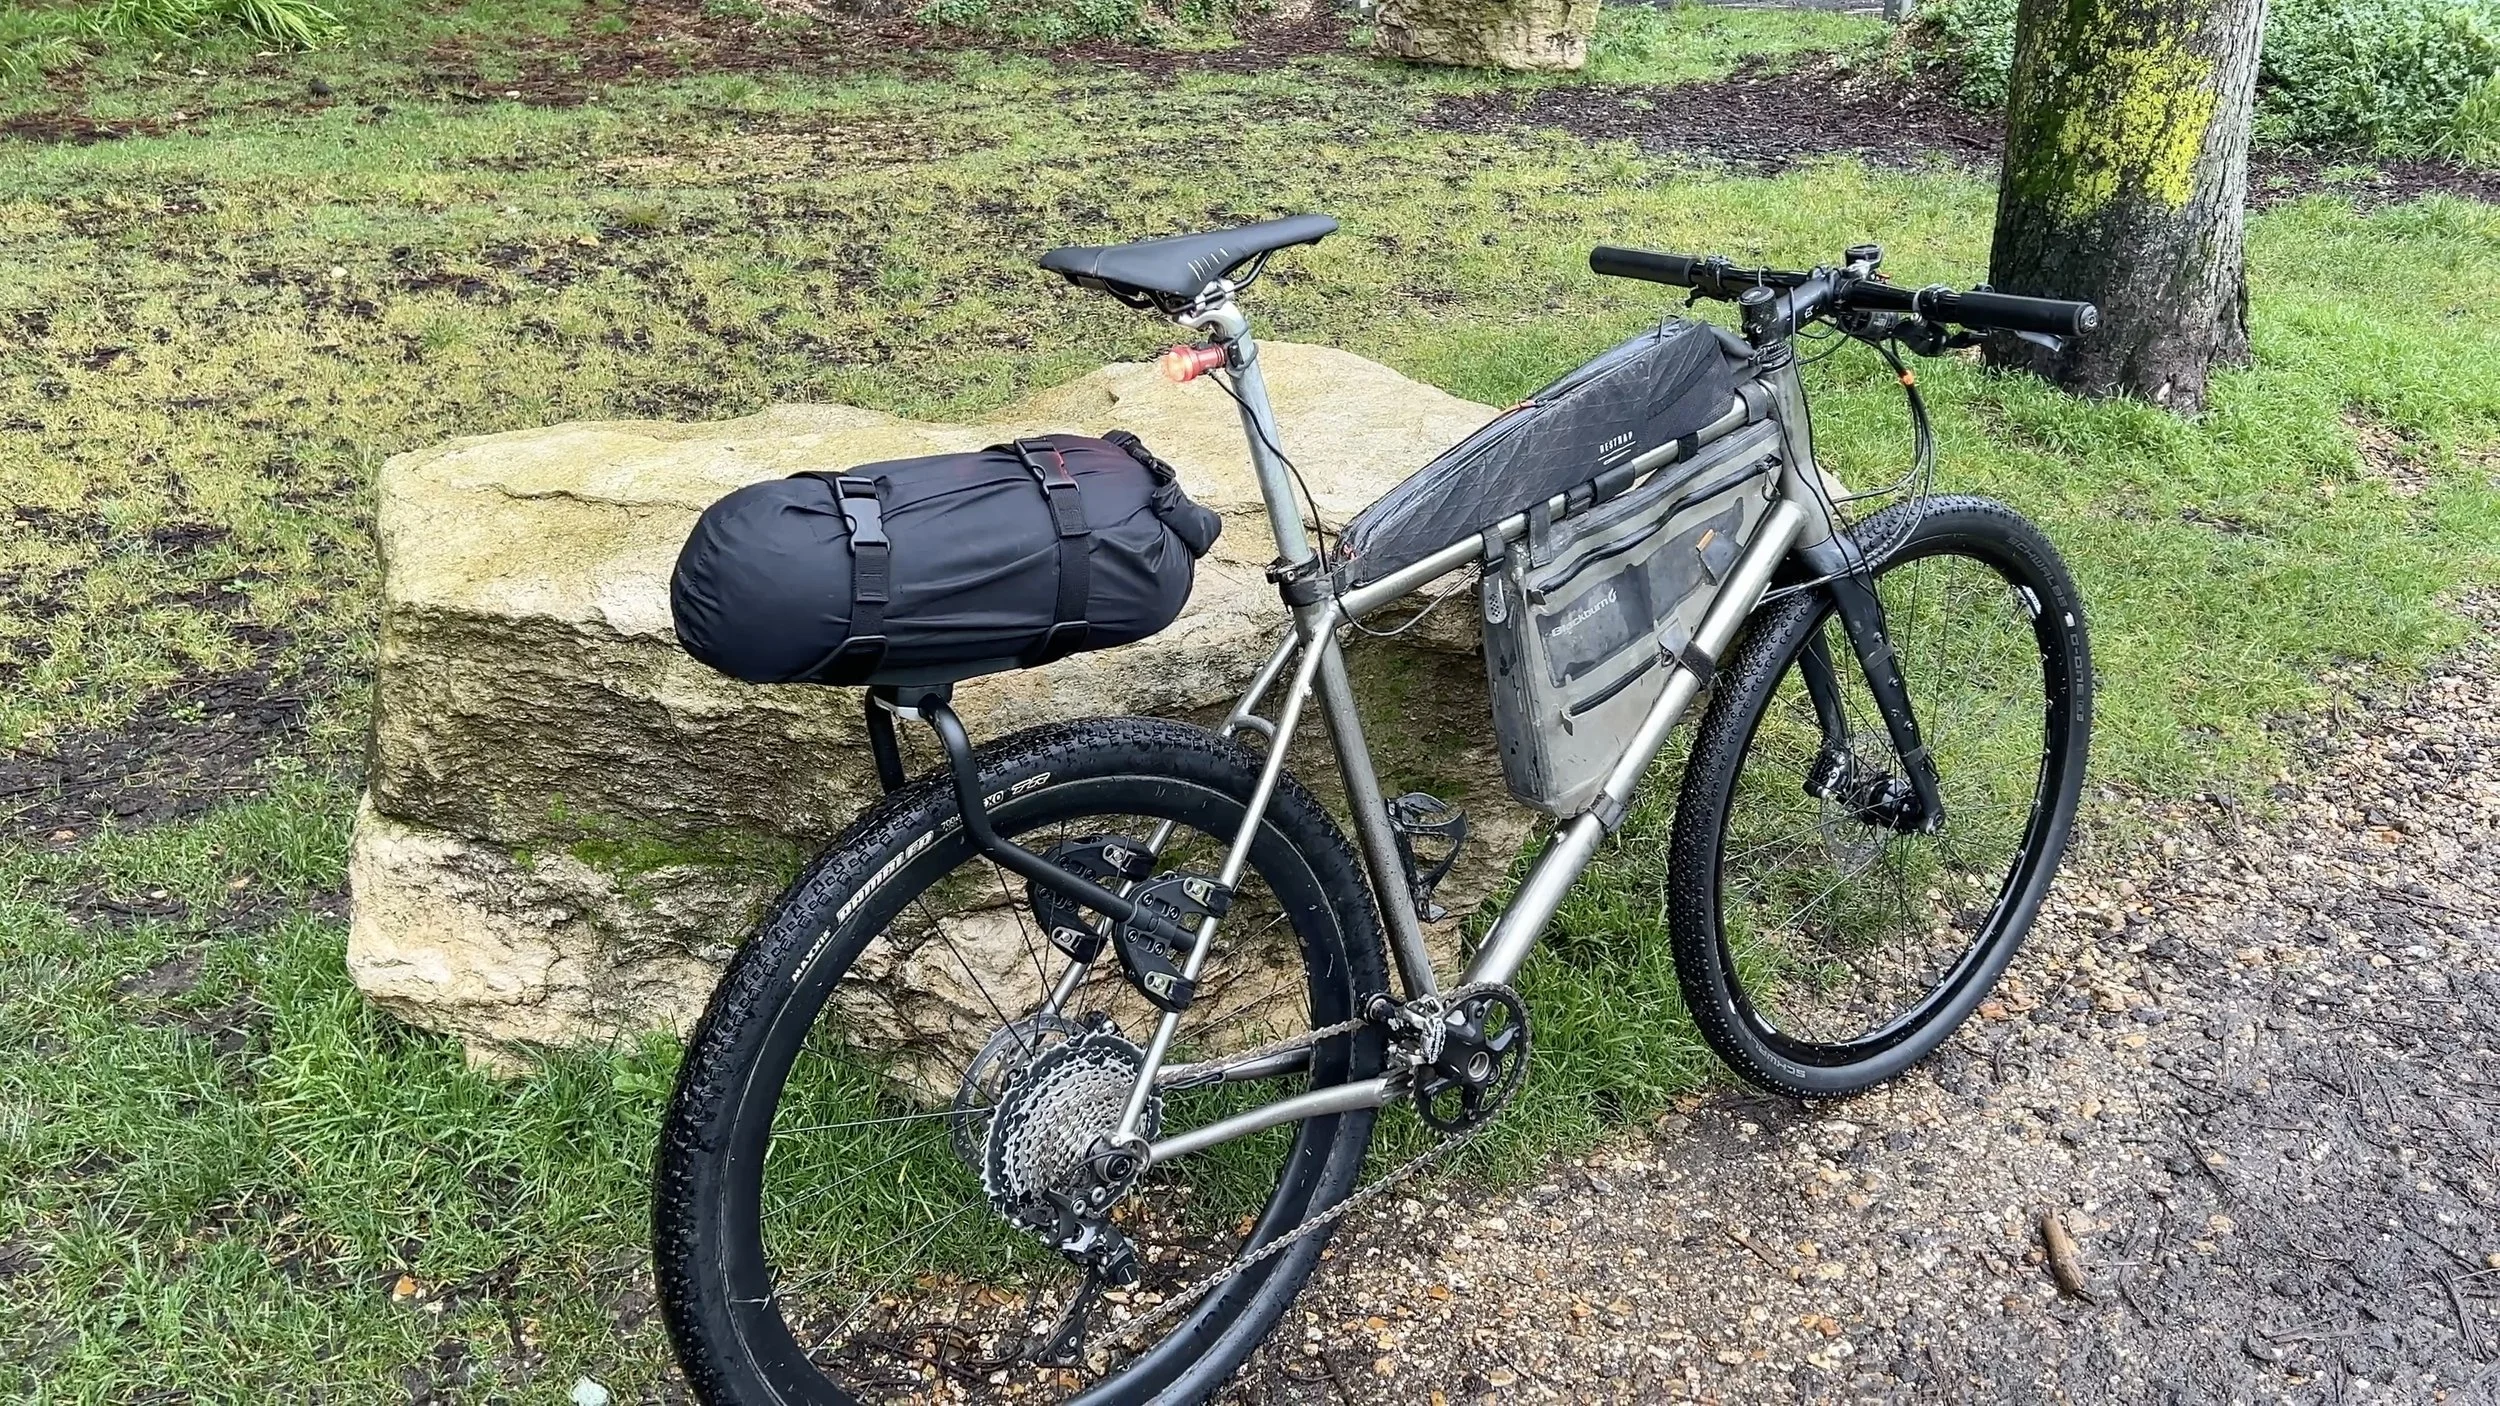
Attaching this to the frame was fairly simple, but definitely not as quick as fitting a seatpost pack. I’m installing this on my gravel bike, the Sonder Camino V3, but part of the reason for giving this rack a go is that it should work across all three of my bikes. That’s the Bombtrack with 29 by 2.6 inch tyres, the Sonder with 700 by 50mm tyres, and even my road bike if I need it to.
There’s a bit of flex built into the tubing, which is important for making it fit different bikes. To get it onto the Sonder, I need to squeeze it in slightly. The first thing to do is align the angle of the rack feet with the seat stays and roughly position where you want the rack to sit.
Depending on the bike, it’s probably a good idea to use some frame protection like helicopter tape to prevent paint damage. As this is going on a titanium bike, I’m not bothering, as one of the nice things about titanium is that marks usually buff out.
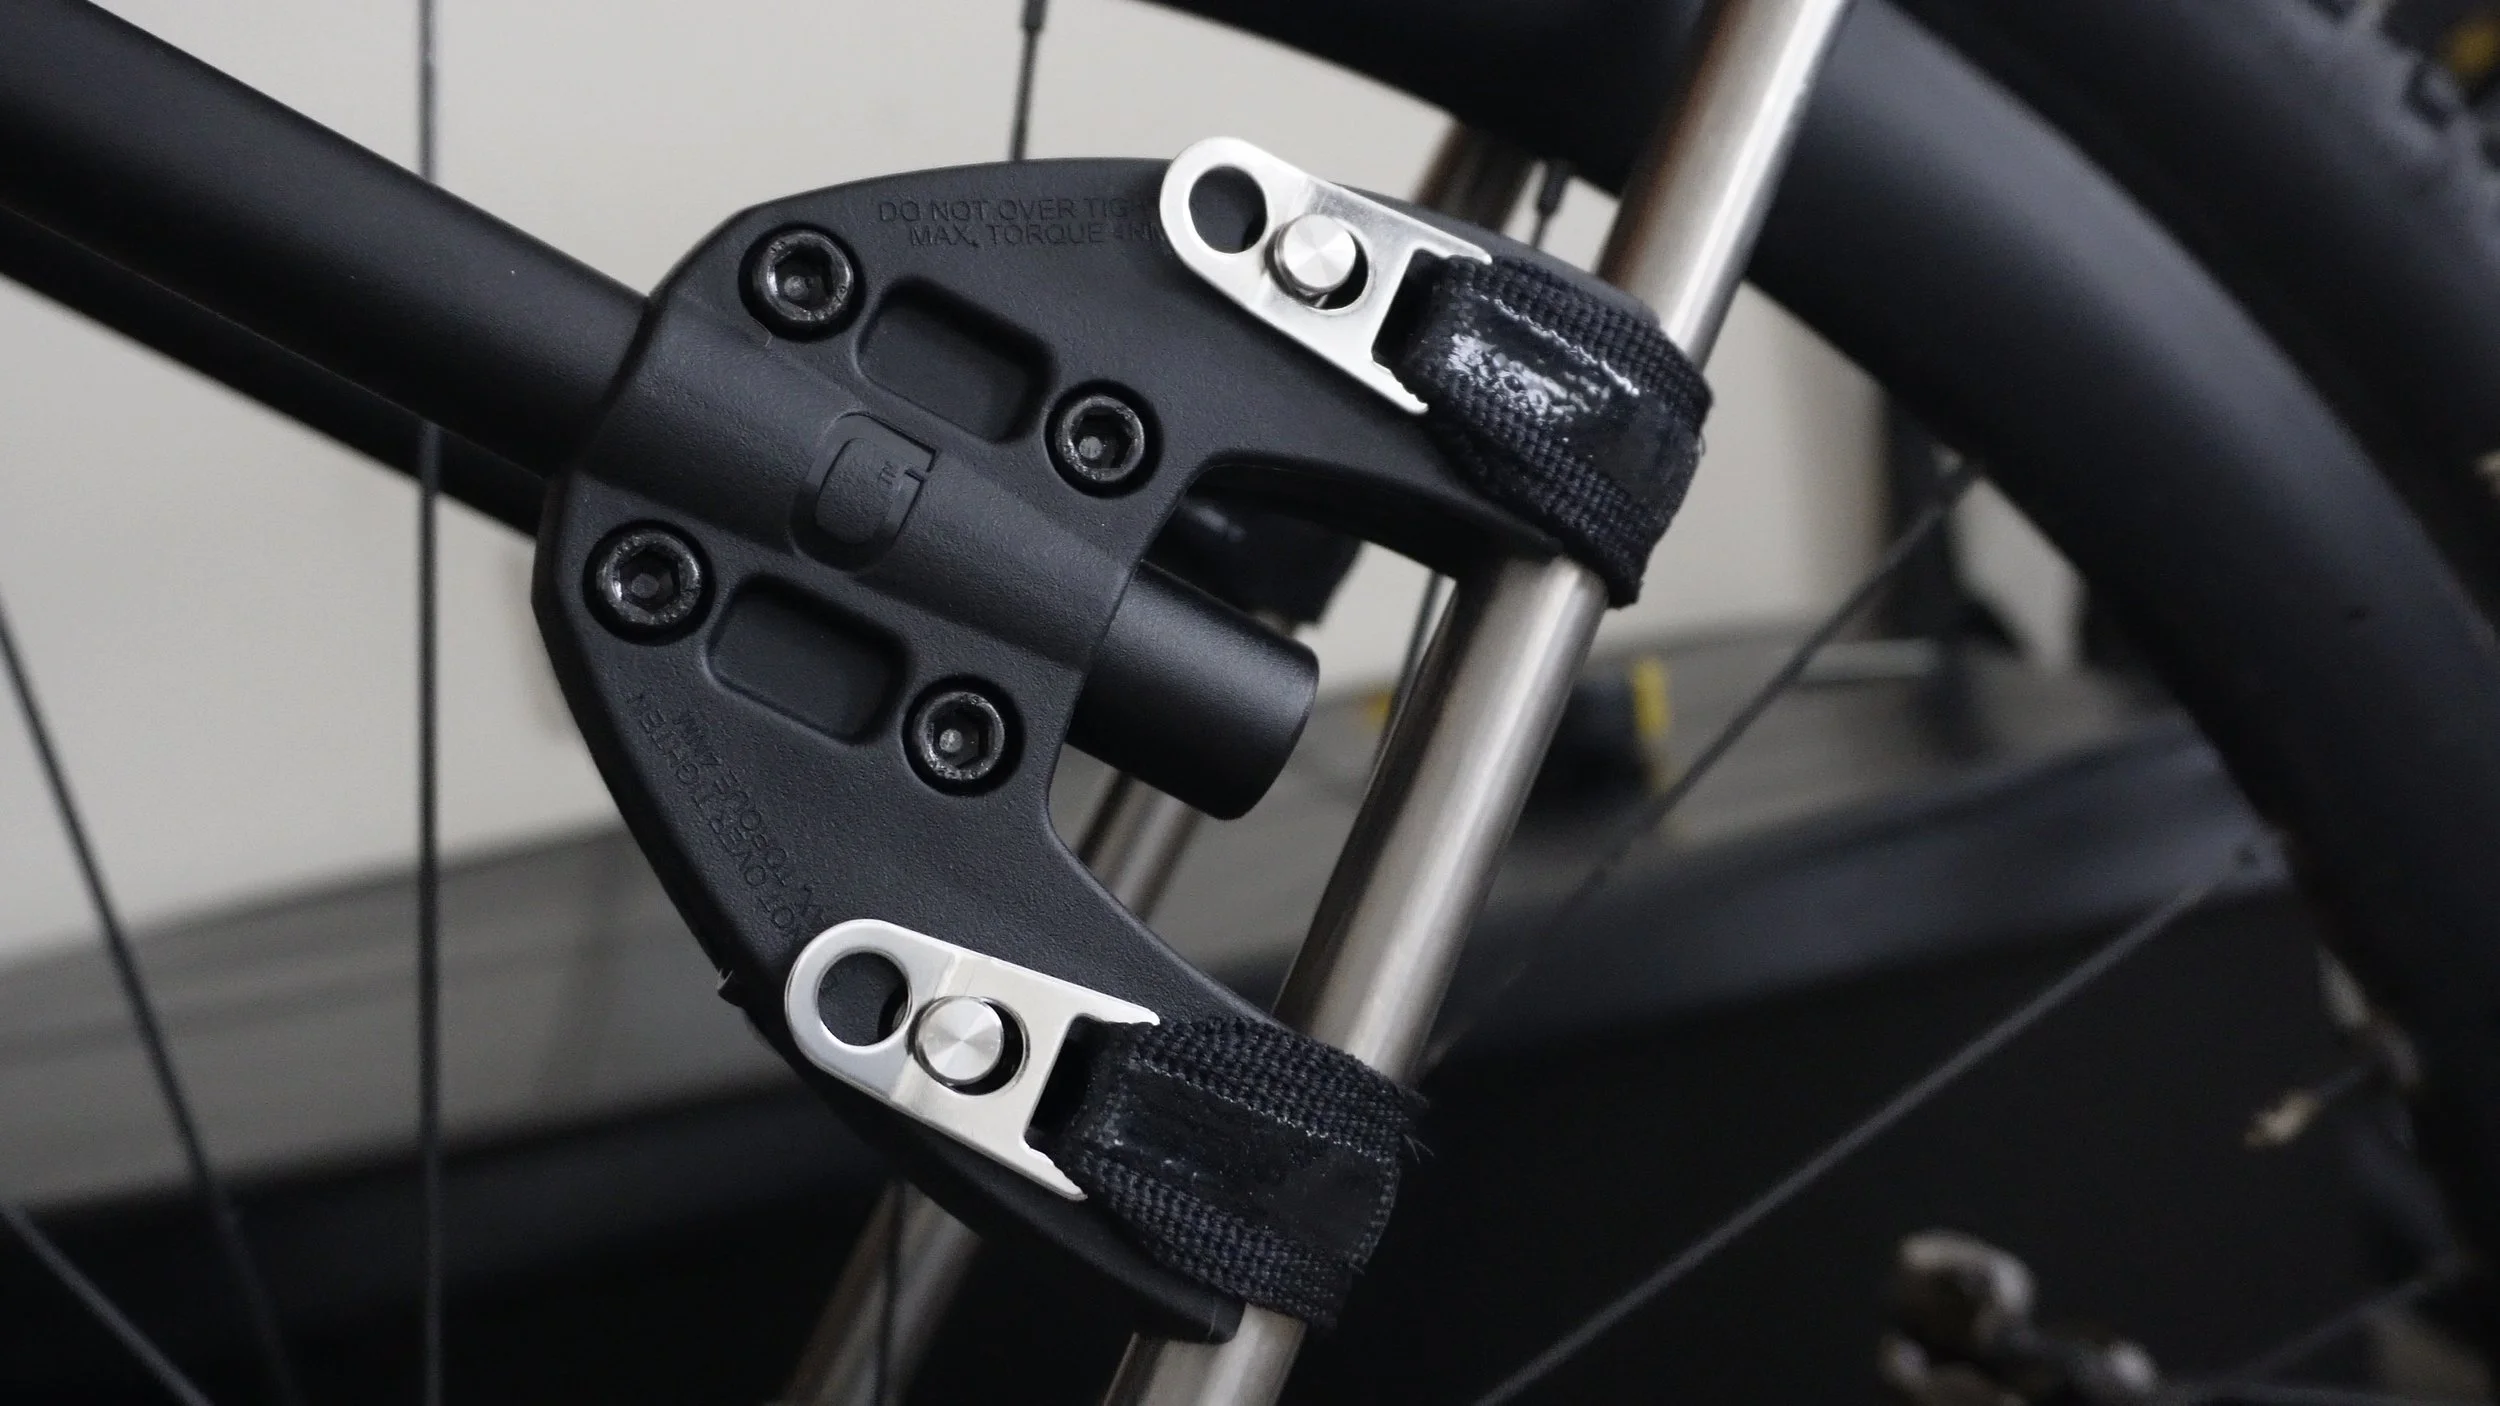
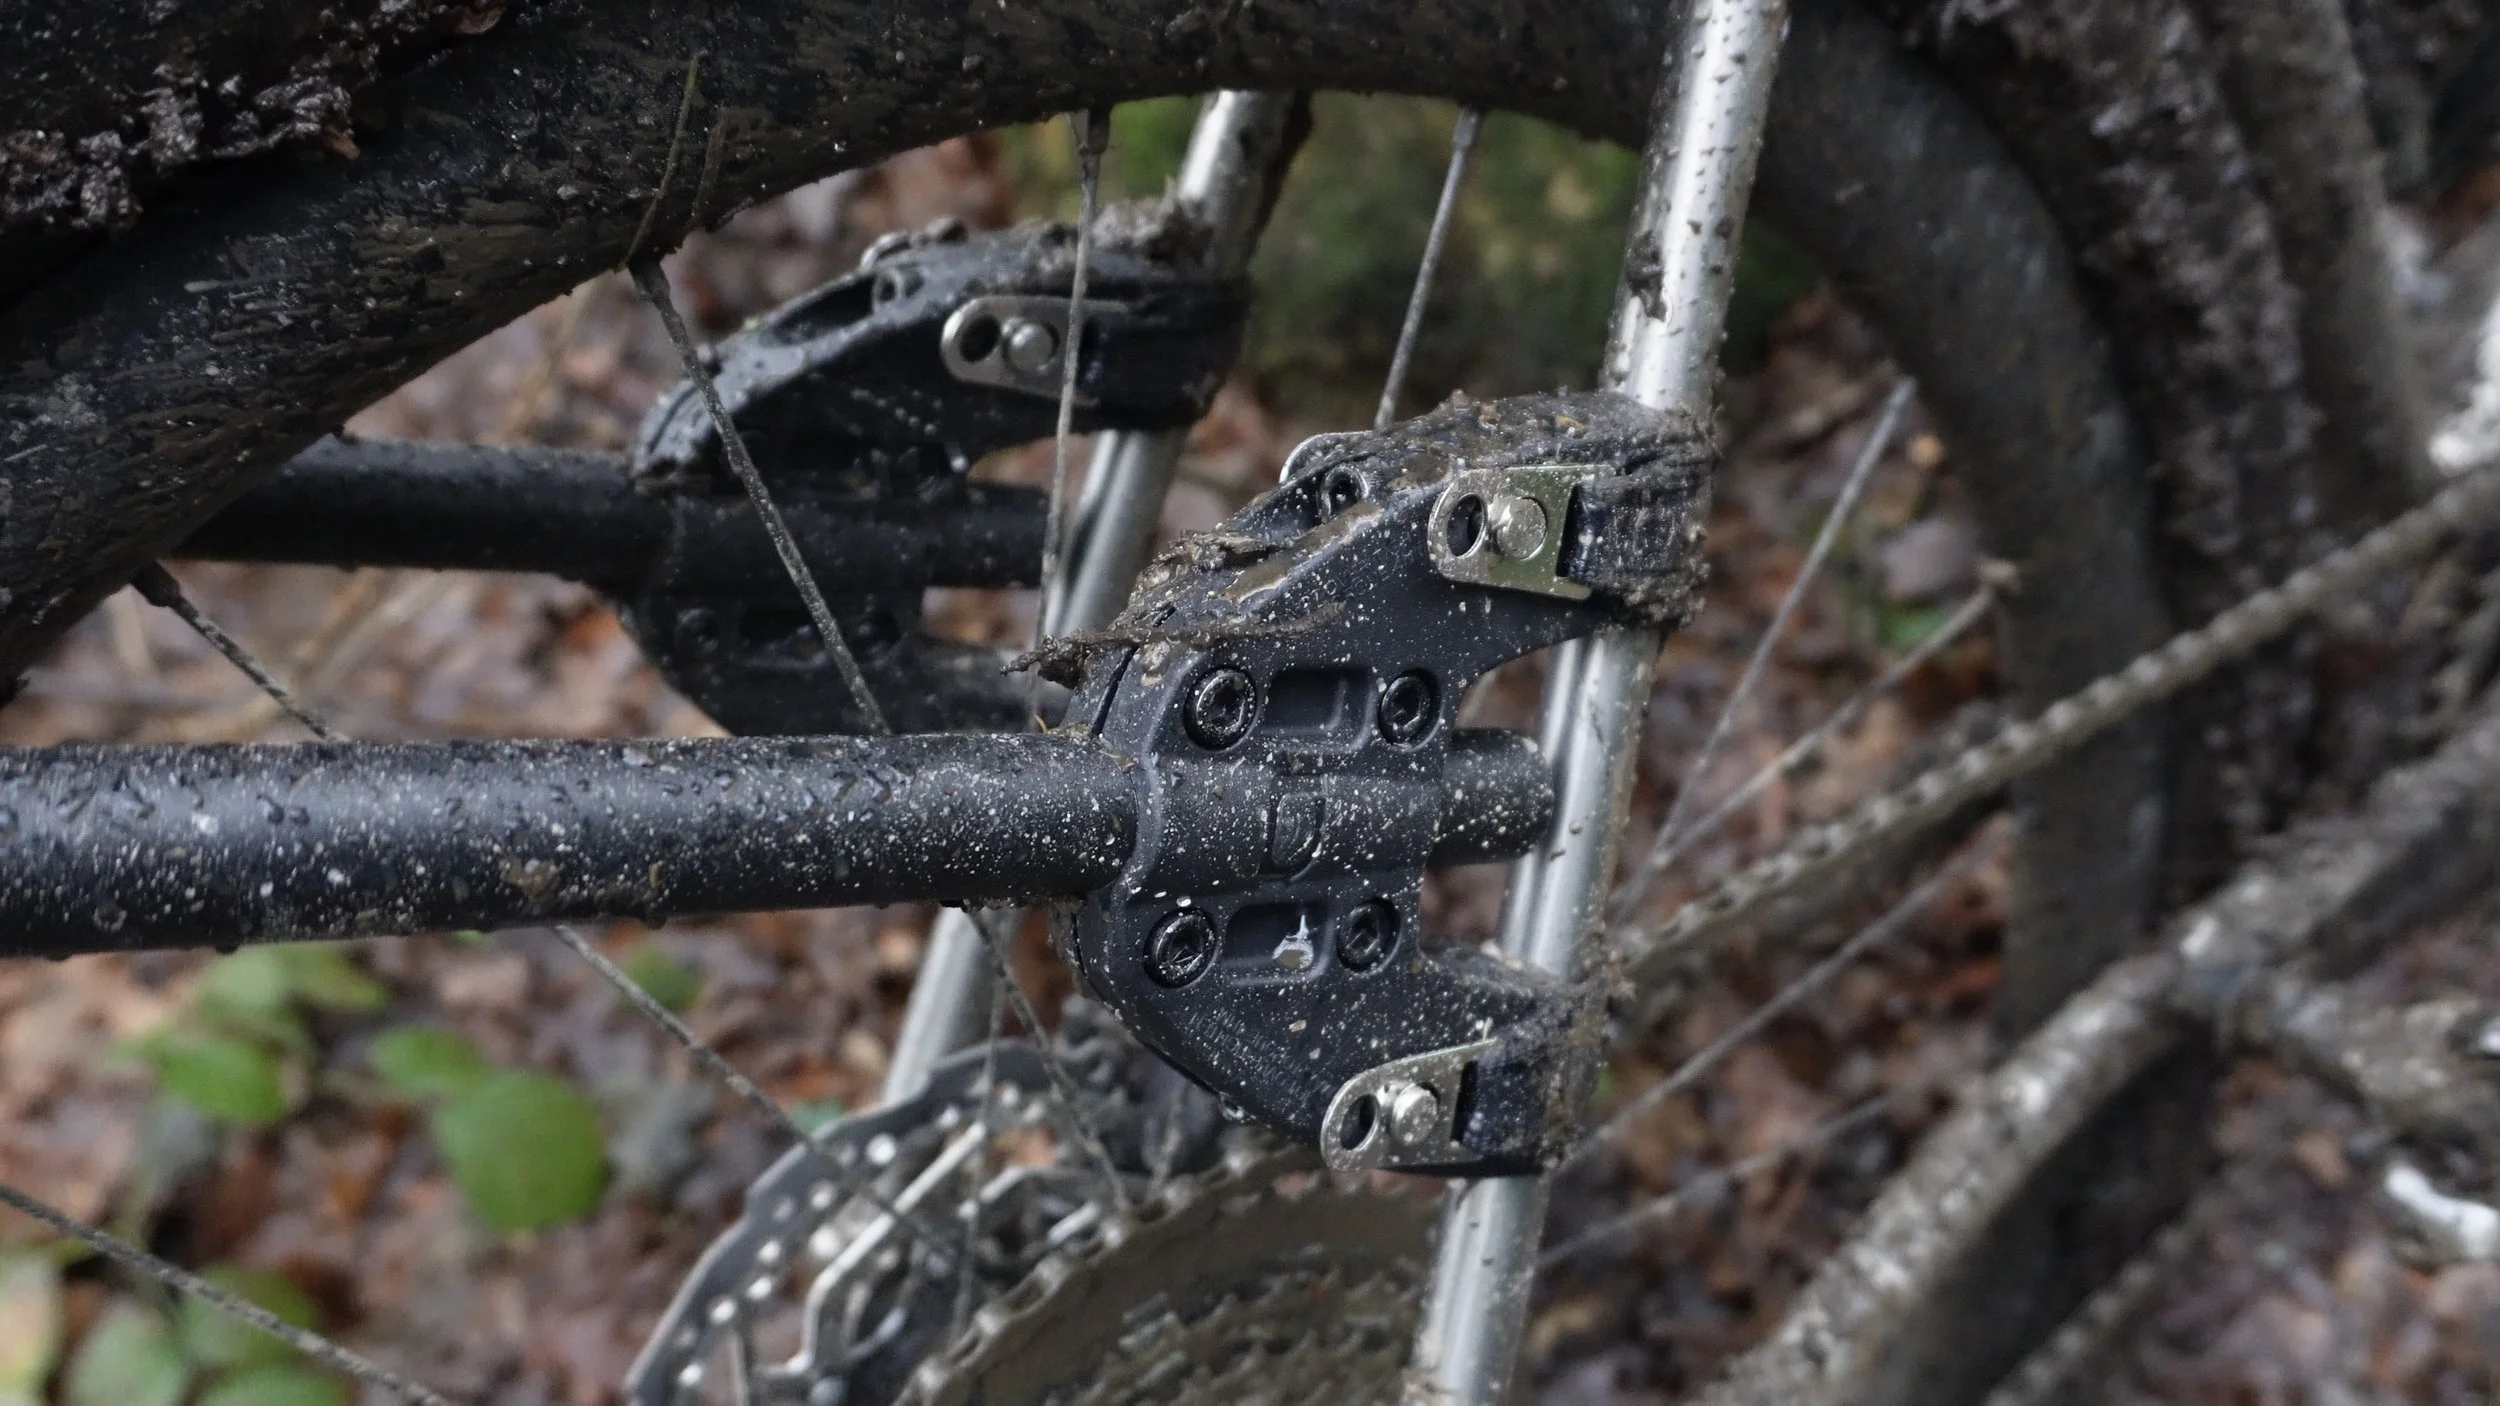
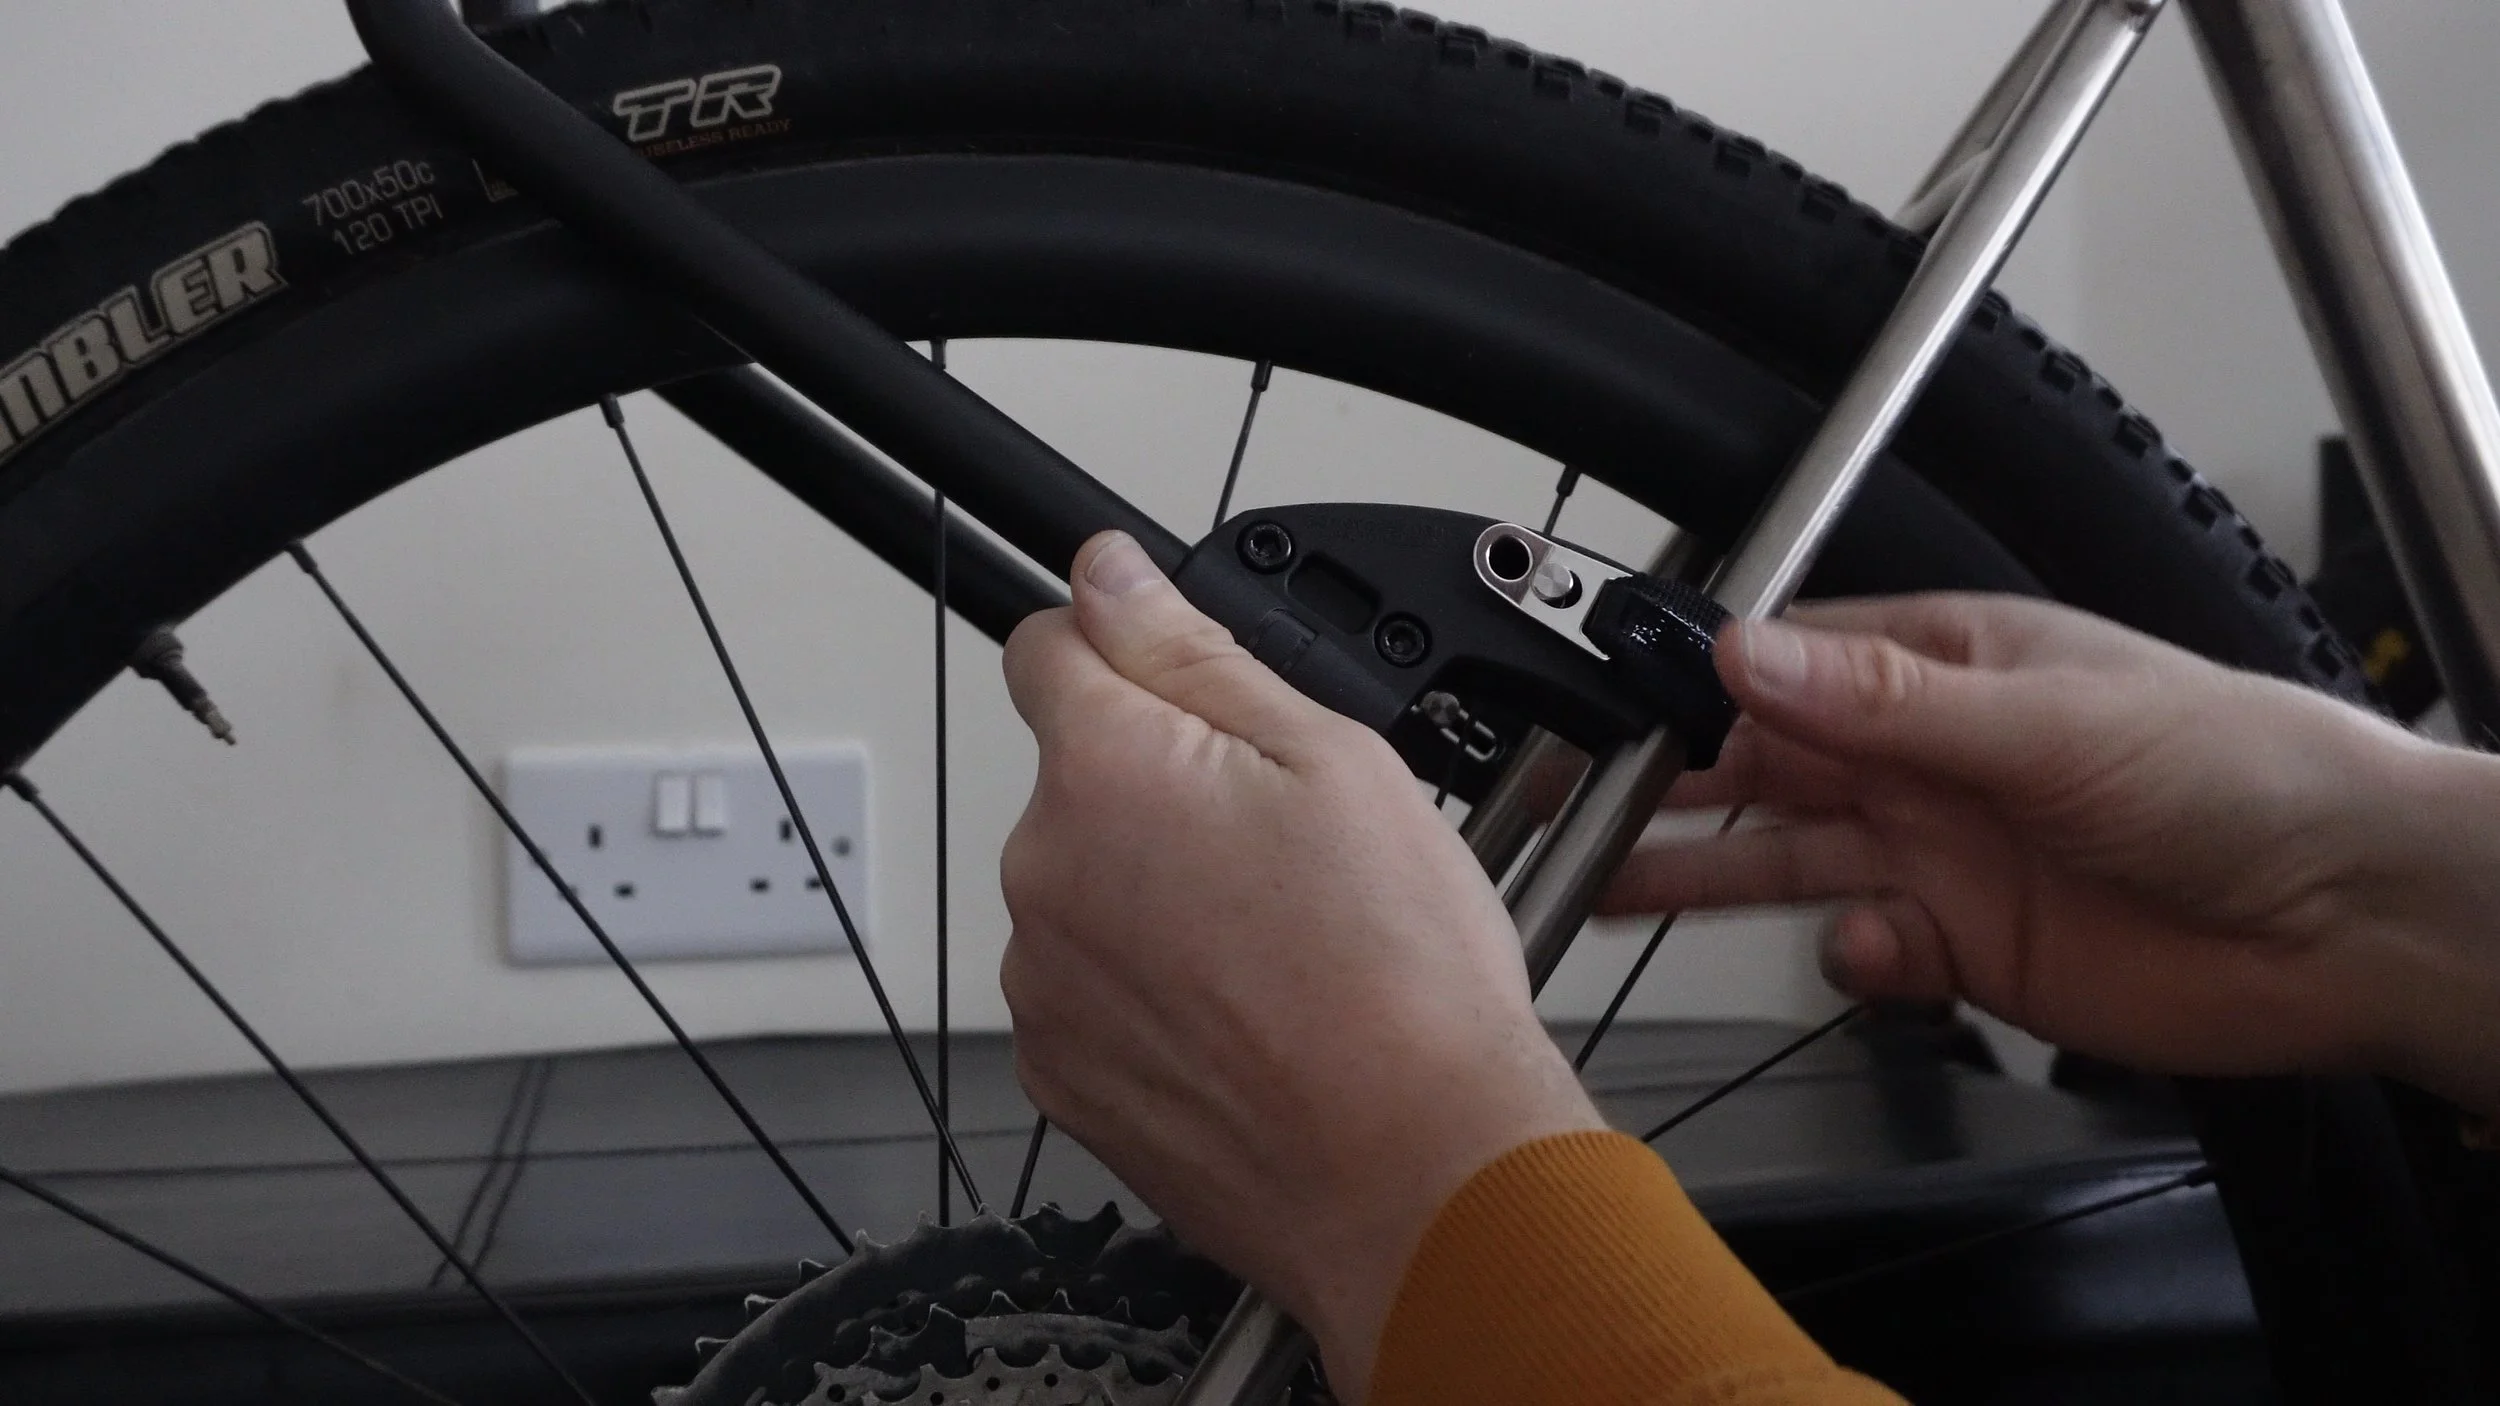
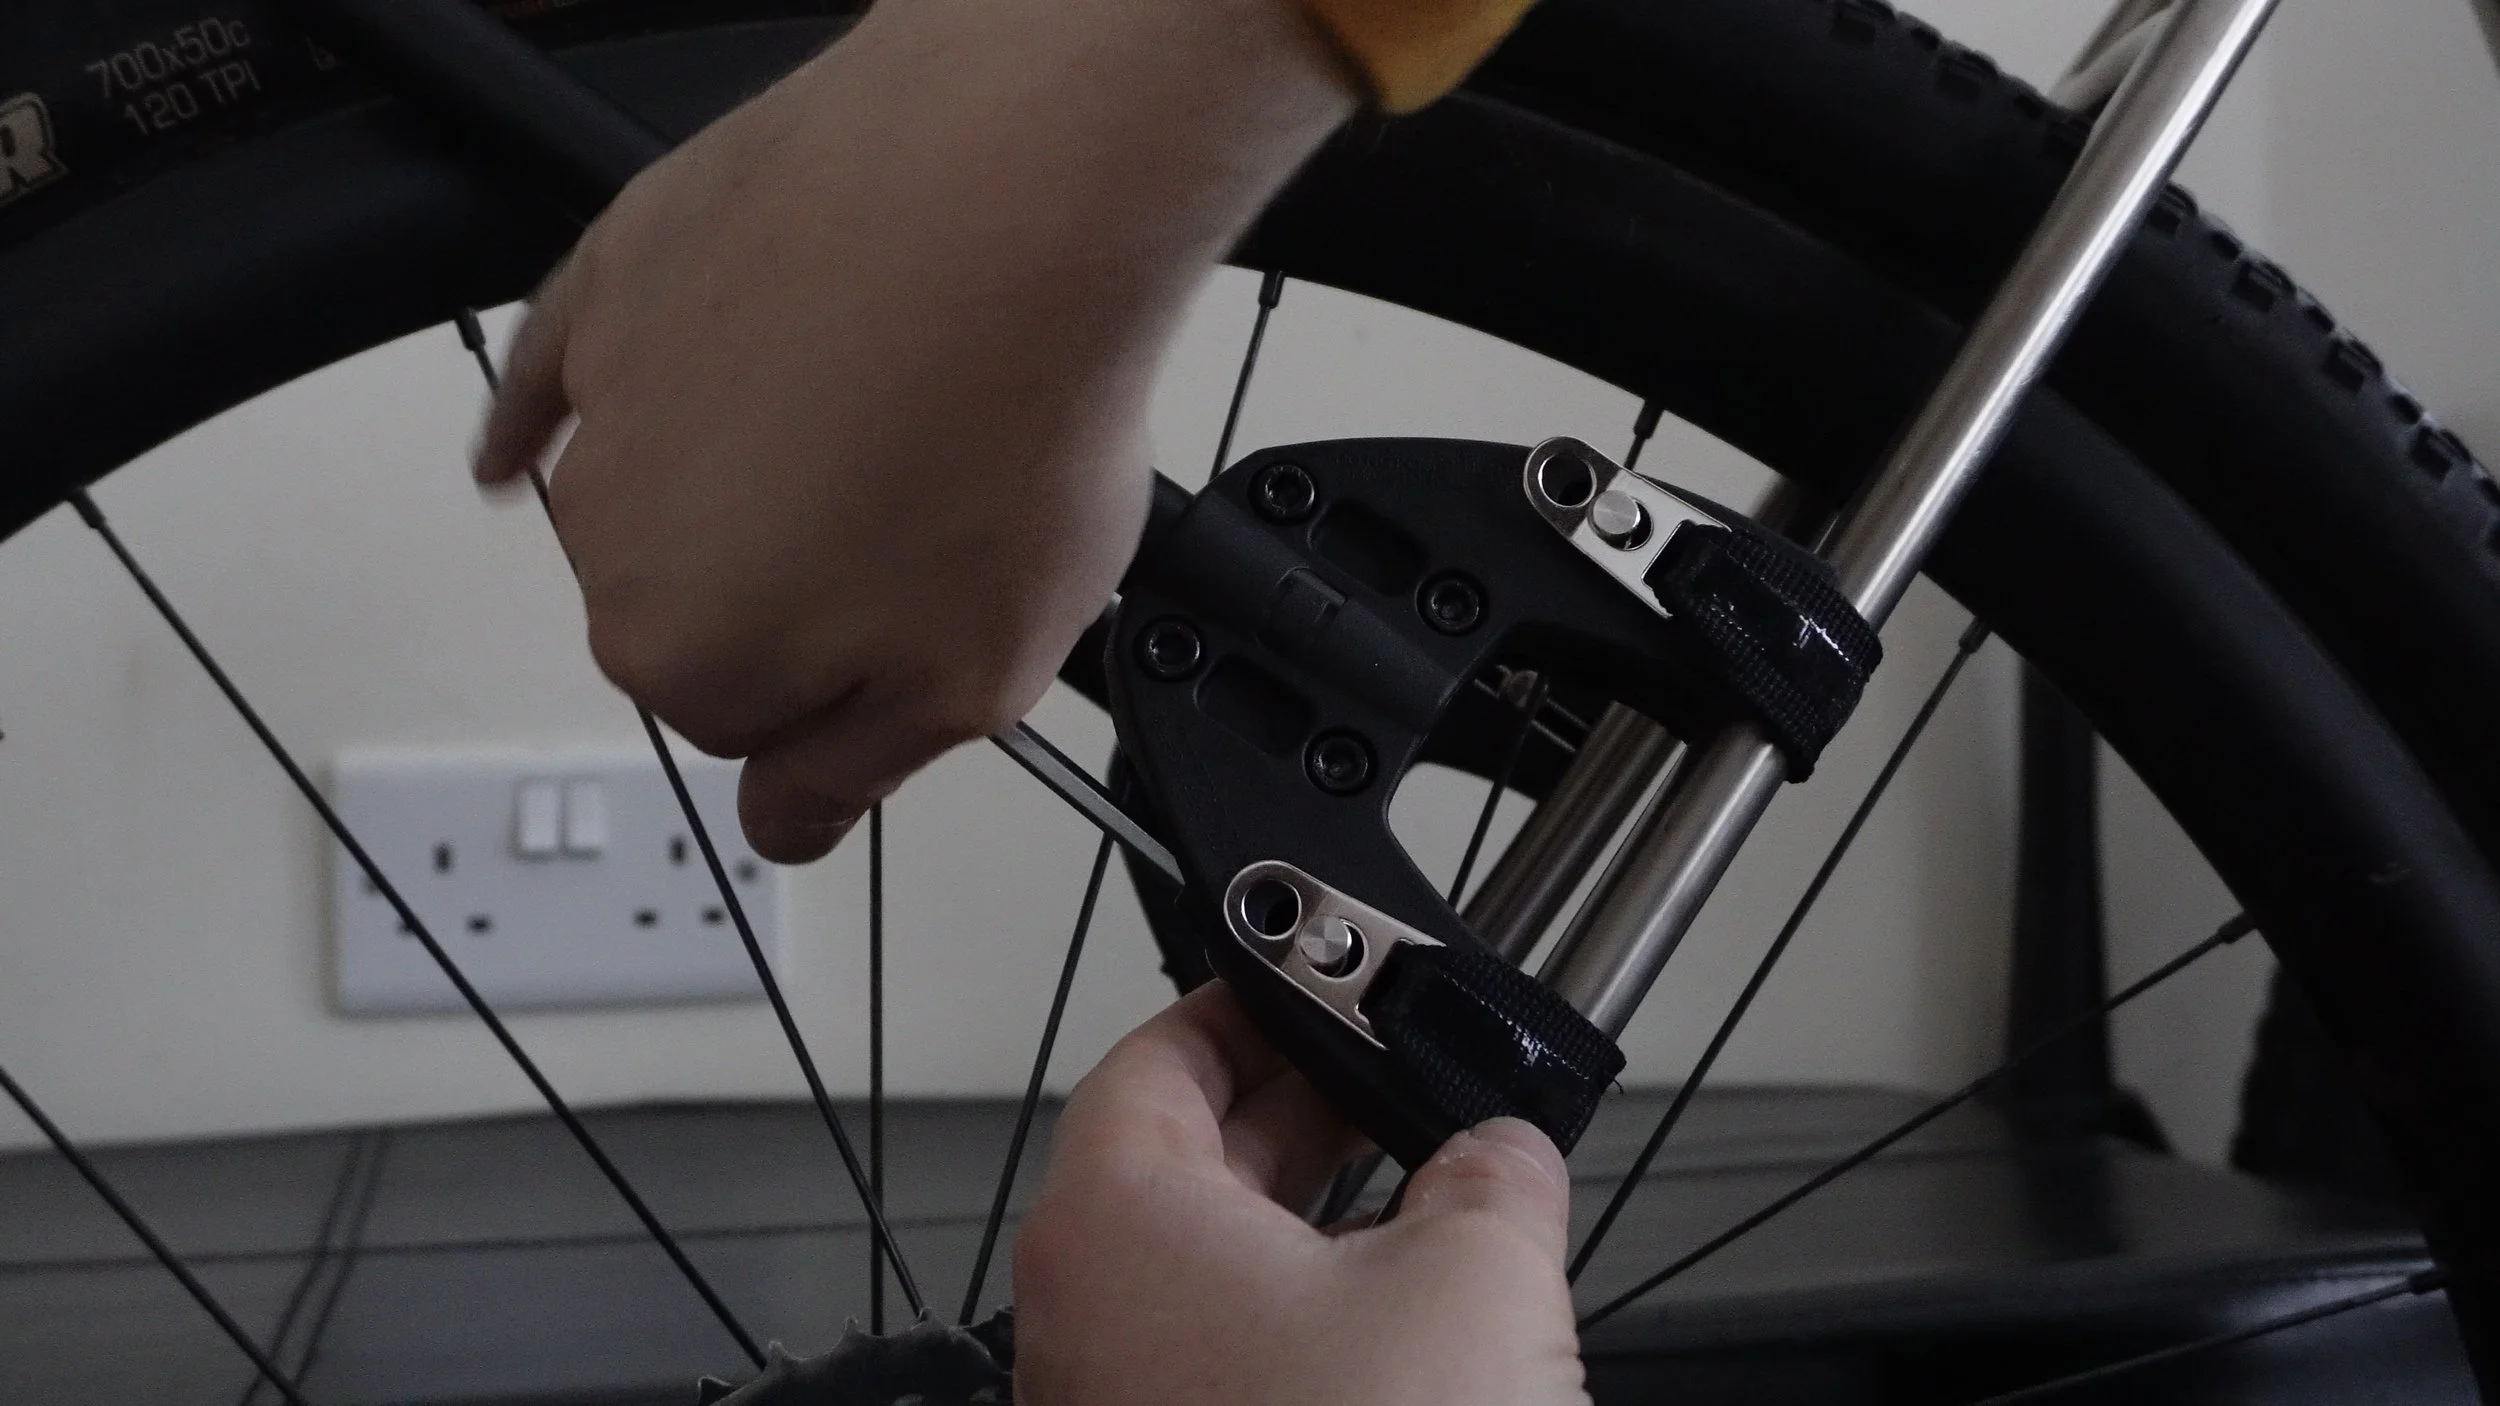
Once you’re happy with the position, it’s time to actually mount the rack to the frame. The four straps and the Allen key are all you need. On either side of the rack feet are small silver metal tabs where the strap holes attach, wrapping around the seat stays. Once they’re in place, you tighten the two bolts on top of the rack feet. This pulls the silver attachments away from the frame and tensions the straps.
From here, you can either tighten the four bolts on the sides if you’re happy with the height, or slide the tubing in or out slightly to bring it closer to the tyre or further away. Once you’re happy with the height, you’re done. It’s a simple process, and it’s worth doing a final check to make sure all the bolts are tight and the cradle is sitting at an angle you’re happy with.

ATTACHING BAGS
When it comes to attaching bags, the cradle comes with a pair of adjustable straps that you can use with pretty much any dry bag. Aeroe do sell their own dry bags designed specifically for this rack, with built-in guides for the straps to help keep everything in place, but they’re pretty expensive at £55 for an 8 litre bag and £60 for a 12 litre bag.
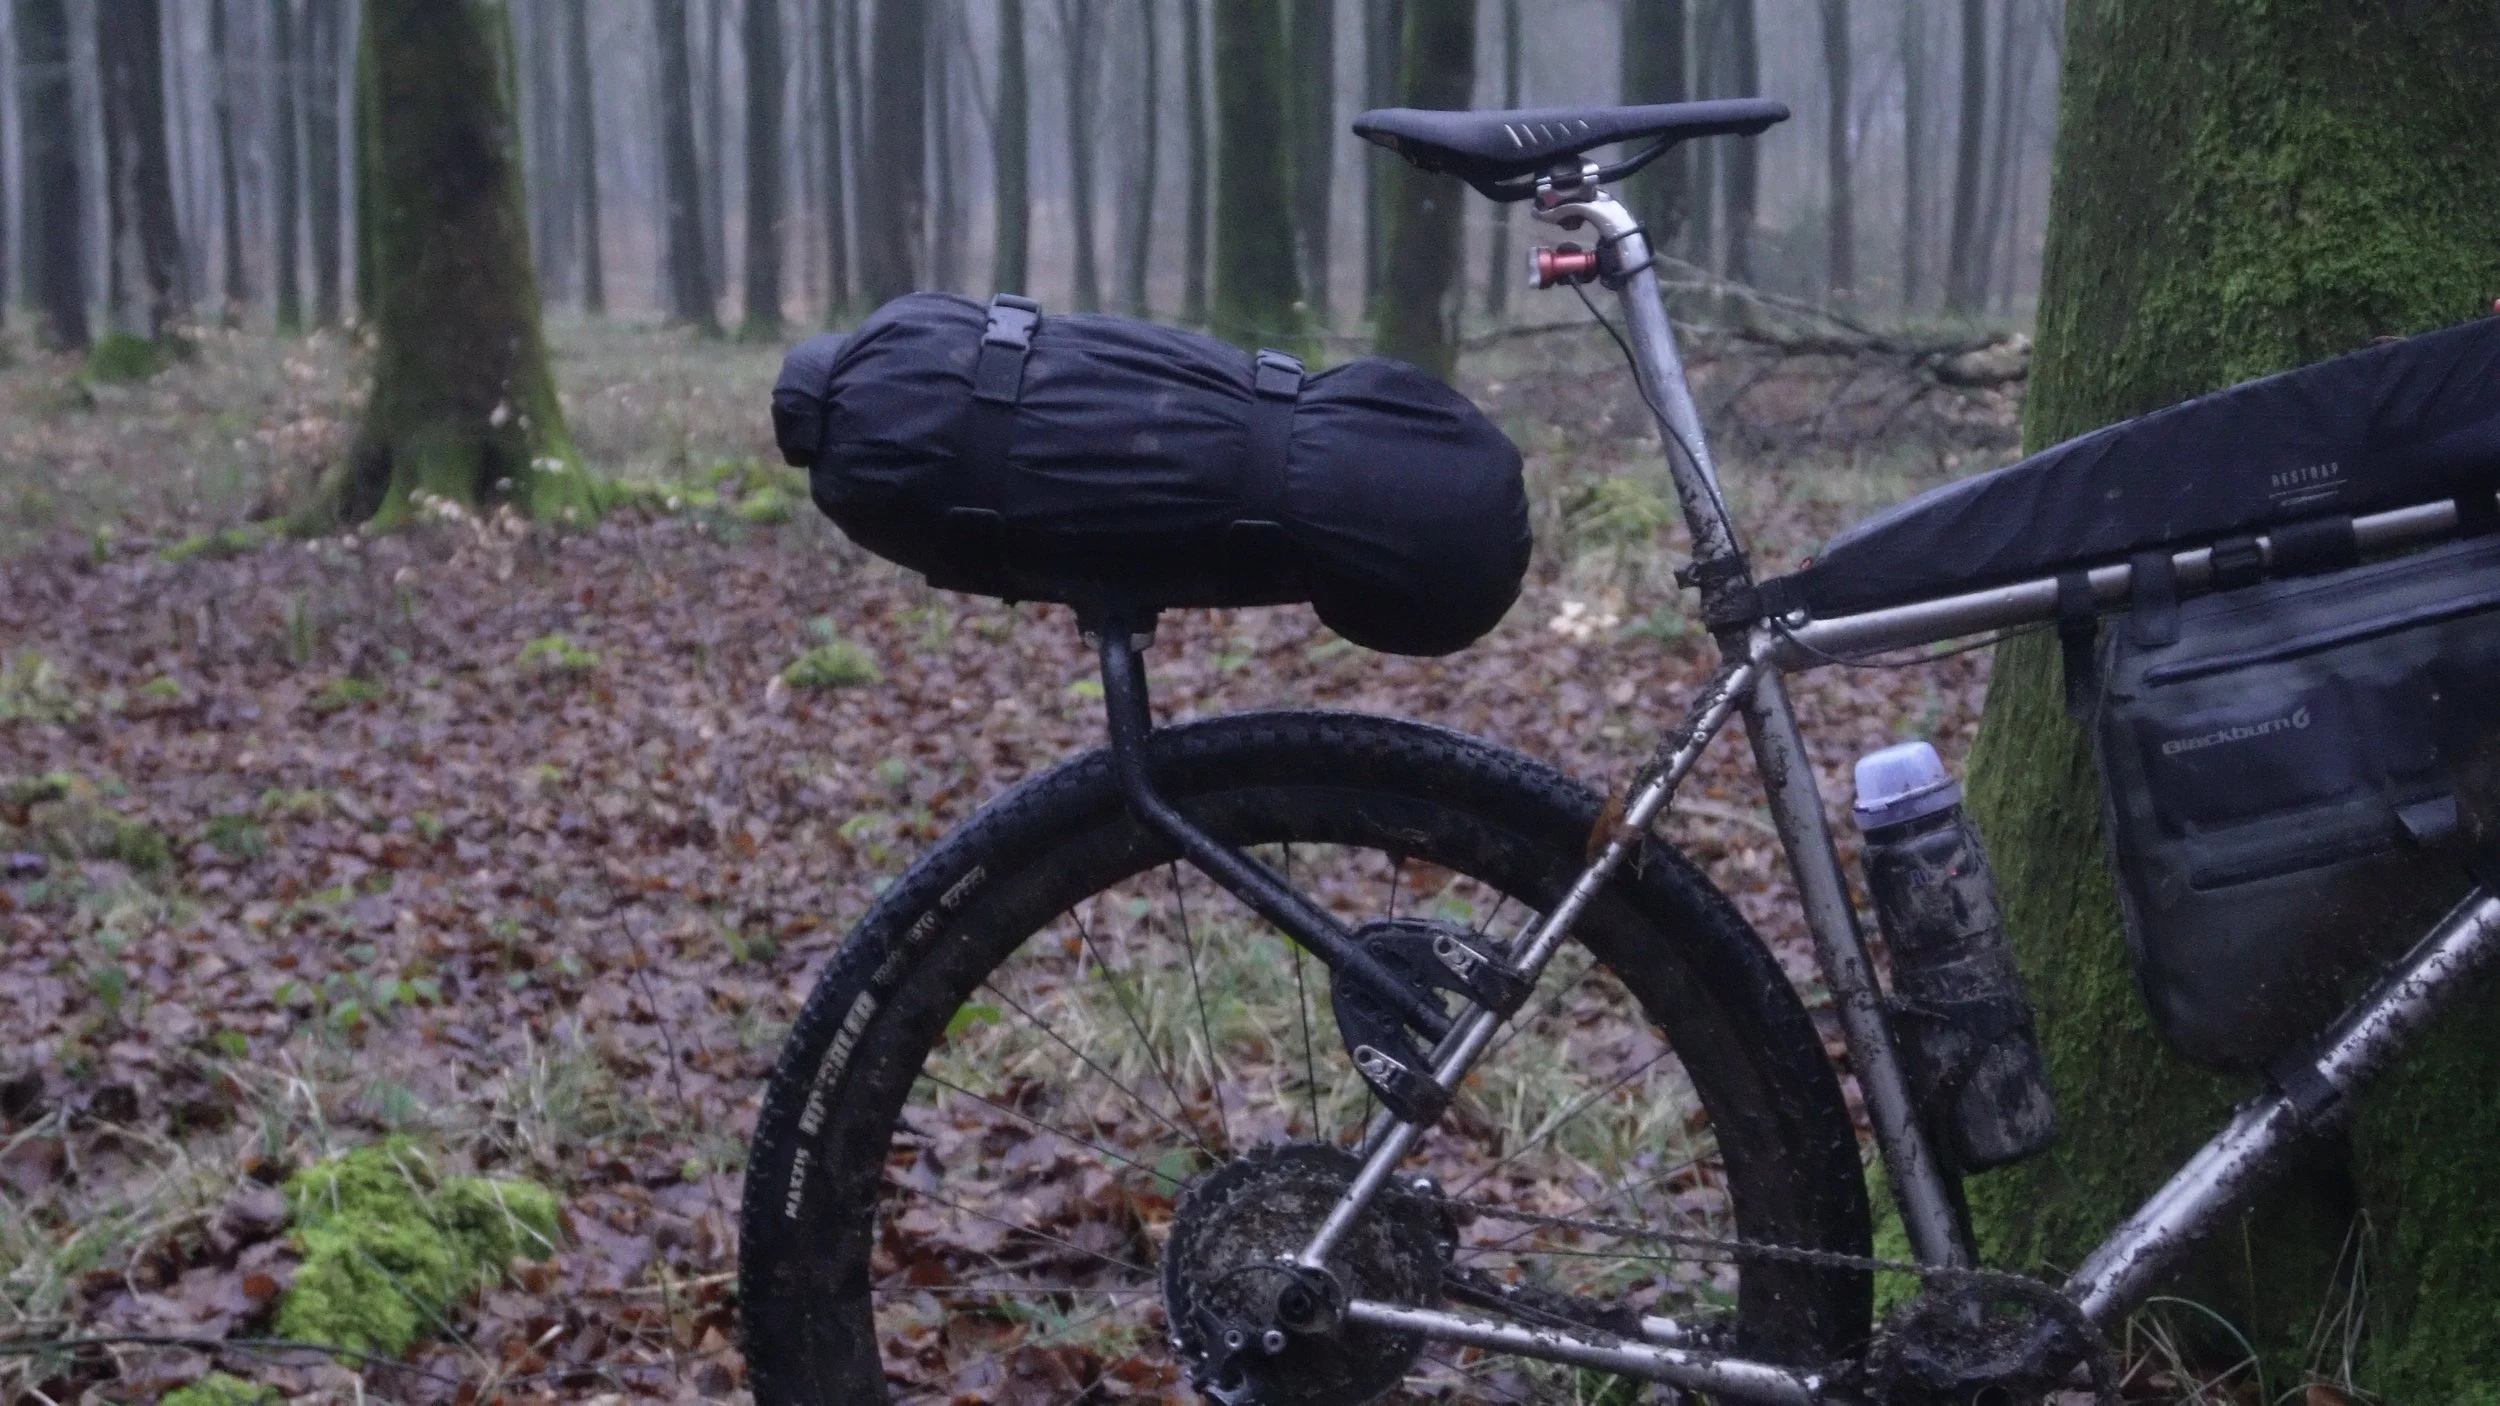
I already have plenty of dry bags, so I decided to keep using the one that came with my Topeak BackLoader saddle bag. To keep that clean, I’m using a larger Restrap dry bag on the outside. That way, when I get to camp, I can just take the inner bag straight into the tent.
Attaching the bags is straightforward, but the straps can be a bit awkward to cinch down unless you remove the small organiser piece first. Getting that back on once everything is tightened is also a bit fiddly. I think that’s partly because the dry bag I’m using is tapered, but getting it properly cinched down took more tightening than I expected.
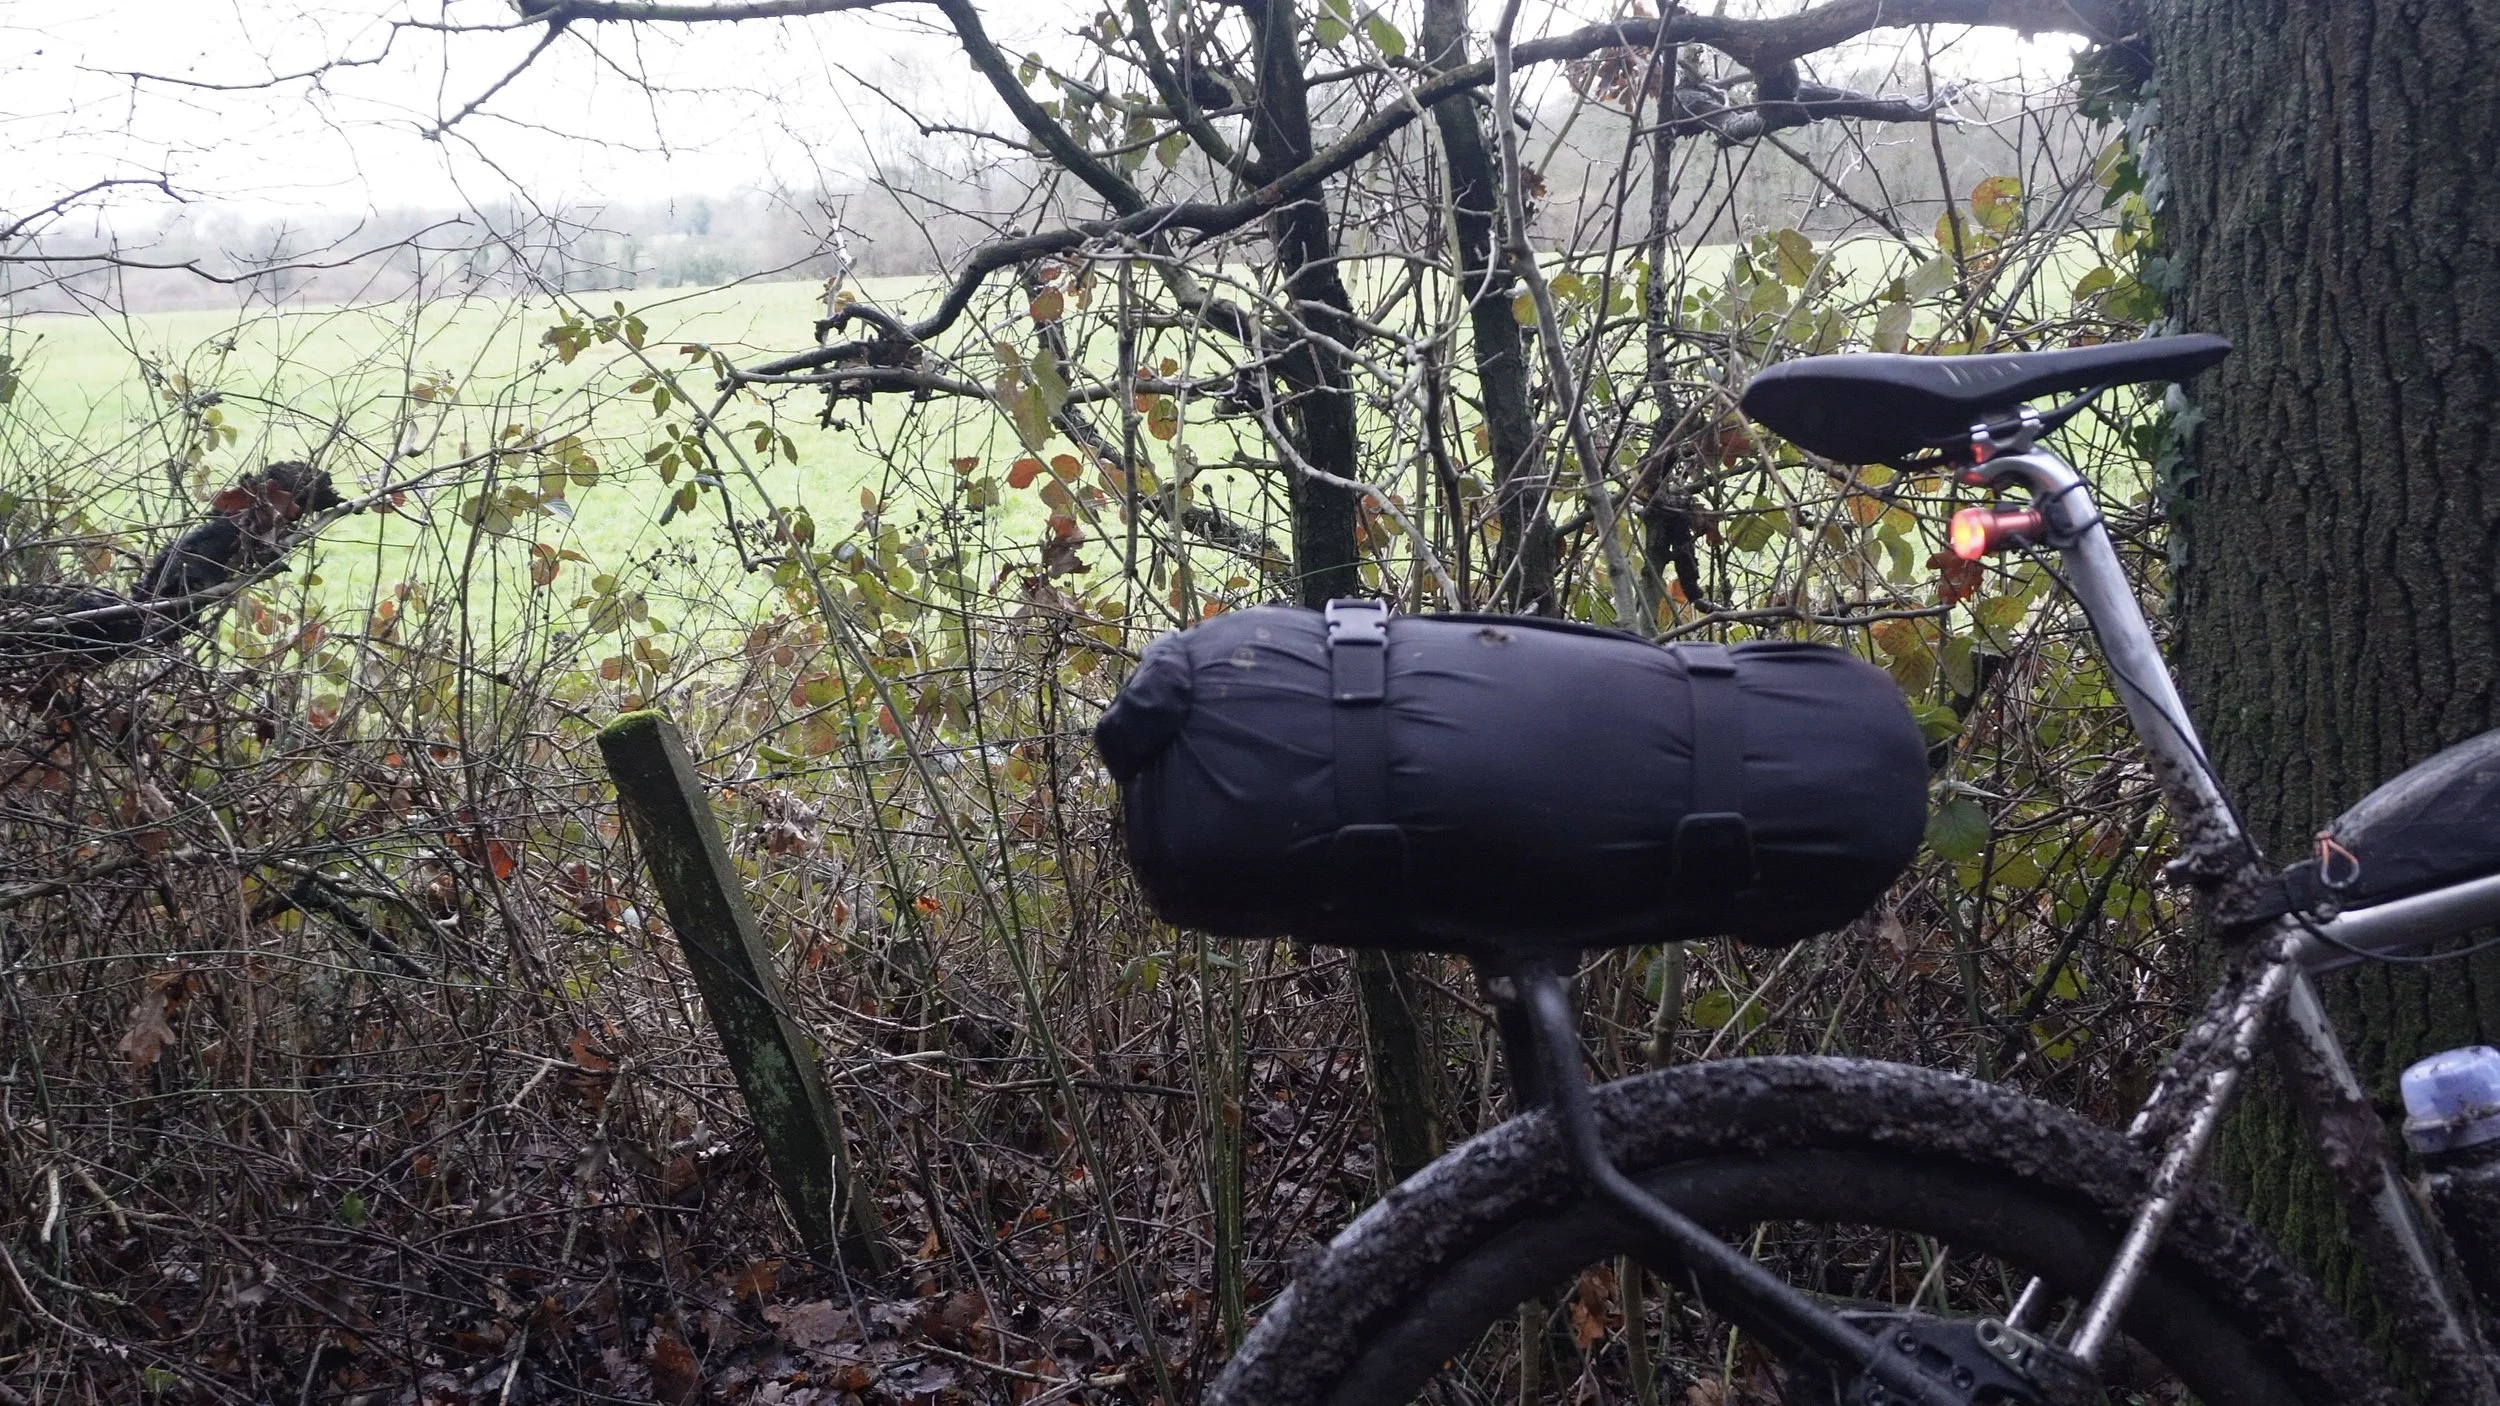
The straps do work, and I’ll keep using them for now, but I can see myself switching to Voilé straps in the future for a bit more peace of mind, as the bag and straps I’m using are slightly slippery. That said, after its first outing, as long as everything was properly tightened, the bag didn’t move or come loose at all.
So why did I decide to switch from a seatpost bag to a rack system? It might only be temporary, or just for certain trips, but my Topeak BackLoader was starting to fail. It was wearing through where it rubs against the seatpost, and the strap closures were becoming brittle, so I decided to try something new.
That something new also needed to work across all three of my bikes and be easy to remove if I just wanted to ride without luggage.
Seatpost sway has never really been an issue for me in around ten years of using them, and a lot of that comes down to how much you carry. The more you load up, the less suitable a seatpost bag becomes. They were originally designed for lightweight bikepacking, and really for racing. But as more and more people get into bikepacking i hear a lot about this sway. And im sorry to say its because you are just carrying to much stuff or not nice a squidgy packable stuff. If you are not a lightweight packer then seapost packs might not be for you.
In terms of weight, the Aeroe Spider rear rack weighed 1.13kg on my scales, They are just cheap luggage scales so accuracy probably isn’t to great. while Aeroe claim 979g. So somewhere around the 1kg mark. For reference, the Topeak BackLoader weighs just over 500 grams, so it’s clearly heavier. That said, the Spider rack has a load capacity of 16kg, which is way more than any seatpost bag could realistically handle, especially if you want it to last.
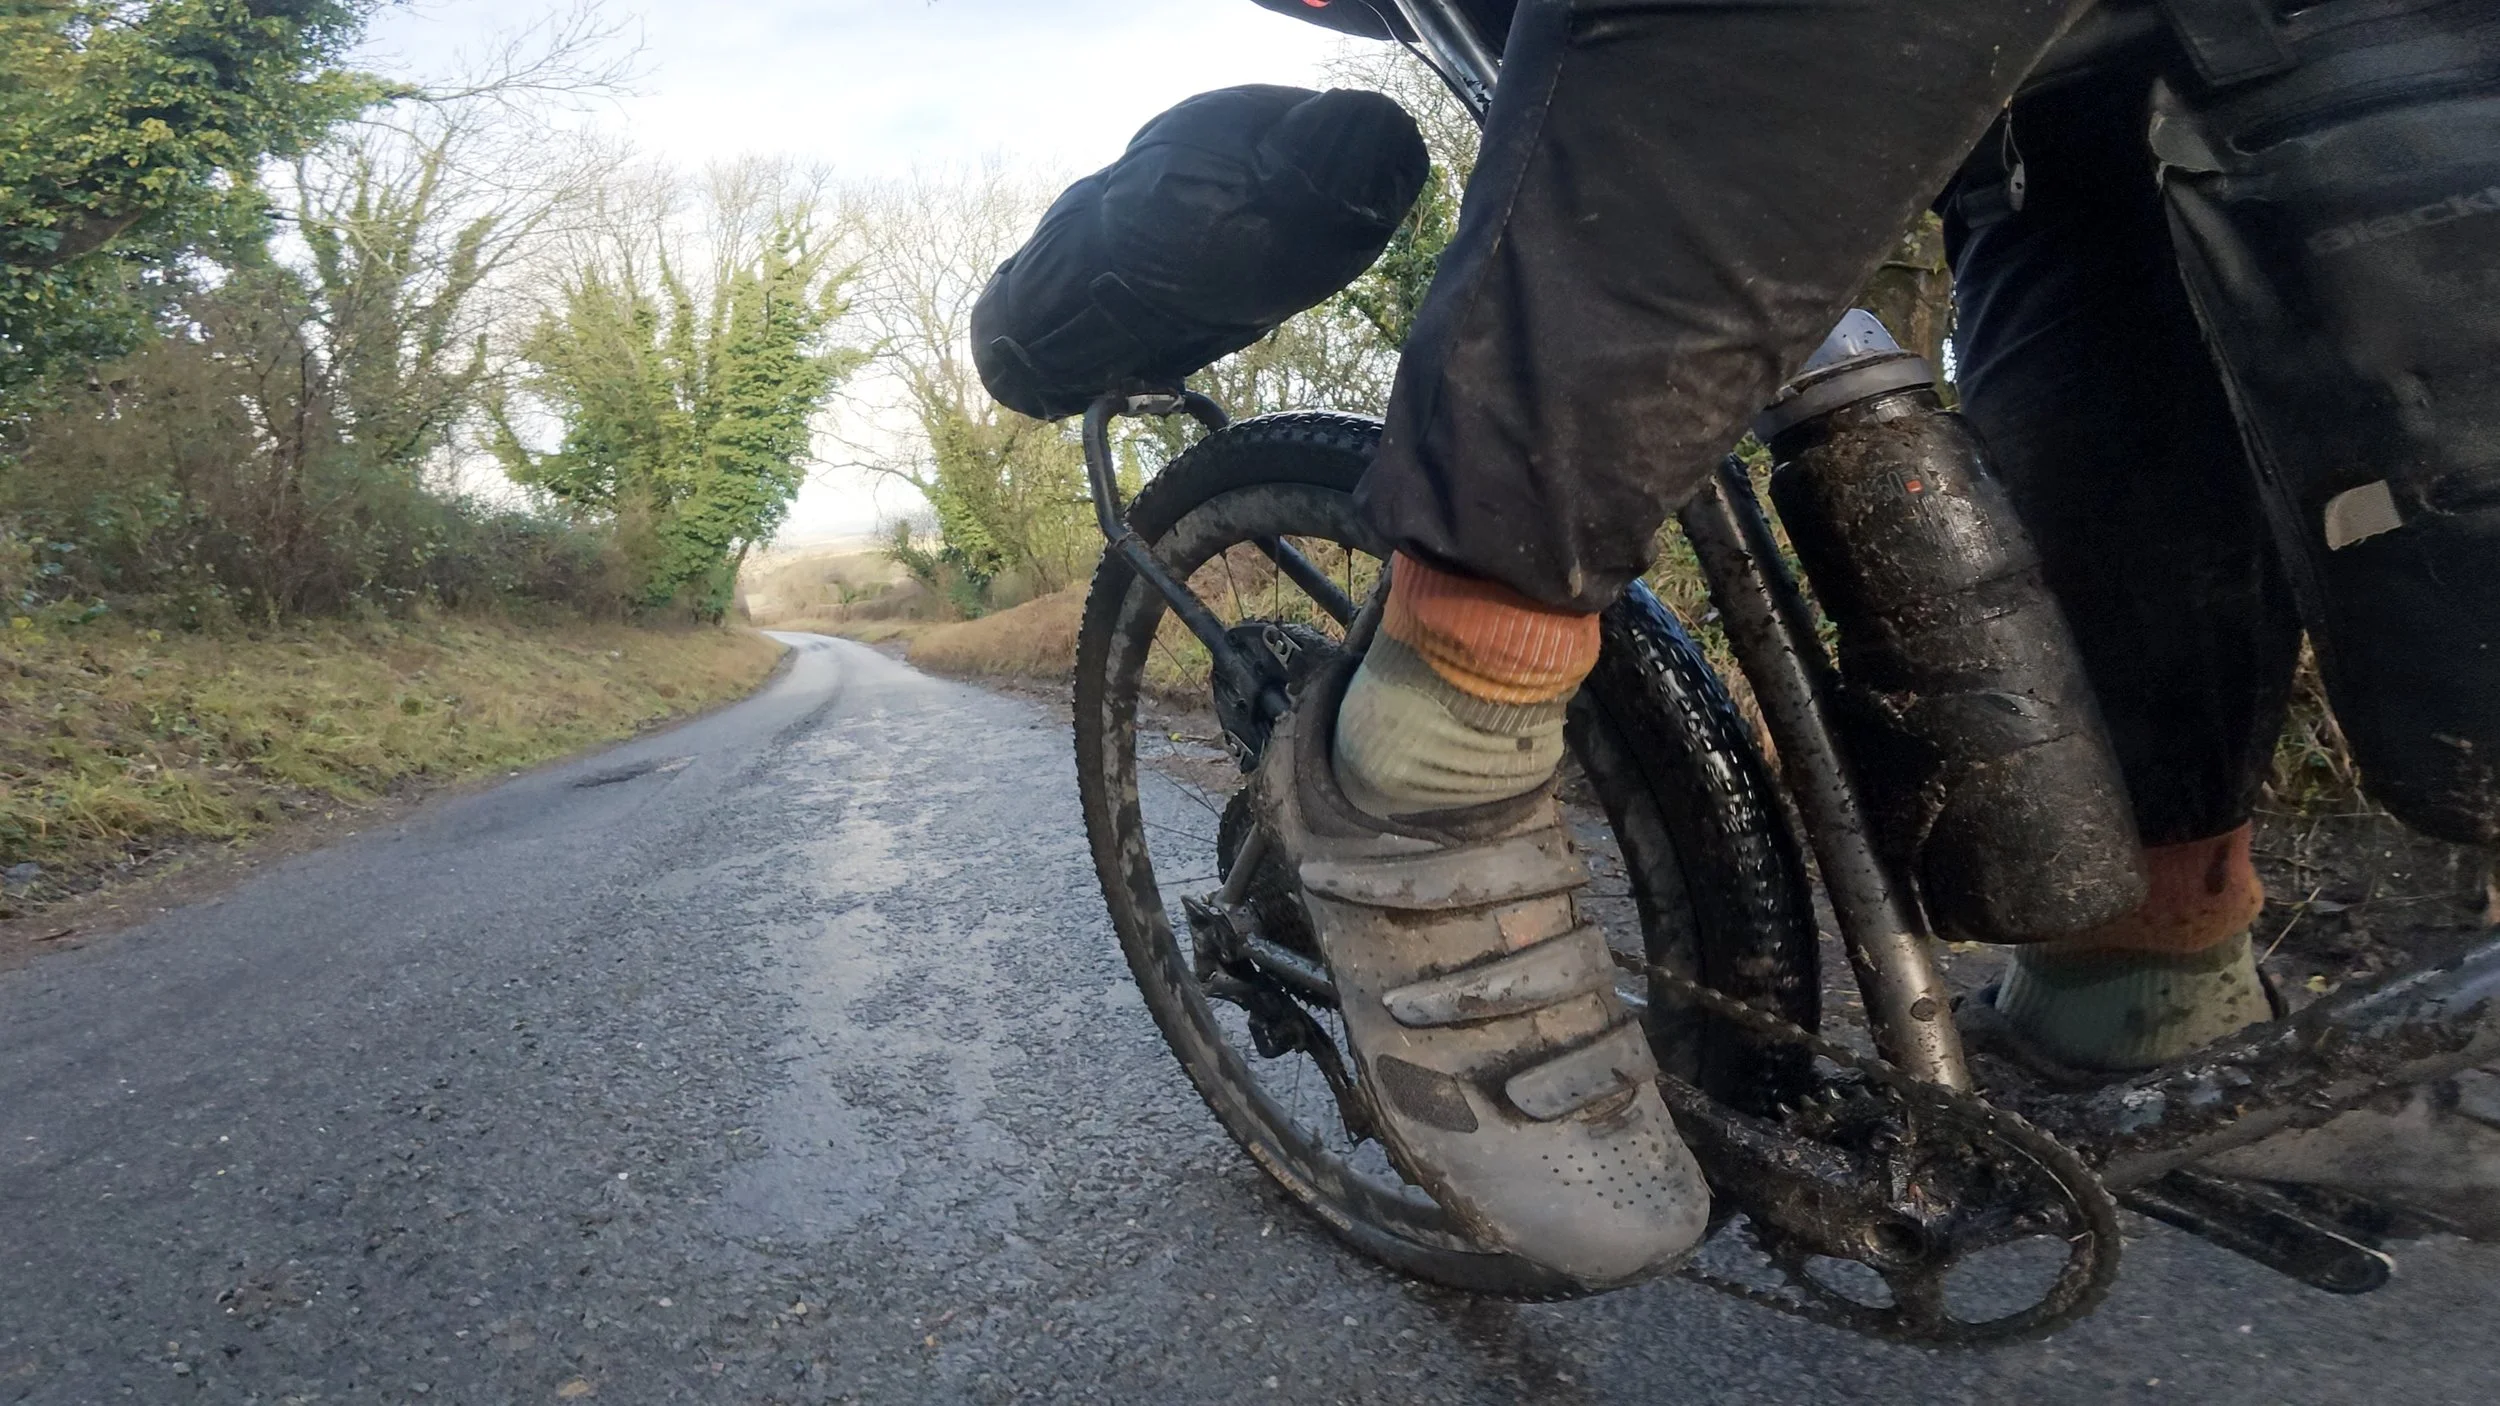
The heavier your load, the more likely seatpost sway becomes an issue, and a rack completely removes that. While it’s never been a problem for me personally, I can say that on my first ride around the North Wessex Downs, I couldn’t feel or notice the rack at all.
Initial thoughts
So while I will reserve my final judgment for a later video, when I have truly used this in all types of conditions, lived with it for some time, and given myself time to see how it holds up under different challenges on different terrain, I will just mention a few things about the Aeroe Spider rack.
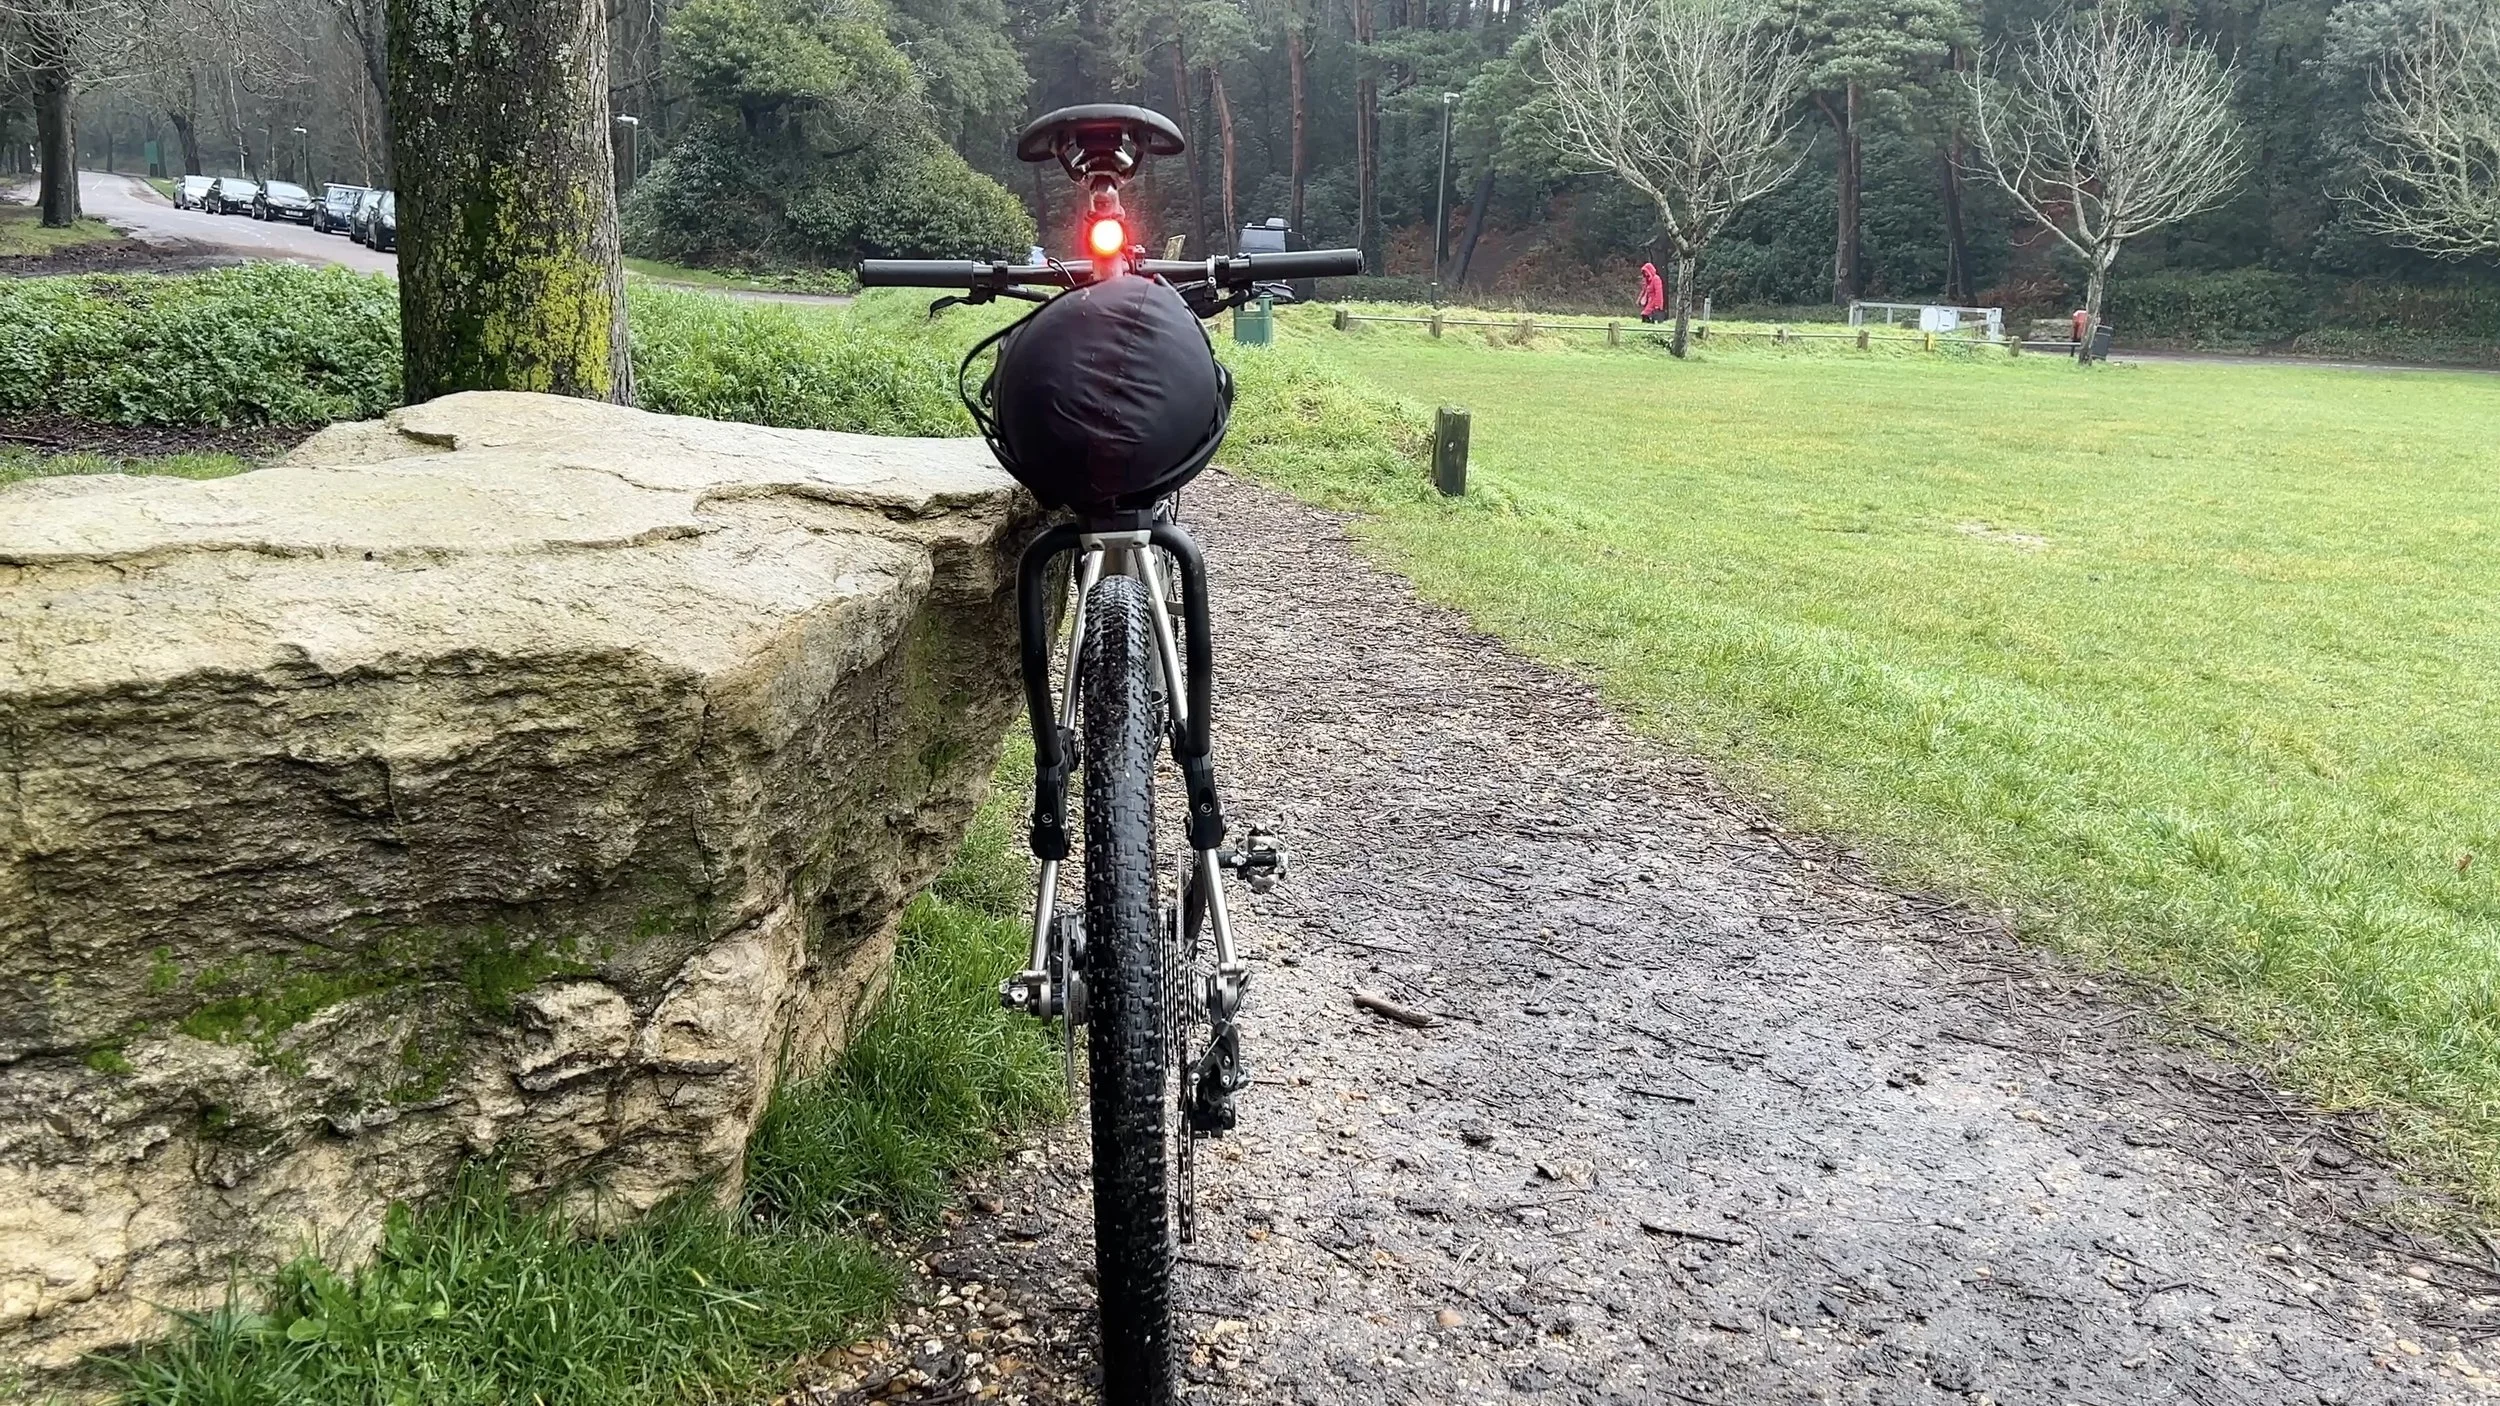
Firstly, one thing I will say is that, for me on the Sonder at least, the rack does feel like it sits quite far back over the rear wheel, and a lot of that is to do with how the seat stays are positioned. My seat stays are more vertical, whether that is because I’m a taller rider. While actually riding it like this, I didn’t really notice it, but it does feel a little further back than I would ideally like. I could probably cut the tubing down a little so I could bring it closer to the frame, but I will refrain from doing that until I have used it across multiple bikes.
Another thing I will mention is that, as I am using a dynamo light on the rear, it is powered by a cable, and being on a bigger bike as a taller rider, the cable is not going to be long enough to reach all the way to the back of the rack, and the bag does slightly get in the way. I was able to move it up to just under the saddle, which is still visible, but it’s something to note if you are also using dynamo lights. If not, mounting lights on the rack shouldn’t be a problem.
Now, straight up, if you are looking to get this as a replacement for a seatpost bag, then on its own, with one cradle as it comes, especially if you get it on sale, I think the price is not too bad, if it lasts, of course. But I think if you were looking to start adding multiple cradles and bags, then the price of this rack would soon start getting into unreasonable territory. Just adding a couple of the cradles and you would soon be getting close to £300. I think if you need to carry that much stuff, I’d just be looking at a more traditional pannier setup.
But after my first ride with the Aeroe Spider rack, which was only a short, very wet and muddy trip around the North Wessex Downs, my first impressions are positive. It didn’t move, rattle, or drop any bags. Unpacking and packing up at camp was quick and easy. The straps can be a little fiddly, especially with cold hands, but apart from that no immidiate issues spring to mind. I will of course return and give my final thoughts on the Aeroe Spider rack when I feel it’s been used enough.
The question for me is whether it will ultimately save me money in the long run, as seatpost bags tend to wear out after a couple of years of constant use. Only time and miles will tell.